Knative 实践:从源代码到服务的自动化部署
通过之前的文章,相信大家已经熟悉了 Serving、Eventing 以及 Tekton。那么在实际使用中,我们往往会遇到一些复杂的场景,这时候就需要各个组件之间进行协作处理。例如我们提交源代码之后是否直接可以部署服务到 K8s 中? 这个场景对于用户来说很有吸引力。那么现在就让我们来看一下,在 Knative 中如何实现从代码到服务?
场景介绍
现在的场景是这样的:代码构建->事件驱动->服务部署。那么对应到 Knative 中,需要 Eventing、Tekton 和 Serving 一起协作来实现这个场景。
![]()
准备
部署 Knative。参考在阿里云容器服务上部署 Knative;
部署 Tekton。通过阿里云容器服务控制台,应用目录选择
ack-tekton-pipelines进行安装部署 Tekton;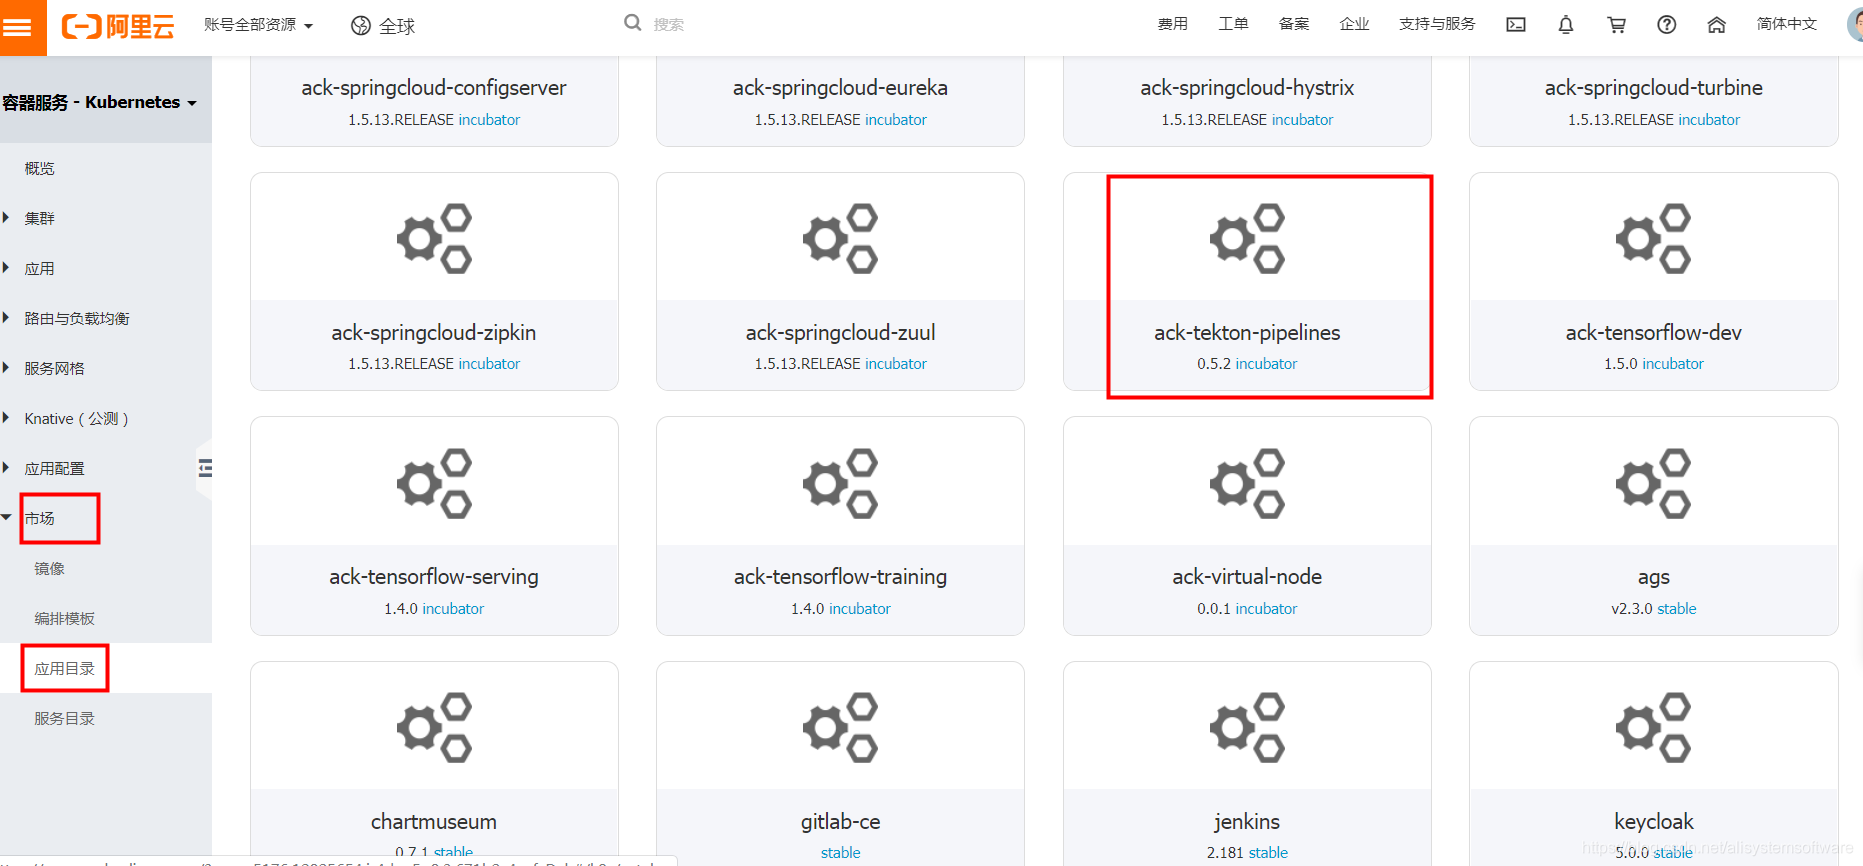部署 GitHub 事件源。阿里云容器服务控制台 Knative 组件管理中选择安装 GitHub 组件,如图所示:
![]()
从源代码到服务
![]()
- 修改分支代码,提交 merge request 合并到 master 分支;
- Eventing 监听到 merge 事件,发送给 GitHub Trigger 服务;
- GitHub Trigger 服务接收事件, 通过 Tekton 执行代码构建和并通过 deployer 执行服务部署。GitHub Trigger 的作用就是解析 GitHub 事件的详细信息,然后转换成 Tekton 资源并且提交到 Kubernetes 中执行 Pipeline。项目地址:https://github.com/knative-sample/tekton-serving。 这个项目中有两个部分: Trigger 和 Deployer,Trigger 的作用是解析 github 事件, 并提交 PipelineRun 定义。Deployer 的作用就是更新 Service 的镜像信息。github source pull_request body 的关键内容如下:
{"action": "closed",... ..."merge_commit_sha": "f37cb28b1777a28cd34ea1f8df1b7ebcc6c16397",... ..."base": {"ref": "master",... ...},... ...
}
- action 表示当前的 pull request 事件细节。创建 pull request 时 action 是 opened ,关闭 pull request 时 action 就是 closed;
- merge_commit_sha 可以获得 merge commit 的 id;
- base.ref 可以获得 merge request 发生在哪个分支上。
- GitHubTrigger 和 Deployer:https://github.com/knative-sample/tekton-serving
- 部署示例文件:https://github.com/knative-sample/eventing-tekton-serving
部署 Tekton 服务
apiVersion: tekton.dev/v1alpha1
kind: Task
metadata:name: source-to-image
spec:inputs:resources:- name: git-sourcetype: gitparams:- name: pathToContextdescription: The path to the build context, used by Kaniko - within the workspacedefault: .- name: pathToDockerFiledescription: The path to the dockerfile to build (relative to the context)default: Dockerfile- name: imageUrldescription: Url of image repository- name: imageTagdescription: Tag to apply to the built imagedefault: "latest"steps:- name: build-and-pushimage: registry.cn-hangzhou.aliyuncs.com/knative-sample/kaniko-project-executor:v0.10.0command:- /kaniko/executorargs:- --dockerfile=${inputs.params.pathToDockerFile}- --destination=${inputs.params.imageUrl}:${inputs.params.imageTag}- --context=/workspace/git-source/${inputs.params.pathToContext}env:- name: DOCKER_CONFIGvalue: /builder/home/.docker
这里通过 deployer-deployer 执行服务部署,部署服务Task:
apiVersion: tekton.dev/v1alpha1
kind: Task
metadata:name: image-to-deploy
spec:inputs:resources:- name: git-sourcetype: gitparams:- name: pathToYamlFiledescription: The path to the yaml file to deploy within the git source- name: imageUrldescription: Url of image repository- name: imageTagdescription: Tag of the images to be used.default: "latest"steps:- name: deployimage: "registry.cn-hangzhou.aliyuncs.com/knative-sample/deployer-deployer:7620096e"args:- "--namespace=default"- "--serivce-name=hello-sample"- "--image=${inputs.params.imageUrl}:${inputs.params.imageTag}"
apiVersion: v1
kind: Secret
metadata:name: ack-cr-push-secretannotations:tekton.dev/docker-0: https://registry.cn-hangzhou.aliyuncs.com
type: kubernetes.io/basic-auth
stringData:username: <cleartext non-encoded>password: <cleartext non-encoded>
# Create Pipeline
kubectl apply -f tekton/pipeline/build-and-deploy-pipeline.yaml# Create PipelineResource
kubectl apply -f tekton/resources/picalc-git.yaml# Create image secret
kubectl apply -f tekton/image-secret.yaml# Create task: soruce to image
kubectl apply -f tekton/tasks/source-to-image.yaml# Create task: deploy the image to cluster
kubectl apply -f tekton/tasks/image-to-deployer.yaml
部署 Knative Serving 服务
先创建 deployer-github-trigger 服务,用于接收 GitHub 事件,并触发 Tekton Pipeline 构建任务。其中 service.yaml 如下:
apiVersion: serving.knative.dev/v1alpha1
kind: Service
metadata:name: deployer-github-trigger
spec:template:spec:containers:- image: registry.cn-hangzhou.aliyuncs.com/knative-sample/deployer-trigger:tekton-v1_74647e3a-20190806093544args:- --trigger-config=/app/config/deployer-trigger.yamlvolumeMounts:- name: config-volume mountPath: /app/configserviceAccountName: tektonvolumes:- name: config-volume configMap:name: deployer-trigger-configitems:- key: deployer-trigger.yamlpath: deployer-trigger.yaml
apiVersion: v1
kind: ConfigMap
metadata:name: deployer-trigger-confignamespace: default
data:"deployer-trigger.yaml": |-apiVersion: tekton.dev/v1alpha1kind: PipelineRunmetadata:name: tekton-kn-samplespec:pipelineRef:name: build-and-deploy-pipelineresources:- name: git-sourceresourceRef:name: eventing-tekton-serving-gitparams:- name: pathToContextvalue: "src"- name: pathToYamlFilevalue: ""- name: imageUrlvalue: "registry.cn-hangzhou.aliyuncs.com/knative-sample/eventing-tekton-serving-helloworld"- name: imageTagvalue: "1.0"trigger:type: manualserviceAccount: pipeline-account
# Create clusterrole
kubectl apply -f serving/clusterrole.yaml# Create clusterrolebinding
kubectl apply -f serving/clusterrolebinding.yaml# Create serviceaccount
kubectl apply -f serving/serviceaccount.yaml# Create configmap
kubectl apply -f serving/configmap.yaml# Create service
kubectl apply -f serving/service.yaml
配置 Eventing 中 GitHub 事件源
代码 merge request 会触发对应的事件,通过 Knative Eventing 获取到事件之后直接将事件发送给 deployer-github-trigger 服务。
创建 GitHub Token
下面是设置一个 “GitHubSource Sample” token 的示例。
![]()
更新 githubsecret.yaml 内容。如果生成的是 personal_access_token_value token, 则需要设置 secretToken 如下:
apiVersion: v1
kind: Secret
metadata:name: githubsecret
type: Opaque
stringData:accessToken: personal_access_token_valuesecretToken: asdfasfdsaf
kubectl apply -f eventing/githubsecret.yaml
创建 GitHub 事件源
为了接收 GitHub 产生的事件, 需要创建 GitHubSource 用于接收事件。
apiVersion: sources.eventing.knative.dev/v1alpha1
kind: GitHubSource
metadata:name: deployer-github-sources
spec:eventTypes:- pull_requestownerAndRepository: knative-sample/eventing-tekton-servingaccessToken:secretKeyRef:name: githubsecretkey: accessTokensecretToken:secretKeyRef:name: githubsecretkey: secretTokensink:apiVersion: serving.knative.dev/v1alpha1kind: Servicename: deployer-github-trigger
- 指定 github 仓库:ownerAndRepository: knative-sample/eventing-tekton-serving 表示监听 https://github.com/knative-sample/eventing-tekton-serving 仓库的事件;
- 事件类型:eventTypes 是一个数组,这个数组中可以配置 github 事件列表;
- 认证信息:accessToken 和 secretToken 是通过 secret 引用 github 仓库的认证信息;
- 目标 Service:sink 字段表示接收到的事件需要发送到哪个 Service , 这里是直接发送到前面定义的 deployer-github-trigger 服务。
kubectl apply -f eventing/github-source.yaml
如果集群中开启了 Istio 注入,需要开启 egress 访问:
kubectl apply -f eventing/egress.yaml
代码->镜像->服务
![]()
服务访问体验地址:http://hello-sample.default.serverless.kuberun.com
结论
从代码到服务,通过上面的示例,Knative 是否给你带来了不一样的体验?希望通过 Knative 给你带来更轻松的代码构建和服务部署,让你更专注于业务本身。欢迎对 Knative 有兴趣的一起交流。
欢迎加入 Knative 交流群
![]()
Knative 实践:从源代码到服务的自动化部署相关推荐
- Knative 实战:一个微服务应用的部署
作者 | 元毅 阿里云智能事业群高级开发工程师 在 Istio 中提供了一个 Bookinfo 的示例,用于演示微服务之间的调用,那么如何在 Knative 中部署这个示例呢?本文将会给大家介绍一下在 ...
- 基于Gitlab Jenkins Docker集群 微服务搭建自动化部署平台
随着公司应用系统的不断增多,原有手工部署流程越来越不满足上线的需求.为了各个系统能快速迭代与测试,减少上线流程时间和人为出错,迫切需要一套自动化部署系统. 转载原文:https://luoji.liv ...
- linux配置中心自动化,centos下搭建git服务 基于git服务配置自动化部署 遇到的Linux知识补充...
安装 git su root yum install -y git 添加 git 用户,用于管理/使用 git 服务/仓库 创建用户 git # 添加名为git的用户, 并且会默认创建一个名为git的 ...
- OpenStack高级控制服务之使用编配服务(Heat)实现自动化部署云主机
一.编配服务的基本概念 Heat是一个基于模板来编排复合云应用的服务.Heat 目前支持两种格式的模板,一种是基于 JSON 格式的 CFN 模板,另外一种是基于 YAML 格式的 HOT 模板.C ...
- 脚本自动化部署docker微服务,取代Jenkins
由于Jenkins容器化部署,容器容器之间拷贝文件及其繁琐,如果在Jenkins部署在系统外层也需要配置复杂的流程才能实现微服务的自动化部署,本文主要通过脚本方式取代Jenkins实现自动化部署.脚本 ...
- 【maven实战】41-使用cargo-maven2-plugin实现自动化部署
Cargo是一组帮助用户操作Web容器的工具,能够实现自动化部署,并且支持几乎所有的Web容器,如Tomcat.JBoss.Jetty和Glassfish等.Cargo通过cargo-maven2-p ...
- 使用netlify实现自动化部署前端项目(无服务器版本)
介绍 本文以 github仓库进行介绍关联netlify的无服务前端自动化部署. 用途:个人网站设计.小游戏等 当然这只是让你入门~具体细节等待你自己去探索 实现 打开官方网站 如果没有注册过的账户, ...
- Knative 实战:基于 Knative Serverless 技术实现天气服务-下篇
上一期我们介绍了如何基于 Knative Serverless 技术实现天气服务-上篇,首先我们先来回顾一下上篇介绍的内容: 通过高德天气 API 接口,每隔 3 个小时定时发送定时事件,将国内城市未 ...
- 持续集成在Hexo自动化部署上的实践
曾经听到过这样一句话,"不要用战术上的勤奋掩盖战略上的懒惰",所以战术和战略更像是抽象类和具体类,而面向对象设计实际上是现实等级制度的一种映射.因此我们注意到,决策者通常关注的 ...
最新文章
- 批标准归一化(Batch Normalization)解析
- LIVE 预告 | CVPR 2021 预讲 · 迁移学习前沿与进展
- SD-WAN — 核心能力
- 基于PowerShell 3.0的web接口测试
- 为什么人生气时说话用喊的
- mybatis3 oracle,Mybatis3中對oracle的批量插入
- vue父子组件生命周期执行顺序_关于Vue组件的生命周期及执行顺序
- 百面机器学习!算法工程师面试宝典!
- ZOJ-1010 奇偶剪枝
- TTL转USB 六合一
- javascript中Promise深入理解(一)
- 安装Seay代码审计工具
- 如何鉴别硬盘是否是全新的,及HD Tune的使用方法
- 关于a标签 中特有的tilte属性 和 字符串文字换行
- 面试题:找出数列中间未排序好的子数列
- unsplash 图片版权
- 蓝牙学习笔记之建立蓝牙连接的过程
- 使用CloudFormation将Docker容器自动部署到AWS
- GPRS模块--完整的内核修改兼容GPRS模块
- R语言曲面拟合代码详细分析(1)