人体面部检测python_使用Python检测面部特征
人体面部检测python
计算机视觉 (COMPUTER VISION)
Today we are going to learn how to work with images to detect faces and to extract facial features such as the eyes, nose, mouth, etc. There’s a number of incredible things we can do this information as a pre-processing step like capture faces for tagging people in photos (manually or through machine learning), create effects to “enhance” our images (similar to those in apps like Snapchat), do sentiment analysis on faces and much more.
今天,我们将学习如何使用图像来检测面部并提取诸如眼睛,鼻子,嘴巴等面部特征。作为捕捉面部的预处理步骤,我们可以做很多令人难以置信的事情,例如捕捉面部用于标记照片中的人物(手动或通过机器学习),创建效果以“增强”我们的图像(类似于Snapchat等应用中的图像),对面部进行情感分析等等。
In the past, we have covered before how to work with OpenCV to detect shapes in images, but today we will take it to a new level by introducing DLib, and abstracting face features from an image.
在过去,我们已经介绍了如何使用OpenCV检测图像中的形状,但是今天,我们将通过引入DLib并从图像中提取面部特征将其提升到一个新的水平。
Dlib is an advanced machine learning library that was created to solve complex real-world problems. This library has been created using the C++ programming language and it works with C/C++, Python, and Java.
Dlib是一个高级的机器学习库,旨在解决复杂的实际问题。 该库是使用C ++编程语言创建的,并且可与C / C ++,Python和Java一起使用。
It worth noting that this tutorial might require some previous understanding of the OpenCV library such as how to deal with images, open the camera, image processing, and some little techniques.
值得注意的是,本教程可能需要对OpenCV库有一些以前的了解,例如如何处理图像,打开相机,图像处理以及一些小技巧。
它是如何工作的? (How does it work?)
Our face has several features that can be identified, like our eyes, mouth, nose, etc. When we use DLib algorithms to detect these features we actually get a map of points that surround each feature.
我们的脸部有几个可以识别的特征,例如我们的眼睛,嘴巴,鼻子等。当我们使用DLib算法检测这些特征时,实际上会得到围绕每个特征的点的地图。
This map composed of 67 points (called landmark points) can identify the following features:
由67个点(称为地标点)组成的地图可以标识以下特征:

- Jaw Points = 0–16颚点= 0–16
- Right Brow Points = 17–21右眉点= 17–21
- Left Brow Points = 22–26左眉点= 22–26
- Nose Points = 27–35鼻点= 27–35
- Right Eye Points = 36–41右眼点= 36–41
- Left Eye Points = 42–47左眼点= 42–47
- Mouth Points = 48–60口角= 48–60
- Lips Points = 61–67嘴唇分数= 61–67
Now that we know a bit about how we plan to extract the features, let’s start coding.
现在,我们对如何计划提取特征有所了解,让我们开始编码。
安装要求 (Installing requirements)
As usual, this article will present examples with code, and I’ll guide you step by step to implement a fully working example of face feature recognition. But before we get started you need to start a new Python project and install 3 different libraries:
像往常一样,本文将提供带有代码的示例,并且我将逐步指导您实现面部特征识别的完整示例。 但是在开始之前,您需要启动一个新的Python项目并安装3个不同的库:
- opencv-pythonOpenCVPython
- dlibdlib
If you use pipenv like I do, you can install all of them with the following command:
如果像我一样使用pipenv ,则可以使用以下命令安装所有pipenv :
pipenv install opencv-python, dlibIf you are working on Mac, and some versions of Linux you may have some problems installing dlib, if you get compiling errors during the installation make sure you check the CMake library version you are using. In Mac to make sure you have CMake available and with the right version you can run:
如果您使用的是Mac和某些版本的Linux,则在安装dlib时可能会遇到一些问题,如果在安装过程中遇到编译错误,请确保检查使用的CMake库版本。 在Mac中,确保具有可用的CMake并可以使用正确的版本运行:
brew install cmakeFor other OS, check online for specific support.
对于其他操作系统,请在线检查以获得特定支持。
步骤1:载入并显示图片 (Step 1: Loading and presenting an image)
We will start small and build on the code until we have a fully working example.
我们将从小处着手并以代码为基础,直到有一个可以正常工作的示例为止。
Normally I like to use plots to render the images, but since we have something cool prepared for later in the post, we will do something different, and we will create a window where we are going to show the results of our work.
通常,我喜欢使用绘图来渲染图像,但是由于我们在稍后的文章中做了一些很酷的准备,因此我们将做一些不同的事情,并且将创建一个窗口来展示我们的工作结果。
Let’s jump into the code
让我们跳入代码
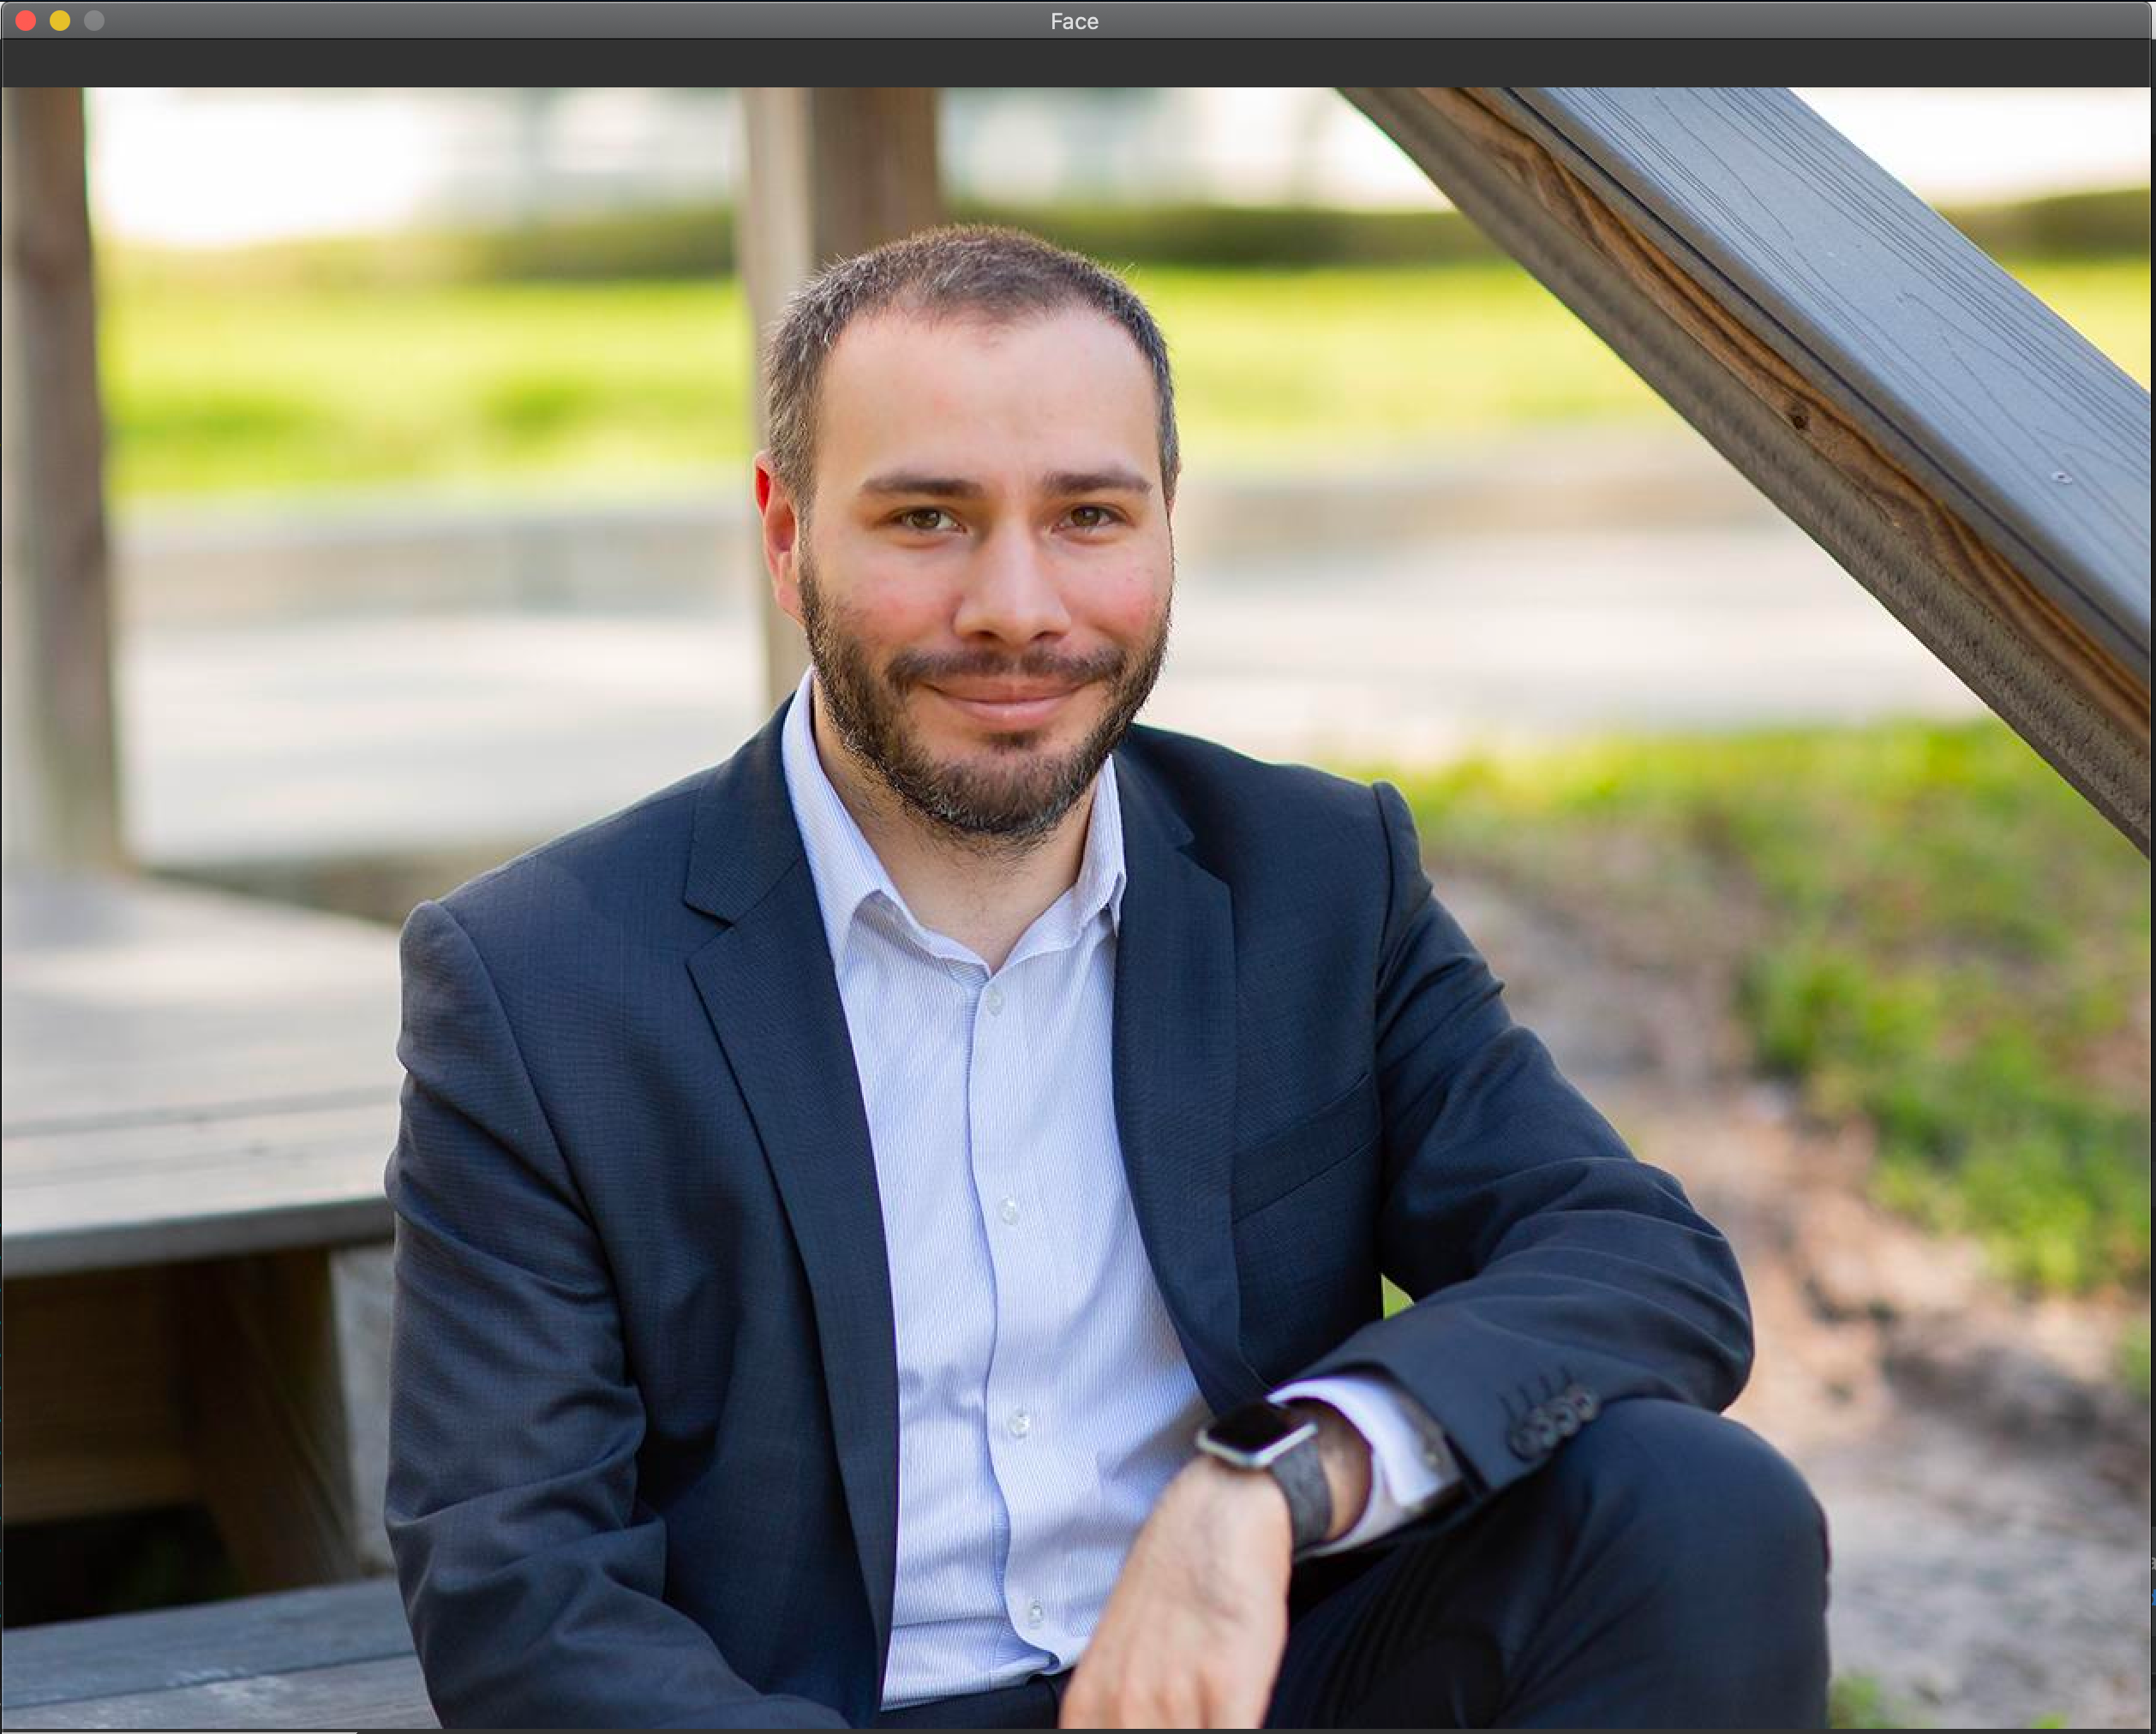
import cv2# read the imageimg = cv2.imread("face.jpg")# show the imagecv2.imshow(winname="Face", mat=img)# Wait for a key press to exitcv2.waitKey(delay=0)# Close all windowscv2.destroyAllWindows()Pretty simple, right? We are just loading the image with imread, and then telling OpenCV to show the image in a winname, this will open the window and give it a title.
很简单,对吧? 我们只是使用imread加载图像,然后告诉OpenCV以winname显示图像,这将打开窗口并winname 。
After that, we need to pause execution, as the window will be destroyed when the script stops, so we use cv2.waitKey to hold the window until a key is pressed, and after that, we destroy the window and exit the script.
之后,我们需要暂停执行,因为脚本停止时窗口将被破坏,因此我们使用cv2.waitKey保持窗口直到按下某个键,然后销毁窗口并退出脚本。
If you use the code and added an image named face.jpg to the code directory, you should get something like the following:
如果您使用该代码并将一个名为face.jpg的图像添加到代码目录中,则应获得如下内容:
步骤2:人脸识别 (Step 2: Face recognition)
So far we haven’t done anything with the image other than presenting it into a window, pretty boring, but now we will start coding the good stuff, and we will start by identifying where in the image there is a face.
到目前为止,除了将图像呈现到窗口中之外,我们没有做任何其他事情,这很无聊,但是现在我们将开始对好东西进行编码,并且我们将从识别图像中有脸的位置开始。
For this, we will use Dlib function called get_frontal_face_detector(), pretty intuitive. There is a caveat though, this function will only work with grayscale images, so we will have to do that first with OpenCV.
为此,我们将使用名为get_frontal_face_detector() Dlib函数,非常直观。 需要注意的是,此功能仅适用于灰度图像,因此我们必须首先使用OpenCV进行此操作。
The get_frontal_face_detector() will return a detector that is a function we can use to retrieve the faces information. Each face is an object that contains the points where the image can be found.
get_frontal_face_detector()将返回一个detector ,该detector是我们可以用来检索面部信息的函数。 每个脸都是一个对象,其中包含可以找到图像的点。
But let’s better see it on the code:
但是让我们更好地在代码上看到它:
import cv2import dlib# Load the detectordetector = dlib.get_frontal_face_detector()# read the imageimg = cv2.imread("face.jpg")# Convert image into grayscalegray = cv2.cvtColor(src=img, code=cv2.COLOR_BGR2GRAY)# Use detector to find landmarksfaces = detector(gray)for face in faces: x1 = face.left() # left point y1 = face.top() # top point x2 = face.right() # right point y2 = face.bottom() # bottom point # Draw a rectangle cv2.rectangle(img=img, pt1=(x1, y1), pt2=(x2, y2), color=(0, 255, 0), thickness=4)# show the imagecv2.imshow(winname="Face", mat=img)# Wait for a key press to exitcv2.waitKey(delay=0)# Close all windowscv2.destroyAllWindows()The code above will retrieve all the faces from the image and render a rectangle over each face, resulting in an image like the following:
上面的代码将从图像中检索所有面Kong,并在每个面Kong上渲染一个矩形,从而得到如下图像:

So far we did pretty well at finding the face, but we still need some work to extract all the features (landmarks). Let’s work on that next.
到目前为止,我们在发现人脸方面做得很好,但是我们仍然需要一些工作来提取所有特征(地标)。 接下来让我们开始吧。
步骤3:识别人脸特征 (Step 3: Identifying face features)
Do you love magic? So far DLib has been pretty magical in the way it works, with just a few lines of code we could achieve a lot, and now we have a whole new problem, would it continue to be as easy?
你喜欢魔术吗? 到目前为止,DLib的工作方式一直非常神奇,仅用几行代码就可以实现很多目标,而现在我们有了一个全新的问题,它会变得如此容易吗?
The short answer is YES! Turns out DLib offers a function called shape_predictor() that will do all the magic for us but with a caveat, it needs a pre-trained model to work.
简短的答案是肯定的! 事实证明,DLib提供了一个名为shape_predictor()的函数,该函数可以为我们做所有的魔术,但需要注意的是,它需要预先训练的模型才能起作用。
There are several models out there that work with shape_predictor, the one I’m using can be downloaded here, but feel free to try others.
有好几种可以与shape_predictor一起使用的shape_predictor ,我正在使用的模型可以在这里下载,但是可以尝试其他模型。
Let’s see how the new code looks like now
让我们看看新代码现在的样子
import cv2import dlib# Load the detectordetector = dlib.get_frontal_face_detector()# Load the predictorpredictor = dlib.shape_predictor("shape_predictor_68_face_landmarks.dat")# read the imageimg = cv2.imread("face.jpg")# Convert image into grayscalegray = cv2.cvtColor(src=img, code=cv2.COLOR_BGR2GRAY)# Use detector to find landmarksfaces = detector(gray)for face in faces: x1 = face.left() # left point y1 = face.top() # top point x2 = face.right() # right point y2 = face.bottom() # bottom point # Look for the landmarks landmarks = predictor(image=gray, box=face) x = landmarks.part(27).x y = landmarks.part(27).y # Draw a circle cv2.circle(img=img, center=(x, y), radius=5, color=(0, 255, 0), thickness=-1)# show the imagecv2.imshow(winname="Face", mat=img)# Wait for a key press to exitcv2.waitKey(delay=0)# Close all windowscv2.destroyAllWindows()Like before, we are always building on the same code, now using our predictor function for each face to find the landmarks. Now I’m still doing something strange, like what’s the number 27 doing there?
像以前一样,我们始终以相同的代码为基础,现在对每个人脸使用预测函数来查找界标。 现在我仍然在做一些奇怪的事情,例如27号在做什么?
landmarks = predictor(image=gray, box=face)x = landmarks.part(27).xy = landmarks.part(27).yOur predictor function will return an object that contains all the 68 points that conform a face according to the diagram we saw before, and if you pay attention to it, the point 27 is exactly between the eyes, so if all worked out correctly you should see a green dot between the eyes in the face like in here:
根据我们之前看到的图表,我们的预测函数将返回一个对象,该对象包含与面部相符的所有68个点,如果您注意该点,则点27恰好在眼睛之间,因此,如果所有点都正确计算出,您应该像这样在脸上的眼睛之间看到一个绿色的点:

We are getting really close, let’s now render all the points instead of just the one:
我们已经很接近了,现在让我们渲染所有的点,而不仅仅是一个点:
import cv2import numpy as npimport dlib# Load the detectordetector = dlib.get_frontal_face_detector()# Load the predictorpredictor = dlib.shape_predictor("shape_predictor_68_face_landmarks.dat")# read the imageimg = cv2.imread("face.jpg")# Convert image into grayscalegray = cv2.cvtColor(src=img, code=cv2.COLOR_BGR2GRAY)# Use detector to find landmarksfaces = detector(gray)for face in faces: x1 = face.left() # left point y1 = face.top() # top point x2 = face.right() # right point y2 = face.bottom() # bottom point # Create landmark object landmarks = predictor(image=gray, box=face) # Loop through all the points for n in range(0, 68): x = landmarks.part(n).x y = landmarks.part(n).y # Draw a circle cv2.circle(img=img, center=(x, y), radius=3, color=(0, 255, 0), thickness=-1)# show the imagecv2.imshow(winname="Face", mat=img)# Delay between every framcv2.waitKey(delay=0)# Close all windowscv2.destroyAllWindows()Tada! Magic:
多田 魔法:
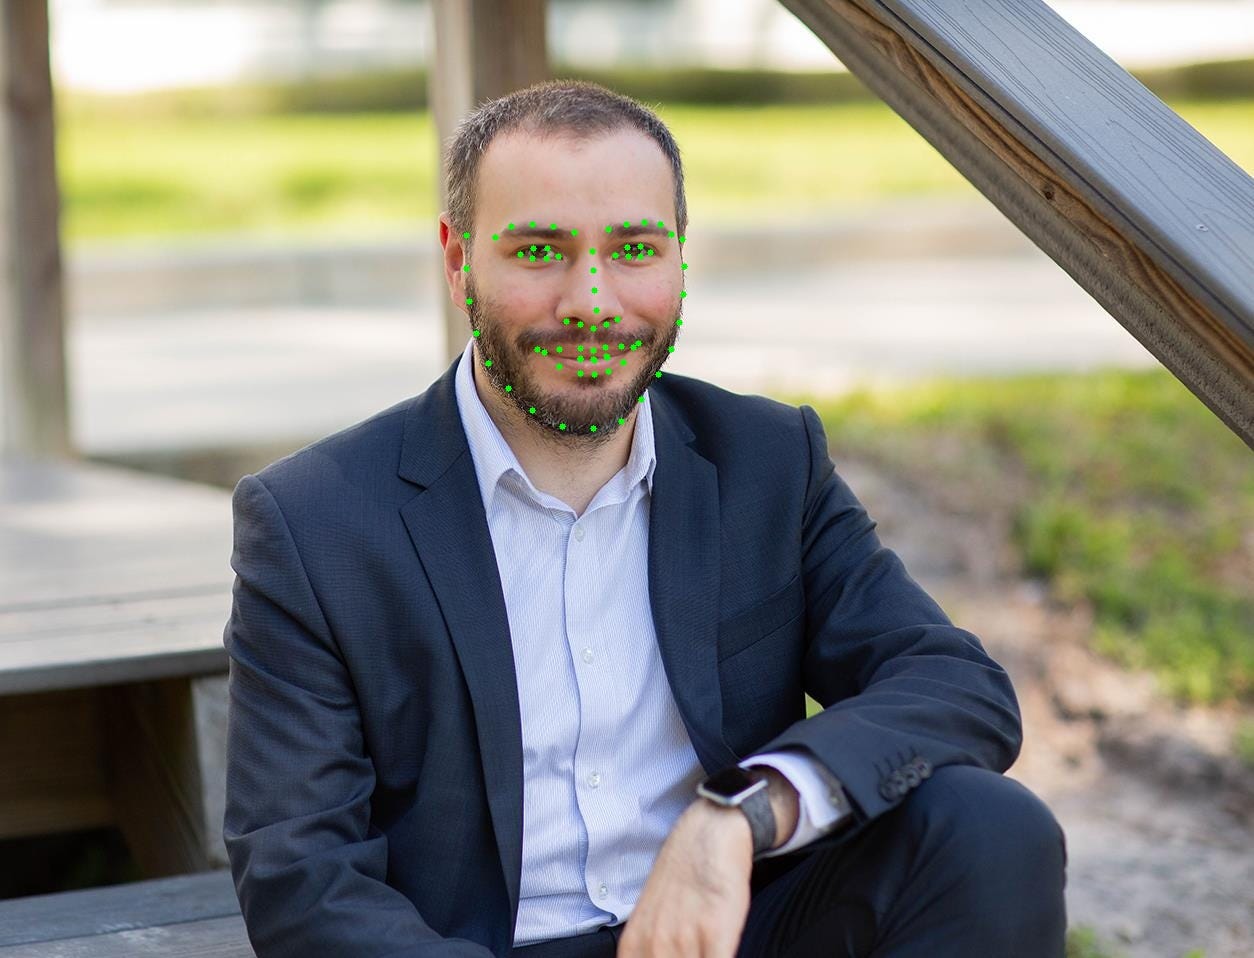
But what if you are not interested in all the points? well… you can actually adjust your range intervals to get any feature specified in the glossary above, as I did here:
但是,如果您对所有方面都不感兴趣怎么办? 好吧……您实际上可以调整range间隔,以获得上面词汇表中指定的任何功能,就像我在这里所做的那样:

Amazing, but can we do something even cooler?
太神奇了,但是我们能做些更酷的事情吗?
步骤4:实时检测 (Step 4: Real-time detection)
Yes, you read it right! And yes it’s probably what you are thinking! The next step is to hook up our webcam and do real-time landmark recognition from your video stream.
是的,你没有看错! 是的,这可能就是您的想法! 下一步是连接我们的网络摄像头,并从您的视频流中进行实时地标识别。
You can do real-time facial landmarks detection on your face by iterating through video frames with your camera or use a video file. Refer to the code below if you want to use your own camera but for video file make sure to change the number 0 to video path.
您可以通过使用相机遍历视频帧或使用视频文件来对面部进行实时面部标志检测。 如果要使用自己的摄像机,请参考以下代码,但对于视频文件,请确保将数字0更改为视频路径。
If you want to end the window press ESC key on your keyboard:
如果要结束窗口,请按键盘上的ESC键:
import cv2import dlib# Load the detectordetector = dlib.get_frontal_face_detector()# Load the predictorpredictor = dlib.shape_predictor("shape_predictor_68_face_landmarks.dat")# read the imagecap = cv2.VideoCapture(0)while True: _, frame = cap.read() # Convert image into grayscale gray = cv2.cvtColor(src=frame, code=cv2.COLOR_BGR2GRAY) # Use detector to find landmarks faces = detector(gray) for face in faces: x1 = face.left() # left point y1 = face.top() # top point x2 = face.right() # right point y2 = face.bottom() # bottom point # Create landmark object landmarks = predictor(image=gray, box=face) # Loop through all the points for n in range(0, 68): x = landmarks.part(n).x y = landmarks.part(n).y # Draw a circle cv2.circle(img=frame, center=(x, y), radius=3, color=(0, 255, 0), thickness=-1) # show the image cv2.imshow(winname="Face", mat=frame) # Exit when escape is pressed if cv2.waitKey(delay=1) == 27: break# When everything done, release the video capture and video write objectscap.release()# Close all windowscv2.destroyAllWindows()And the final result is here:
最终结果在这里:
Even in cases with low light conditions the results were pretty accurate, though there are some errors in the image above, with better lighting works perfectly.
即使在光线不足的情况下,结果也非常准确,尽管上面的图像中存在一些错误,而更好的照明效果则完美。
结论 (Conclusion)
OpenCV and DLib are powerful libraries that simplify working with ML and computer vision. Today we just touch down on the very basics, and there’s much more to learn from both of them.
OpenCV和DLib是功能强大的库,可简化ML和计算机视觉的使用。 今天,我们只是简单地介绍了基础知识,还有很多可以从这两个基础中学到的东西。
Thanks so much for reading!
非常感谢您的阅读!
翻译自: https://towardsdatascience.com/detecting-face-features-with-python-30385aee4a8e
人体面部检测python
http://www.taodudu.cc/news/show-1874032.html
相关文章:
- int是终结符还是非终结符_什么是自动化的终结?
- aba问题实际中有什么影响_实际影响是什么?
- 使用Pytorch的LSTM文本分类
- 创建dqn的深度神经网络_深度Q网络(DQN)-III
- 数字社会的下一波浪潮_下一波创业浪潮是自然而然的
- acl自然语言处理_ACL 2020中自然语言处理中的知识图
- gan生成印刷体字母_字母GAN:AI生成英语字母!
- 点击量作弊真的可以检测吗_作弊道德可以使自动驾驶汽车可行吗?
- 欺骗神经网络_可以欺骗神经网络吗?
- 图像增强python_Python图像增强简介(第1部分)
- jio tomcat_透过Jio Glass看
- 用于无人驾驶技术的车道线_自动驾驶汽车可用于查找车道的4种技术
- q-learning_教计算机如何通过Q-Learning玩Snake
- 深度强化学习从入门到大师_深度学习大师的经验教训
- 自然语言处理 入门_自然语言处理入门指南
- 变形金刚图纸_变形金刚救援
- 传感器数据 数据库_丰富的数据,不良的数据:充分利用传感器
- 使用高德地图打车软件实现_强化学习:使用Q学习来打车!
- aws fargate_使用AWS Fargate部署PyCaret和Streamlit应用程序-无服务器基础架构
- ai-人工智能的本质和未来_带有人工智能的动画电子设备-带来难以想象的结果...
- 世界第一个聊天机器人源代码_这是世界上第一个“活着”的机器人
- pytorch深度学习入门_立即学习AI:01 — Pytorch入门
- 深度学习将灰度图着色_使用DeOldify着色和还原灰度图像和视频
- 深度神经网络 卷积神经网络_改善深度神经网络
- 采矿协议_采矿电信产品推荐
- 机器人控制学习机器编程代码_机器学习正在征服显式编程
- 强化学习在游戏中的作用_游戏中的强化学习
- 你在想什么?
- 如何识别媒体偏见_面部识别,种族偏见和非洲执法
- openai-gpt_GPT-3 101:简介
人体面部检测python_使用Python检测面部特征相关推荐
- python检测屏幕图像_Python超级教程,使用Python进行检测面部特征
原标题:Python超级教程,使用Python进行检测面部特征 今天,我们将学习如何使用图像来检测面部并提取诸如眼睛,鼻子,嘴巴等面部特征.作为捕捉面部的预处理步骤,我们可以做很多令人难以置信的事情, ...
- 人脸检测进阶:使用 dlib、OpenCV 和 Python 检测面部标记
使用 dlib.OpenCV 和 Python 检测面部标记 今天,我们将使用dlib和OpenCV来检测图像中的面部标记.dlib的安装教程: https://wanghao.blog.csdn.n ...
- OpenCV检测面部特征点的实例(附完整代码)
OpenCV检测面部特征点的实例 OpenCV检测面部特征点的实例 OpenCV检测面部特征点的实例 #include "opencv2/objdetect.hpp" #inclu ...
- 用Python检测人脸特征
作者|Juan Cruz Martinez 编译|Flin 来源|towardsdatascience 今天,我们将学习如何检测图像中的人脸并提取面部特征,如眼睛.鼻子.嘴巴等.我们可以将这些信息作为 ...
- 使用 Python 进行面部特征检测和面部过滤器
目录 面部识别 基于 Haar 特征的人脸特征检测 让我们构建应用程序 输出 结论 检测面部关键点是一个非常具有挑战性的问题.面部特征因人而异,即使是单个人,由于 3D 姿势.大小.位置.视角和照明条 ...
- 川普撞脸希拉里(基于 OpenCV 的面部特征交换)-1
基于 OpenCV 的面部特征交换--实验一 一.课程介绍 今天这门课程将通过 OpenCV 库来实现人脸面部特征交换,其实就是将第二张人脸的眼睛.鼻子和嘴巴通过程序自动裁剪适配并覆盖到第一张人脸上, ...
- 使用Python进行面部合成
面部合成是一种将两张或多张人脸图像合成为一张图像的技术.它可以应用于电影特效.数字化娱乐.虚拟现实等领域.Python是一种广泛使用的编程语言,提供了许多用于图像处理和计算机视觉的库.本文将介绍如何使 ...
- 非刚性人脸跟踪 —— 面部特征检测器
本节将用一种表示方法来建立人脸特征检测器,该方法也许是人们认为最简单的模型,即:线性图像模型.由于该算法需表示一个图象块,因此这种面部特征检测器称为块模型( patch model ).该模型在 pa ...
- 面部特征点检测的关键技术
面部特征点定位任务即根据输入的人脸图像,自动定位出面部关键特征点,如眼睛.鼻尖.嘴角点.眉毛以及人脸各部件轮廓点等,如下图所示. 这项技术的应用很广泛,比如自动人脸识别,表情识别以及人脸动画自动合成等 ...
- 解密:面部特征点检测的关键技术
解密:面部特征点检测的关键技术 2016-08-15 17:26 转载 深度学习大讲堂 2条评论 雷锋网按:本文作者张杰,中科院计算技术研究所VIPL课题组博士生,专注于深度学习技术及其在人脸识别领域 ...
最新文章
- openFileDialog 打开TXT记事本文件写入数据库
- cannot import name #39get_all_providers#39
- 为什么C语言函数不能返回数组,却可以返回结构体?
- CentOS安装和配置Rsync进行文件同步
- (剑指Offer)面试题4:替换空格
- html:(1) 登录界面
- 【UVA - 11729】Commando War (贪心,时间调度问题)
- AI顶会,正在使用AI来审阅AI论文
- 2021中国移动经济发展报告
- 数据源管理 | OLAP查询引擎,ClickHouse集群化管理
- 设计模式学习笔记——享元(Flyweight)模式
- Sql Server CHAR类型
- 极化码——比特翻转sc译码(SFSC译码)
- Xmanager的xbrowser登陆图形界面
- 拆掉思维里的墙读书笔记
- Win10关闭自动调节亮度问题
- 100 篇最受欢迎的 Chat 汇总
- HTML5七夕情人节表白网页制作【JS烟花表白】HTML+CSS+JavaScript 烟花表白代码 html烟花告白源码
- 一篇文章看懂:量化交易
- 坦克世界组装电脑配置推荐2022 适合玩坦克世界游戏电脑清单
热门文章
- python学习笔记1---class
- 传智播客Java引用和数值类型思考
- 过度使用微信,正在让人越来越焦虑
- unity去掉物体的阴影
- 这就是搜索引擎 (豆瓣).html 1.index 第1章 搜索引擎及其技术架构 1 第2章 网络爬虫 12 第3章 搜索引擎索引 36 第4章 索引压缩 76 第5章 检索模型与搜索排序 99
- Atitit 学习一项技术的方法总结 目录 1. 自己动手实现学习法 1 2. 七步学习法 —— 如何高效学习一项技能 1 3. 如何快速学习一项技能-十步学习法 - HugoLester - 博客
- Atitit q2016 q4 doc list on home ntpc.docx
- Atitit 企业6大职能 attilax总结
- atitit uke企业行政部 世界行政区域划分表 与邮政编码规划 v5 r88.xlsx
- paip.python语法C++语法对比