hexbin_Power BI Desktop中的Hexbin散点图
hexbin
We have explored useful visualizations in Power BI Desktop with my previous articles that covered:
我们在以前的文章中探讨了Power BI Desktop中有用的可视化,其中涉及:
- Word Cloud 词云
- Pulse Charts 脉搏图
- Interactive chord diagrams 互动和弦图
In this article, we will learn how to create ‘Hexbin Scatterplot’ charts with Power BI Desktop. We create scatter charts in Excel to represent two-dimensional data with the help of dots. This two-dimensional data is represented across both the X and Y-axis. Scatter charts display both data points in a single chart based on the data distribution.
在本文中,我们将学习如何使用Power BI Desktop创建“ Hexbin散点图”图表。 我们在Excel中创建散点图,以借助点表示二维数据。 二维数据在X轴和Y轴上均表示。 散点图基于数据分布在单个图表中显示两个数据点。
Below is the sample scatter chart in the excel sheet.
下面是excel工作表中的示例散点图。
In Power BI, the bubbles replace these points, therefore we can call a scatter chart a bubble chart as well. Let us first understand the basics of a Scatter chart and then we will see how a hexbin scatterplot in different from that chart.
在Power BI中,气泡取代了这些点,因此我们也可以将散点图称为气泡图。 让我们首先了解散点图的基础,然后我们将看到六边形散点图与该图有何不同。
将样本数据加载到Power BI Desktop (Load sample Data into Power BI Desktop)
We have imported data from a flat file (.CSV) in the previous article, therefore in this article, we will not cover importing in detail. In this article, we will use sample data Air Quality Historical Data Q4 2017 October – December. This data contains air quality historical data of various components for the period of October to December 2017.
我们已经在上一篇文章中从平面文件(.CSV)导入了数据,因此在本文中,我们将不介绍详细的导入。 在本文中,我们将使用样本数据空气质量历史数据2017年第四季度10月-12月 。 该数据包含2017年10月至2017年12月期间各个组成部分的空气质量历史数据。
Please note this is unverified data and used for demonstration purpose only.
请注意,这是未经验证的数据,仅用于演示目的。
Open the link and click on ‘Export’ and download the CSV format to import purpose.
打开链接,然后单击“导出”,然后下载CSV格式以导入目的。
Import CSV data from the ‘Get Data->Text\CSV’ and provide the path of the.CSV file.
从“获取数据->文本\ CSV”导入CSV数据,并提供.CSV文件的路径。
Get a preview and load the data into Power BI Dataset.
获取预览并将数据加载到Power BI数据集中。
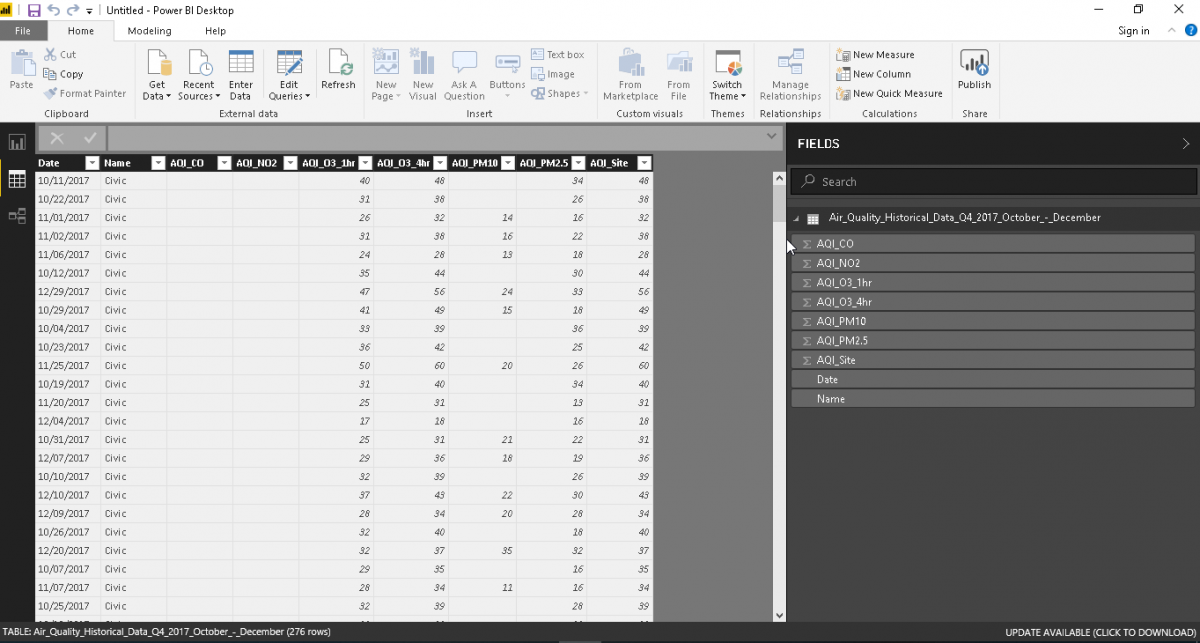
We can view the data and columns now in Power BI Desktop once data import is successful.
数据导入成功后,我们现在可以在Power BI Desktop中查看数据和列。
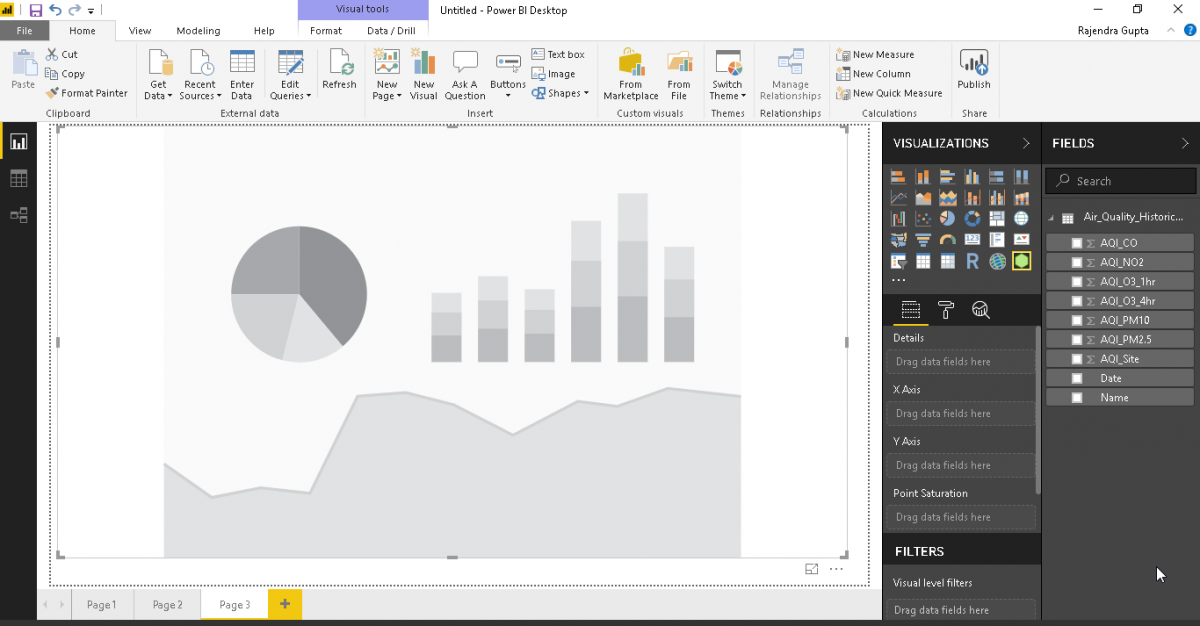
Now, just select the data columns from the data set and it generates below the bar graph. It is difficult to analyze the data due to the complexity of the data and due to multiple columns.
现在,只需从数据集中选择数据列,它就会在条形图下方生成。 由于数据的复杂性和多列,很难分析数据。
The Scatter Plot visualization is available by default as shown.
如图所示,默认情况下可以使用散点图可视化。
Click on the Scatter Plot icon and observe below that format shows scatter plot with various bubble sizes.
单击散点图图标,然后观察以下格式显示具有各种气泡大小的散点图。
Provide the input for the chart in details, legend, x-axis, and y-axis to generate the Scatter chart as below. Here it shows various data points of different colors.
提供详细信息,图例,x轴和y轴的图表输入,以生成散点图,如下所示。 这里显示了不同颜色的各种数据点。
In the above image, bubbles sizes are similar for all bubbles. It does not vary the size of the bubble in according to our data. In the field area, define Size as per our dataset column. For example, in the below chart, we have set Size as AQI_PM10. It changes the scatter chart now with various bubble sizes. These bubbles are overlapping with each other, so it is difficult to get analysis based on the bubble size.
在上图中,所有气泡的气泡大小均相似。 根据我们的数据,它不会改变气泡的大小。 在字段区域中,根据我们的数据集列定义大小。 例如,在下图中,我们将“大小”设置为AQI_PM10。 现在,它以各种气泡大小更改了散点图。 这些气泡相互重叠,因此很难根据气泡大小进行分析。
We can get information about any particular bubble by just moving the cursor over it.
我们可以通过将光标移到任何特定气泡上来获取有关该气泡的信息。
Change the data set columns as per requirement and Scatter chart changes accordingly.
根据要求更改数据集列,并相应地更改散点图。
Until now, we have how we can represent data with Scatter Chart. Power BI Desktop contains enhancements to scatter chart using the ‘Hexbin Scatterplot’.
到目前为止,我们已经掌握了如何使用散点图表示数据。 Power BI Desktop包含使用“ Hexbin散点图”散点图的增强功能。
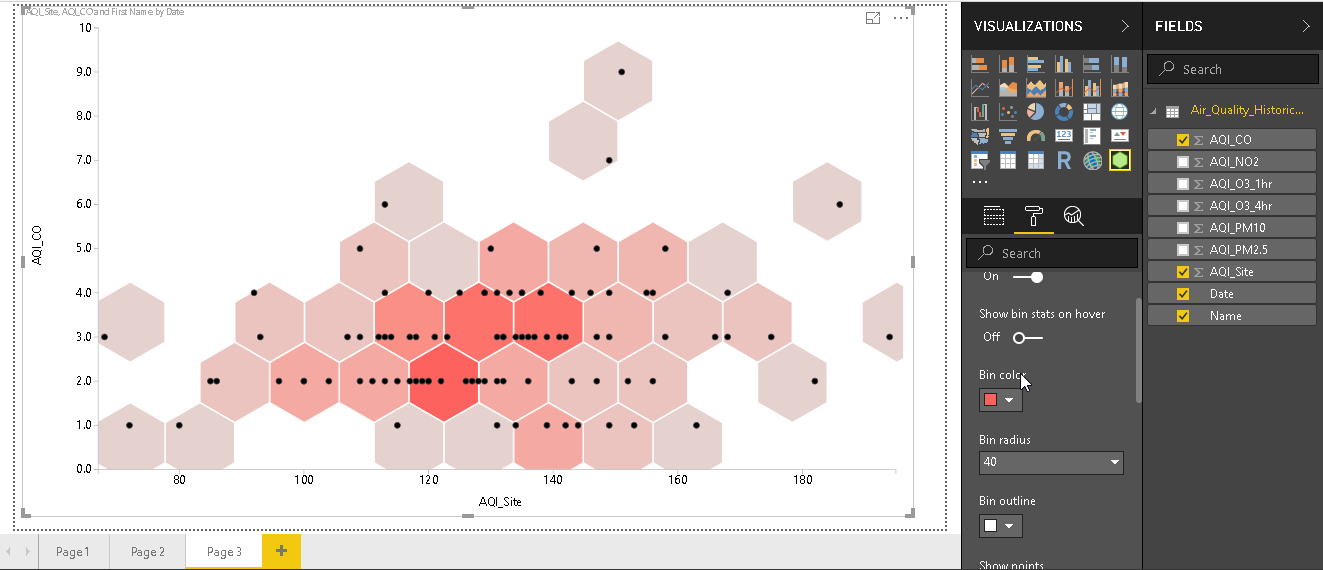
In Hexbin Scatterplot, we represent data on top of the hexagonal bins. Each bin shows the density of the points. Color saturation is different for the bins based on the density. Data points are represented by dots in the hexagonal bins. Bins are attached to each other with a white border by default. We can use this chart to identify the data patterns easily as compare to the Hexbin Scatterplot.
在Hexbin散点图中,我们将数据表示在六边形箱的顶部。 每个箱显示点的密度。 仓的颜色饱和度根据密度而有所不同。 数据点由六角形区域中的点表示。 垃圾箱默认情况下以白色边框彼此连接。 与Hexbin散点图相比,我们可以使用此图表轻松识别数据模式。
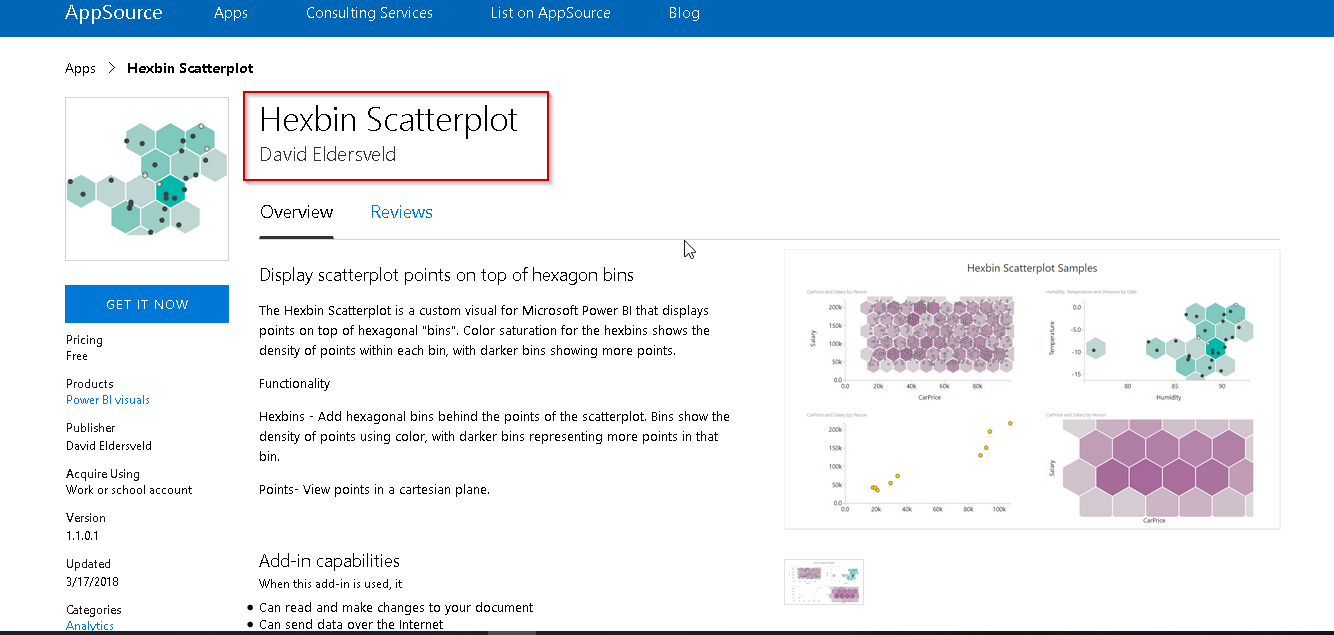
Go to the link ‘Hexbin Scatterplot’ and get details of it from Power BI visuals.
转到链接“ Hexbin散点图” ,然后从Power BI视觉效果中获取其详细信息。
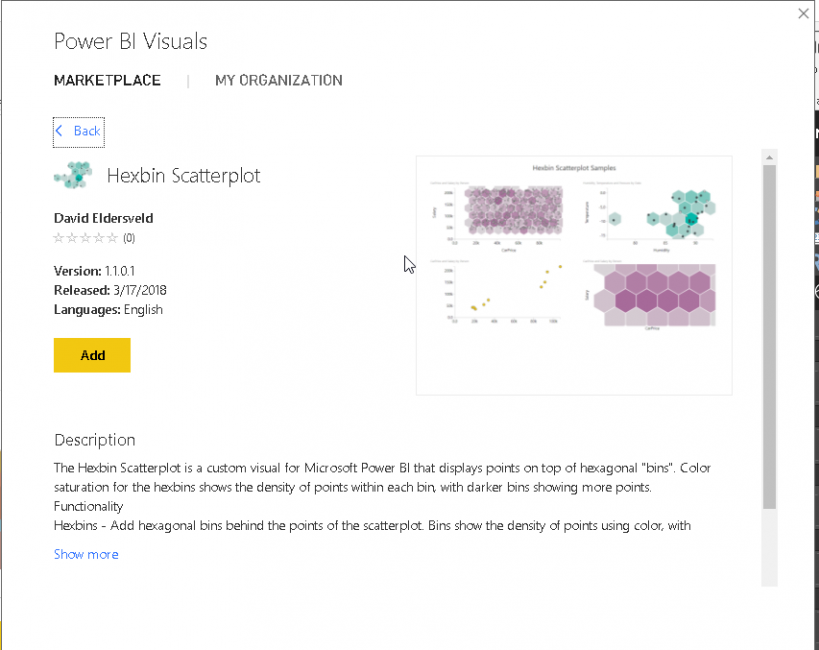
This is a custom visual that we need to download and install from the app source. In the previous article, we saw to import visual using the menu bar. There is one alternative to this. Click on three dots icon (…) and select Import from the marketplace.
这是一个自定义图像,我们需要从应用程序源下载并安装。 在上一篇文章中,我们看到了使用菜单栏导入视觉效果。 有另一种选择。 单击三个点图标(…),然后选择从市场导入。
Sign in with the work or school account
使用工作或学校帐户登录
Search for the ‘Hexbin’ to get more details about this chart.
搜索“ Hexbin”以获取有关此图表的更多详细信息。
We can view the description here as well. Click on ‘Add’ to download and install automatically.
我们也可以在这里查看说明。 单击“添加”以自动下载并安装。
Below you can ‘Hexbin Scatterplot’ icon in hexagonal bins shape.
在下面,您可以以六角形垃圾桶的形状显示“ Hexbin散点图”图标。
Click on the icon and adjust chart size by moving sliders.
单击该图标,然后通过移动滑块来调整图表大小。
Now create the Hexbin Scatterplot by selecting the desired fields in the chart area similar to scatter plot. Below is the chart with various bins having dots and in different color shades.
现在,通过在图表区域中选择类似于散点图的所需字段来创建Hexbin散点图。 下面是带有各种点和不同颜色阴影的垃圾箱的图表。
We can view each bin density by placing cursor over the bin.
我们可以通过将光标放在垃圾箱上来查看每个垃圾箱的密度。
As you can see, each bin contains multiple points which represent data points. If we point the cursor to any point, it shows the detailed value in a pop up box.
如您所见,每个bin包含代表数据点的多个点。 如果将光标指向任意点,它将在弹出框中显示详细值。
Change the data fields and the Hexbin Scatterplot is changed accordingly.
更改数据字段,并相应地更改Hexbin散点图。
Hexbin散点图格式设置选项 (Hexbin Scatterplot formatting options)
We might not need to these hexagonal bins in our analysis of the data. We can customize the hexbin scatterplot from the format section.
在我们的数据分析中,我们可能不需要这些六角形的框。 我们可以从格式部分自定义六边形散点图。
- Show bins: By default, show bins are ‘On’. Move this slider and turn it off. In below image, we can see just the data points without the hexagonal bins. 展示箱:默认情况下,展示箱为“开”。 移动此滑块并将其关闭。 在下图中,我们可以看到仅数据点,而没有六角形区域。

- Show bin stats on hover: Previously, we saw that if we hover the mouse over the data point, it shows the details in a tooltip pop up box. We can disable this property with ‘Show bin stats on hover’ 在悬停时显示bin统计信息:以前,我们看到如果将鼠标悬停在数据点上,它将在工具提示弹出框中显示详细信息。 我们可以使用“在悬停时显示bin统计信息”来禁用此属性
- Bin Color: To do more customize chart, change the bin color as shown below. Bin颜色:要进行更多自定义图表,请如下所示更改Bin颜色。
- Bin Radius: We can do more analysis that is granular by controlling the bin radius. The default bin radius value is 30. If we change it to 10, the hexagonal bin size gets smaller by 3 times. Bin Radius:我们可以通过控制bin半径来做更多细粒度的分析。 默认箱半径为30。如果将其更改为10,则六角箱大小将减小3倍。
Similarly, if we change the bin radius to 40, bin size increases as accordingly.
同样,如果将箱半径更改为40,箱大小也会相应增加。
- Bin Outline: Each bin is connected with the other bin with a white bin outline. We can also change the bin outline color from the option ‘Bin outline’. In the below example, I changed the outline color and you can see the difference in the chart. 轮廓:每个垃圾箱都与另一个垃圾箱连接,并带有白色垃圾箱轮廓。 我们还可以从选项“容器轮廓”更改容器轮廓颜色。 在下面的示例中,我更改了轮廓色,您可以在图表中看到差异。
- Show Points: As stated above, the Hexbin Scatterplot contains dots in the hexagonal bins. If we do not want those dots, we can turn it off from the ‘Show Points’. Turning off show points can help us to examine the hexin scatterplot based on the bin density. 显示点:如上所述,六边形散点图在六边形箱中包含点。 如果我们不希望这些点,可以从“显示点”中将其关闭。 关闭显示点可以帮助我们根据bin密度检查hexin散点图。
- Revert to Default: While doing the customization for the hexbin scatterplot, we can revert to the default format without any customized setting. We need to click on ‘Revert to default’ to do so. 还原为默认值:在为六边形散点图进行自定义时,我们可以还原为默认格式,而无需任何自定义设置。 我们需要单击“还原为默认设置”。
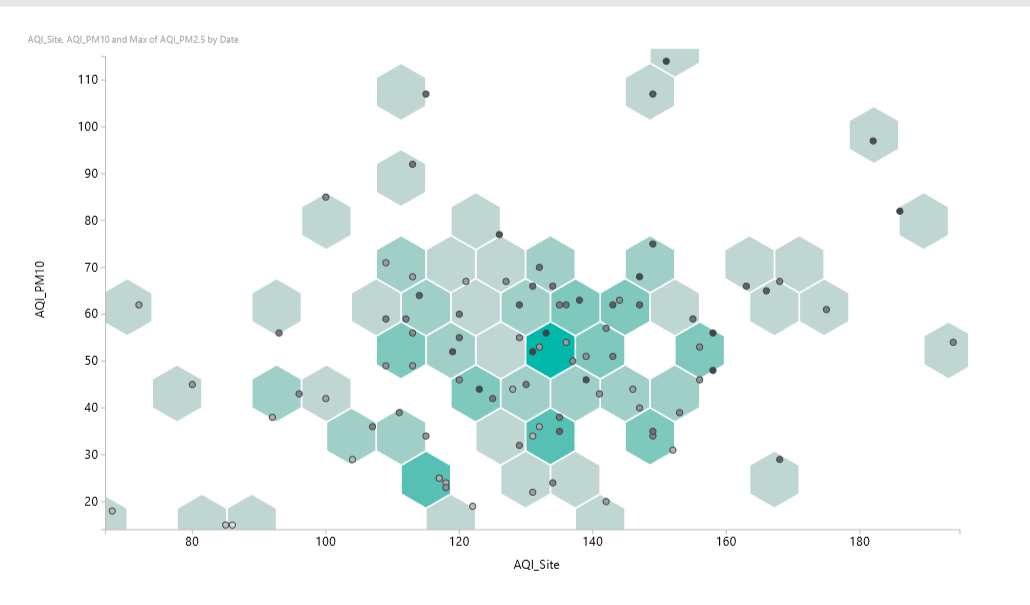
Using the point saturation, we can set the aggregation as well like average, min, max etc. for example, in below chart, we set the Point Saturation as ‘Max of AQI_PM2.5’. In the tooltip, also you can see the all columns value and point saturation value as ‘Max of AQI_PM2.5’
使用点饱和度,我们可以设置聚合以及平均值,最小值,最大值等。例如,在下图中,我们将点饱和度设置为“ AQI_PM2.5的最大值”。 在工具提示中,您还可以将所有列值和点饱和度值视为“ AQI_PM2.5的最大值”

- Export and Show data: In the top right corner of the chart, we have the option to export the data and show data. We can export from the dataset using the ‘Export Data’ option. 导出和显示数据:在图表的右上角,我们可以选择导出数据并显示数据。 我们可以使用“导出数据”选项从数据集中导出。
Sometimes, we want to view the data as well in tabular form with the chart. We can do this with ‘Show Data’ option.
有时,我们也希望以表格的形式查看数据。 我们可以使用“显示数据”选项来做到这一点。
Once we click on ‘Show Data’ it divides the chart into two area
单击“显示数据”后,它将图表分为两个区域
- Hexbin Scatterplot chart 六边形散点图
- Data table 数据表

- Export: Let us export this chart into PDF format. Go to File -> Export to PDF. Provide the location and it exports the chart there. 导出:让我们将此图表导出为PDF格式。 转到文件->导出为PDF。 提供位置,然后将图表导出到该位置。
You can open the file and view the chart.
您可以打开文件并查看图表。
结论 (Conclusion)
The Hexbin scatterplot, in Power BI Desktop, provides a way to visualize data using various bins and data points based on the density. We can also use this chart with lots of customization options which helps us to do the analysis of complex data in a single chart.
Power BI Desktop中的Hexbin散点图提供了一种基于密度使用各种bin和数据点可视化数据的方法。 我们还可以将此图表与许多自定义选项一起使用,这有助于我们在单个图表中进行复杂数据的分析。
目录 (Table of contents)
| Power BI Desktop Interactive chord diagrams |
| Power BI Desktop Pulse Charts |
| How to create a Word Cloud generator in Power BI Desktop |
| Power BI desktop Mekko Charts |
| Hexbin Scatterplot in Power BI Desktop |
| Candlestick chart for stock data analysis in Power BI Desktop |
| Enlighten World Flag Slicer in Power BI Desktop |
| Flow Map Chart in Power BI Desktop |
| Ask a Question feature in Power BI Desktop |
| Power BI Desktop Q&A data interaction examples |
| Power BI Desktop and Python; like Peanut Butter and Chocolate |
| Power BI Desktop Pie Chart Tree |
| Importing data from a PDF file in Power BI Desktop |
| Power BI Desktop交互式和弦图 |
| Power BI桌面脉冲图 |
| 如何在Power BI Desktop中创建词云生成器 |
| Power BI桌面Mekko图表 |
| Power BI Desktop中的Hexbin散点图 |
| 用于Power BI Desktop中的库存数据分析的烛台图 |
| 在Power BI桌面中启发世界国旗切片器 |
| Power BI Desktop中的流程图 |
| Power BI Desktop中的“提问”功能 |
| Power BI桌面问答数据交互示例 |
| Power BI Desktop和Python; 像花生酱和巧克力 |
| Power BI桌面饼图树 |
| 从Power BI Desktop中的PDF文件导入数据 |
翻译自: https://www.sqlshack.com/hexbin-scatterplot-in-power-bi-desktop/
hexbin
hexbin_Power BI Desktop中的Hexbin散点图相关推荐
- Power BI Desktop中的“提问”功能
In this article, we are going to learn how to use Power BI Desktop Q&A functionality to enable u ...
- 用于Power BI Desktop中的库存数据分析的烛台图
Candlestick chart for stock data analysis in Power BI Desktop 用于Power BI Desktop中的库存数据分析的烛台图 Power B ...
- 如何在Power BI Desktop中创建词云生成器
In this article, we'll look at how to create a Word cloud generator in Power BI Desktop, including i ...
- power bi导入文件夹_从Power BI Desktop中的PDF文件导入数据
power bi导入文件夹 Power BI Desktop is a useful reporting and analytical tool to represent data in variou ...
- power python_在 Power BI Desktop 中运行 Python 脚本
在 Power BI Desktop 中运行 Python 脚本Run Python scripts in Power BI Desktop 06/02/2020 本文内容 你可以直接在 Power ...
- Power BI Desktop中的分解树
介绍 (Introduction) Power BI is enriched with many useful visualizations and helps to represent data i ...
- power bi可视化表_滚动器可视化功能,用于Power BI Desktop中的股价变动
power bi可视化表 In the article, Candlestick chart for stock data analysis in Power BI Desktop, we explo ...
- 数据源中没有 datarow_Power BI Desktop 中的数据源
使用 Power BI Desktop,你可以连接到来自许多不同的源的数据. 有关可用数据源的完整列表,请参阅 Power BI 数据源. 你可以使用"主页"功能区连接到数据. 若 ...
- Power Bi Desktop 中如何做出像 Excel 一样的透视表,PowerBi的分组依据用法
Power Bi Desktop 中如何做出像 Excel 一样的透视表 或许 Power Bi Desktop 在国内普及度仍然不高,或许大家觉得这个太过简单,反正我没有找到正解,接近正解的不过是 ...
最新文章
- 第五章 PX4-Pixhawk-GPS解析
- 理解流量监管和整形的关键算法—令牌桶
- spring基于注释的配置_基于注释的Spring MVC Web应用程序入门
- 从零开始入门 K8s | K8s 安全之访问控制
- django-后台管理-表显示相关
- Bi-LSTM+CRF模型实现命名实体识别
- content-providers
- php套壳_PHP-T
- Unity 屏幕坐标转UI坐标
- Python基础入门篇【26】--python基础入门练习卷B
- qq系统软件测试计划,软件测试设计报告案例——qq空间.doc
- java 开发之商品规格属性(SKU)组合算法
- 《青春》 by 席慕容
- Android技能树 — 动画小结
- 客户关系管理CRM系统源码PHP开源软件源码
- 护士副高需要计算机考试吗,护士晋升副高的条件
- 企业微信服务商集成解决方案
- Axure 8.1.0.3377最新激活码
- 2W字!详解20道Redis经典面试题!(珍藏版)
- HMC833 测试板总结