Excel将多个工作簿加载到SQL Server中
介绍 (Introduction)
大约一年前,我正在从事一个项目,该项目围绕每日数据负载(来自企业中的各种资产管理组)到主SQL Server数据存储库中进行。 每个小组在自己的Excel工作簿中完成并发布自己的每日数据。 然后将这些Excel工作簿放置在公共目录中,然后加载到Corporate SQL Server数据库中。 让我们看看如何实现这一目标。 简而言之,我们将创建一个程序包,该程序包将处理给定目录中的所有电子表格。
入门 (Getting started)
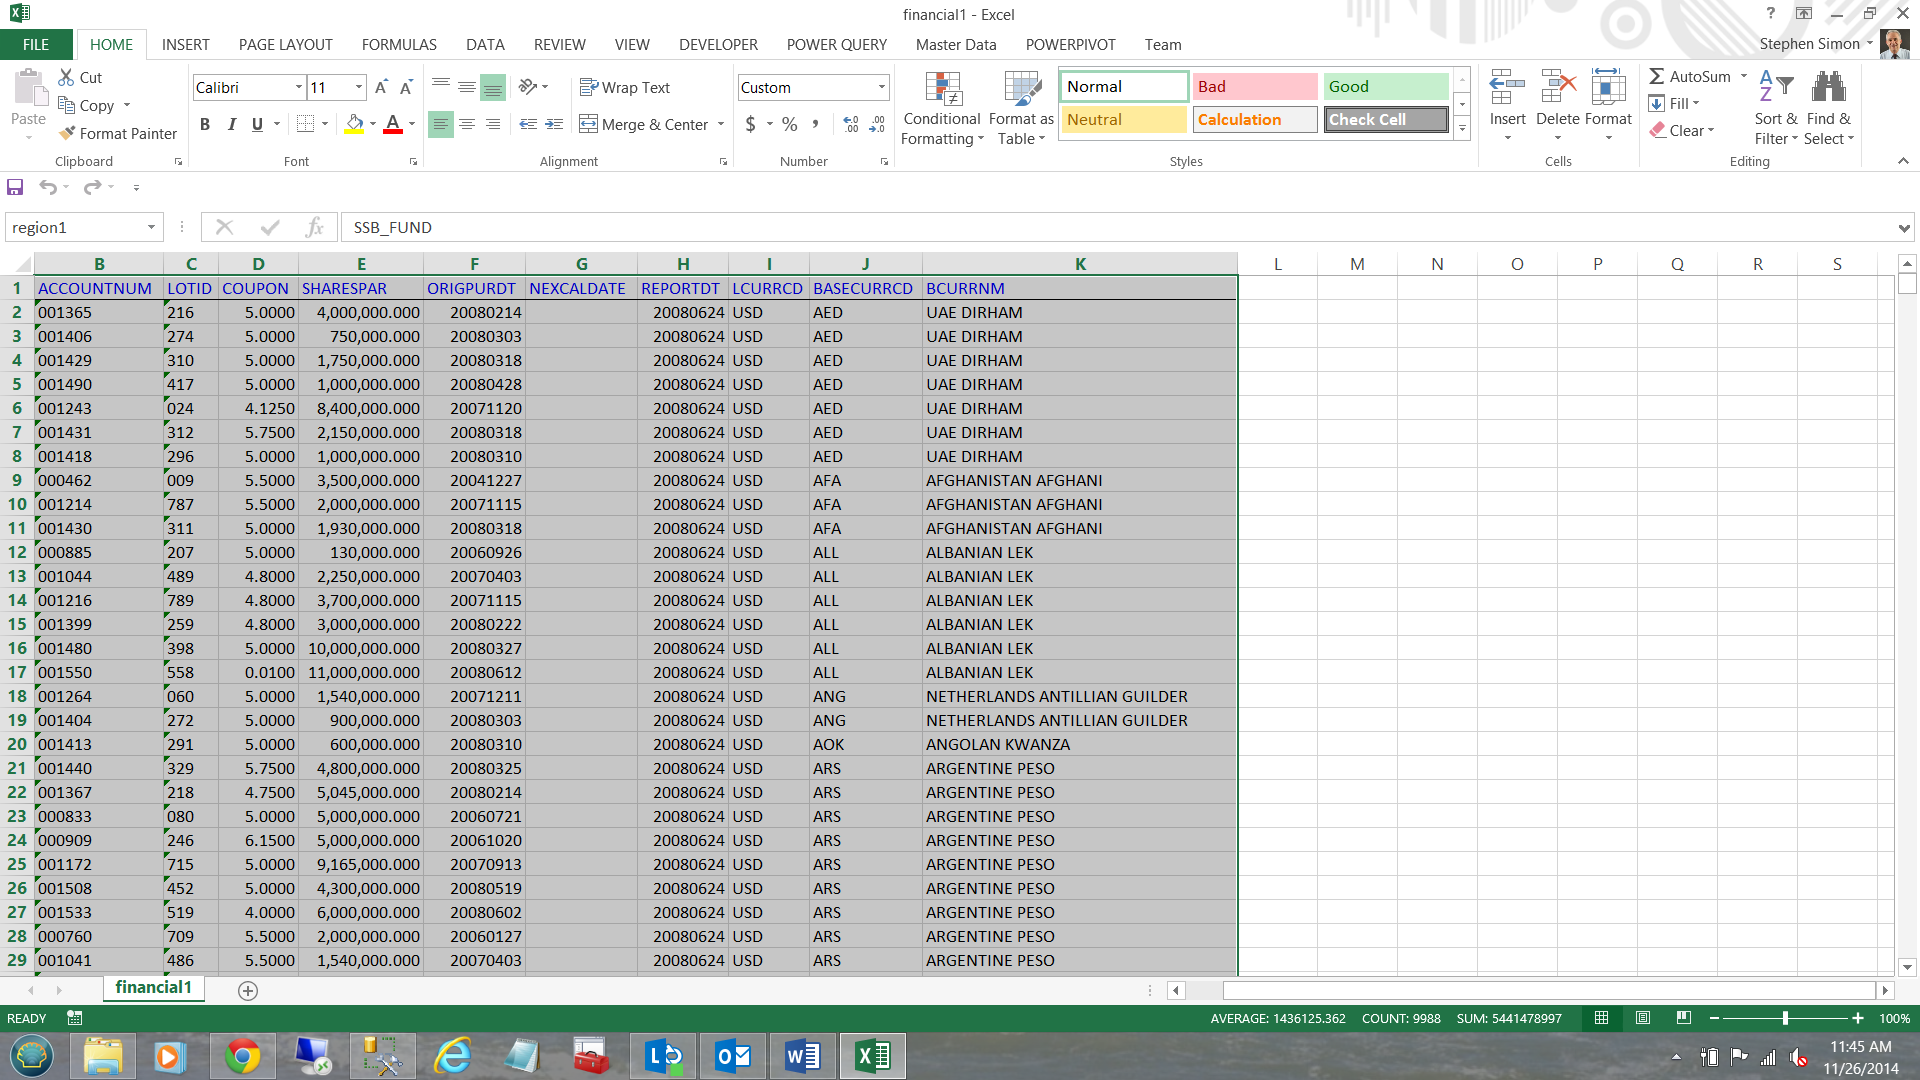
For our current discussion we shall be looking at two Excel workbooks. Rest assured that the process works for any number of workbooks. The screen dump below show the financial1 sheet for the financial1.xlsx workbook.
对于当前的讨论,我们将看两本Excel工作簿。 请放心,该过程适用于任意数量的工作簿。 下面的屏幕转储显示了financial1.xlsx 工作簿 financial1 片 。
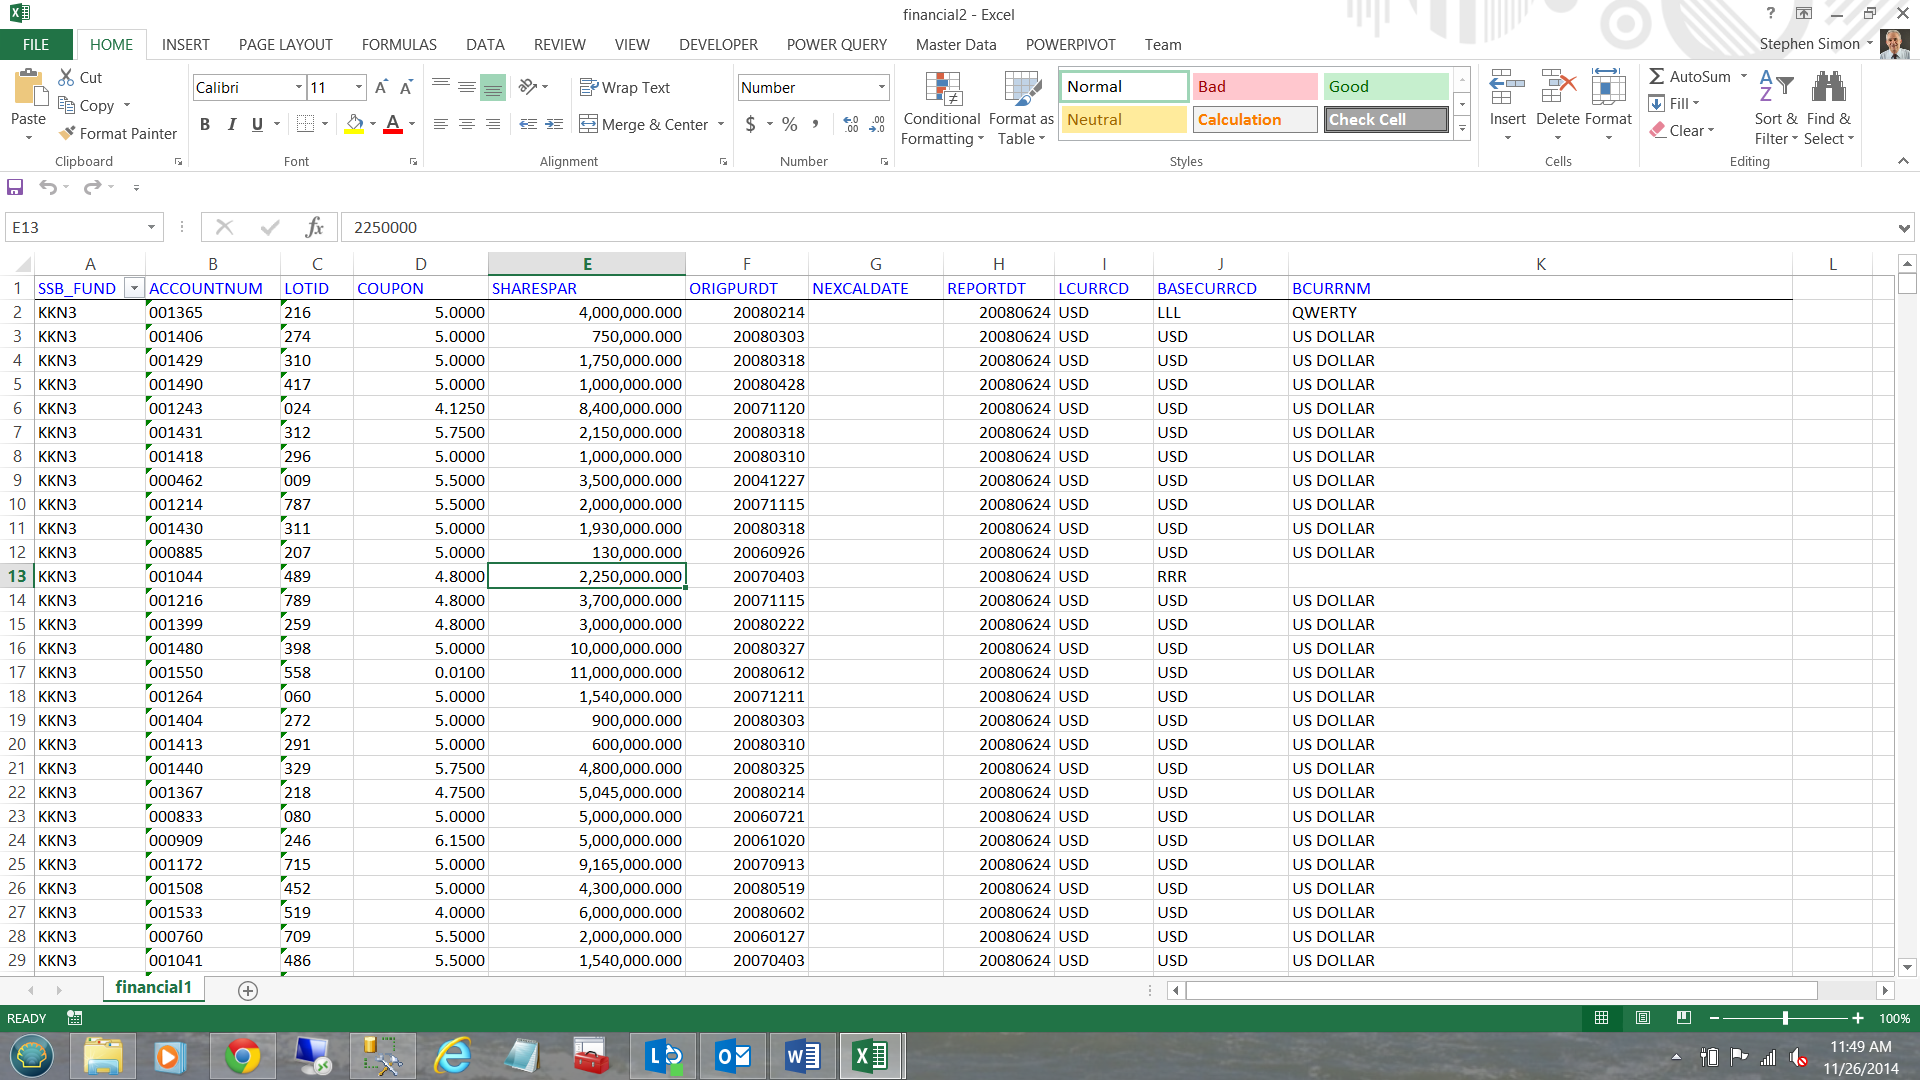
Our next screen shot shows the financial1 worksheet for the financial2.xlsx workbook.
我们的下一个屏幕截图显示了financial2.xlsx工作簿的financial1工作表。
In summary we shall be dealing with:
总而言之,我们将处理:
| Workbook name | Worksheet name |
| Financial1.xlsx | Financial1 |
| Financial2.xlsx | Financial1 |
| 工作簿名称 | 工作表名称 |
| 财务1.xlsx | 金融1 |
| Financial2.xlsx | 金融1 |
The important point being that the workbooks themselves can have different names HOWEVER the relevant sheets must all have the same name.
重要的一点是,工作簿本身可以具有不同的名称,但是相关的工作表必须都具有相同的名称。
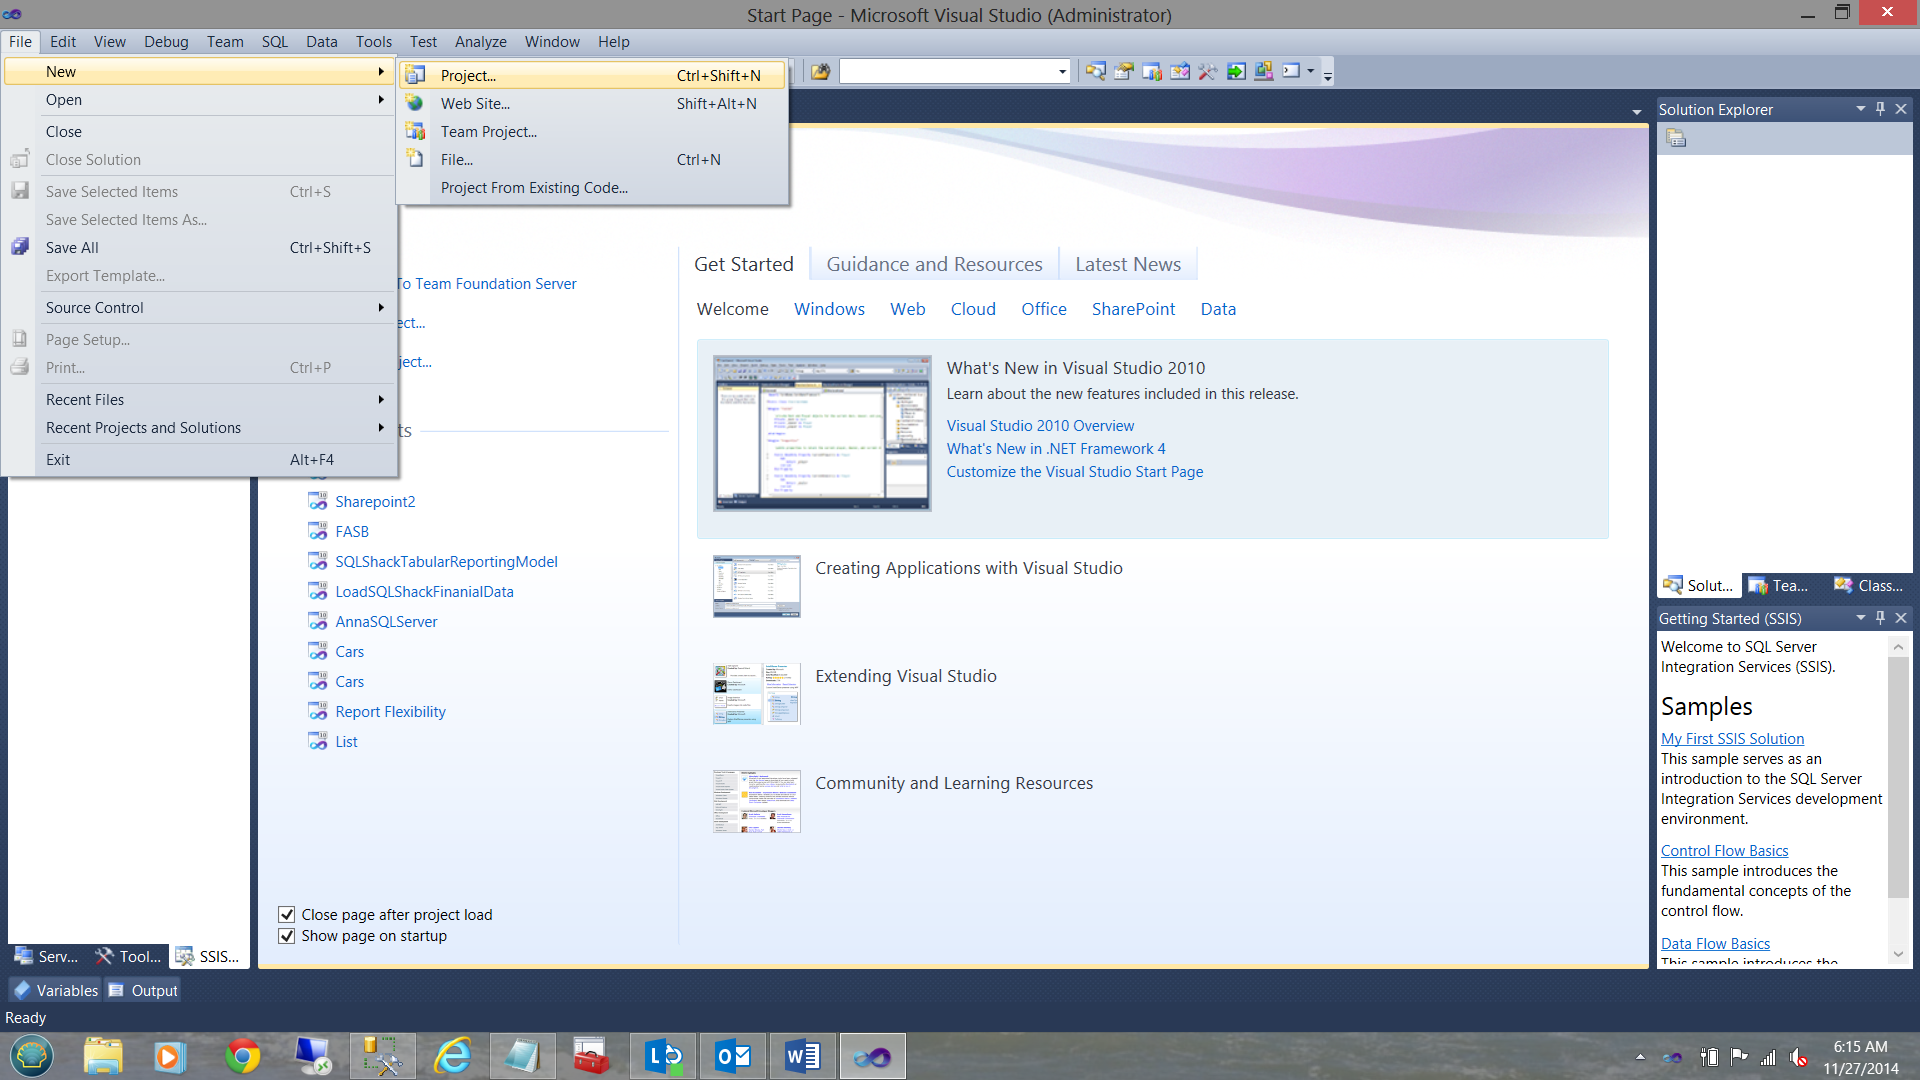
We start by creating a new Integration Services package within SQL Server Integration Services (hence forward referred to as SSIS).
我们首先在SQL Server Integration Services中创建一个新的Integration Services程序包(因此向前称为SSIS)。
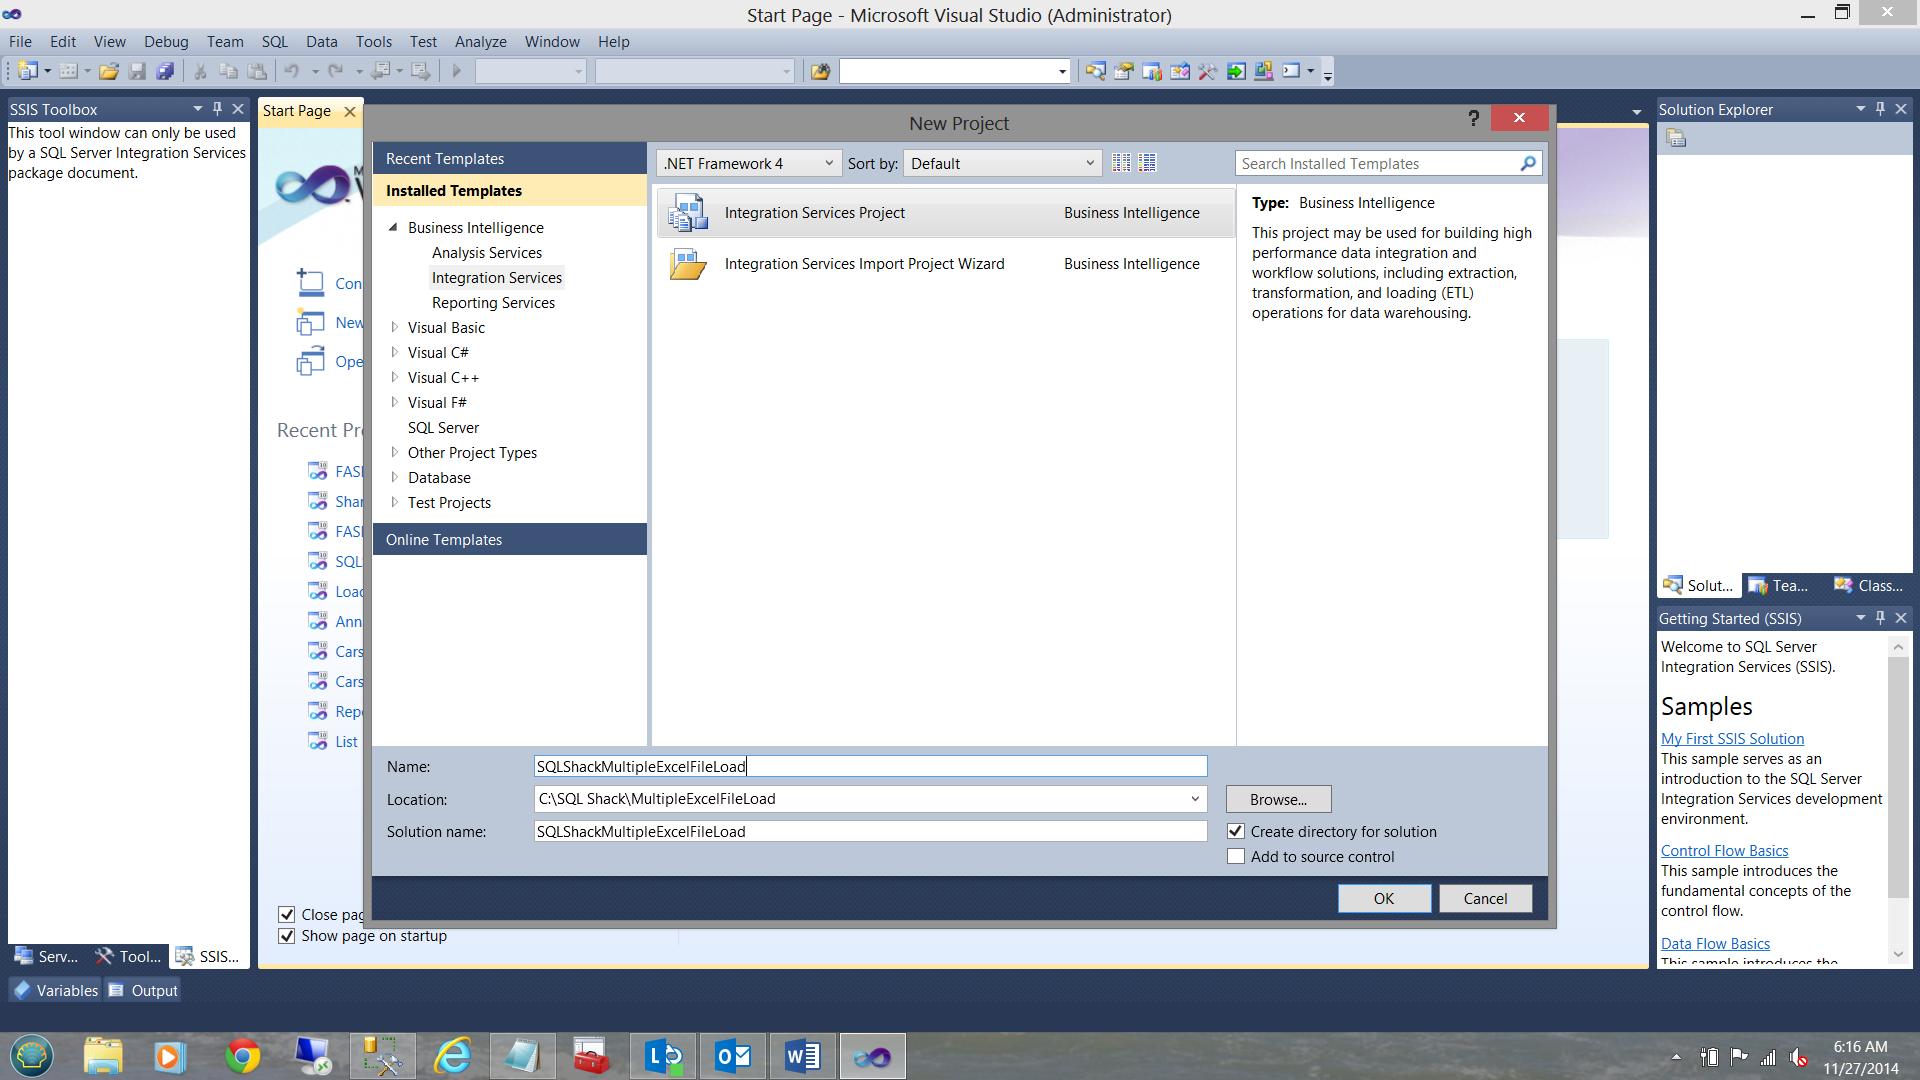
We give our new project a name (see below)
我们给新项目起一个名字(见下文)
We now find ourselves at our working surface.
现在,我们发现自己处于工作表面。
Please note that I have renamed our SSIS package “LoadExcelWorkbooks” (see upper right).
请注意,我已将SSIS包重命名为“ LoadExcelWorkbooks”(请参见右上角)。
As in past, I now create a connection to my SQLShackFinancial Database (see below).
和过去一样,我现在创建与SQLShackFinancial数据库的连接(请参见下文)。
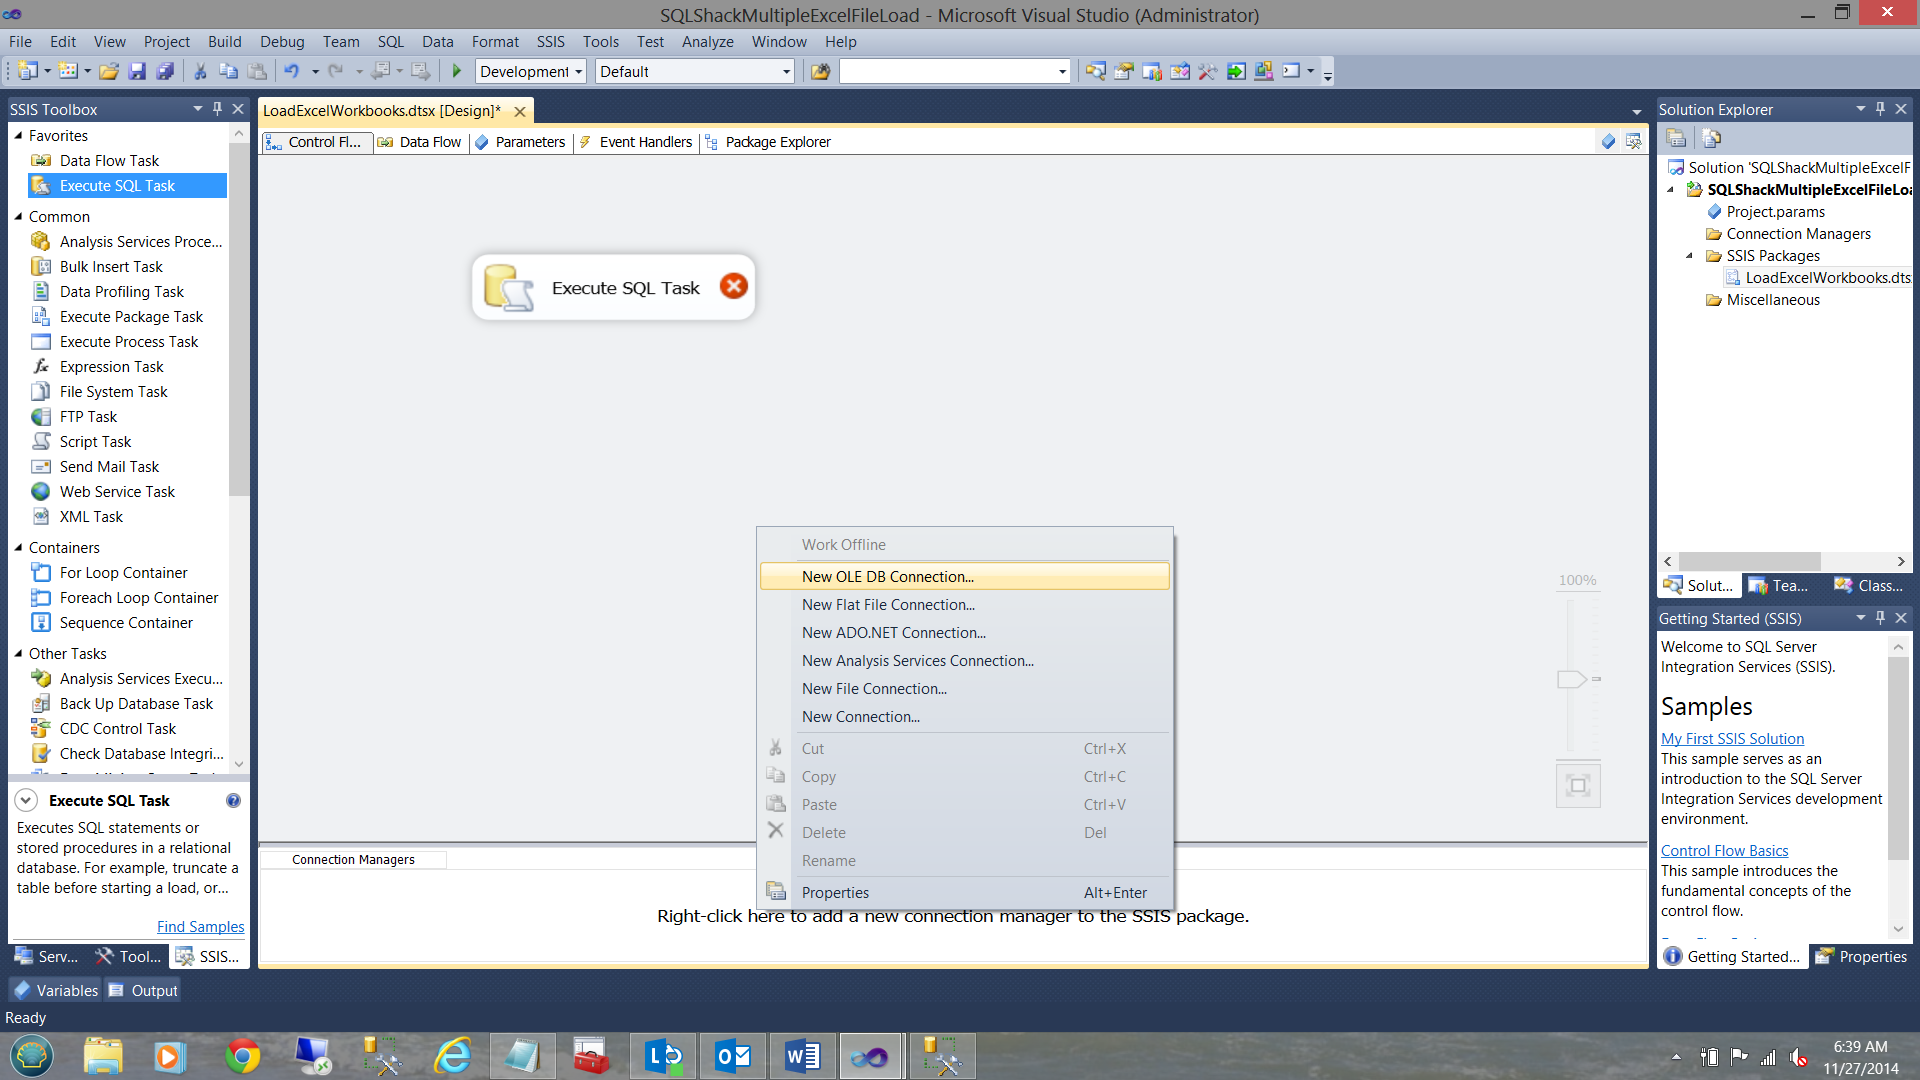
By right clicking anywhere in the connection manager box I create an OLEDB destination Connection to my SQL Server Database (see below). I also add an “Execute SQL Task” to the work surface. Creating the source is a bit more complex and we shall be discussing this in a few minutes.
通过在连接管理器框中的任意位置单击鼠标右键,可以创建OLEDB 目标连接到SQL Server数据库(请参见下文)。 我还将“执行SQL任务”添加到工作界面。 创建源代码要复杂一些,我们将在几分钟后讨论。
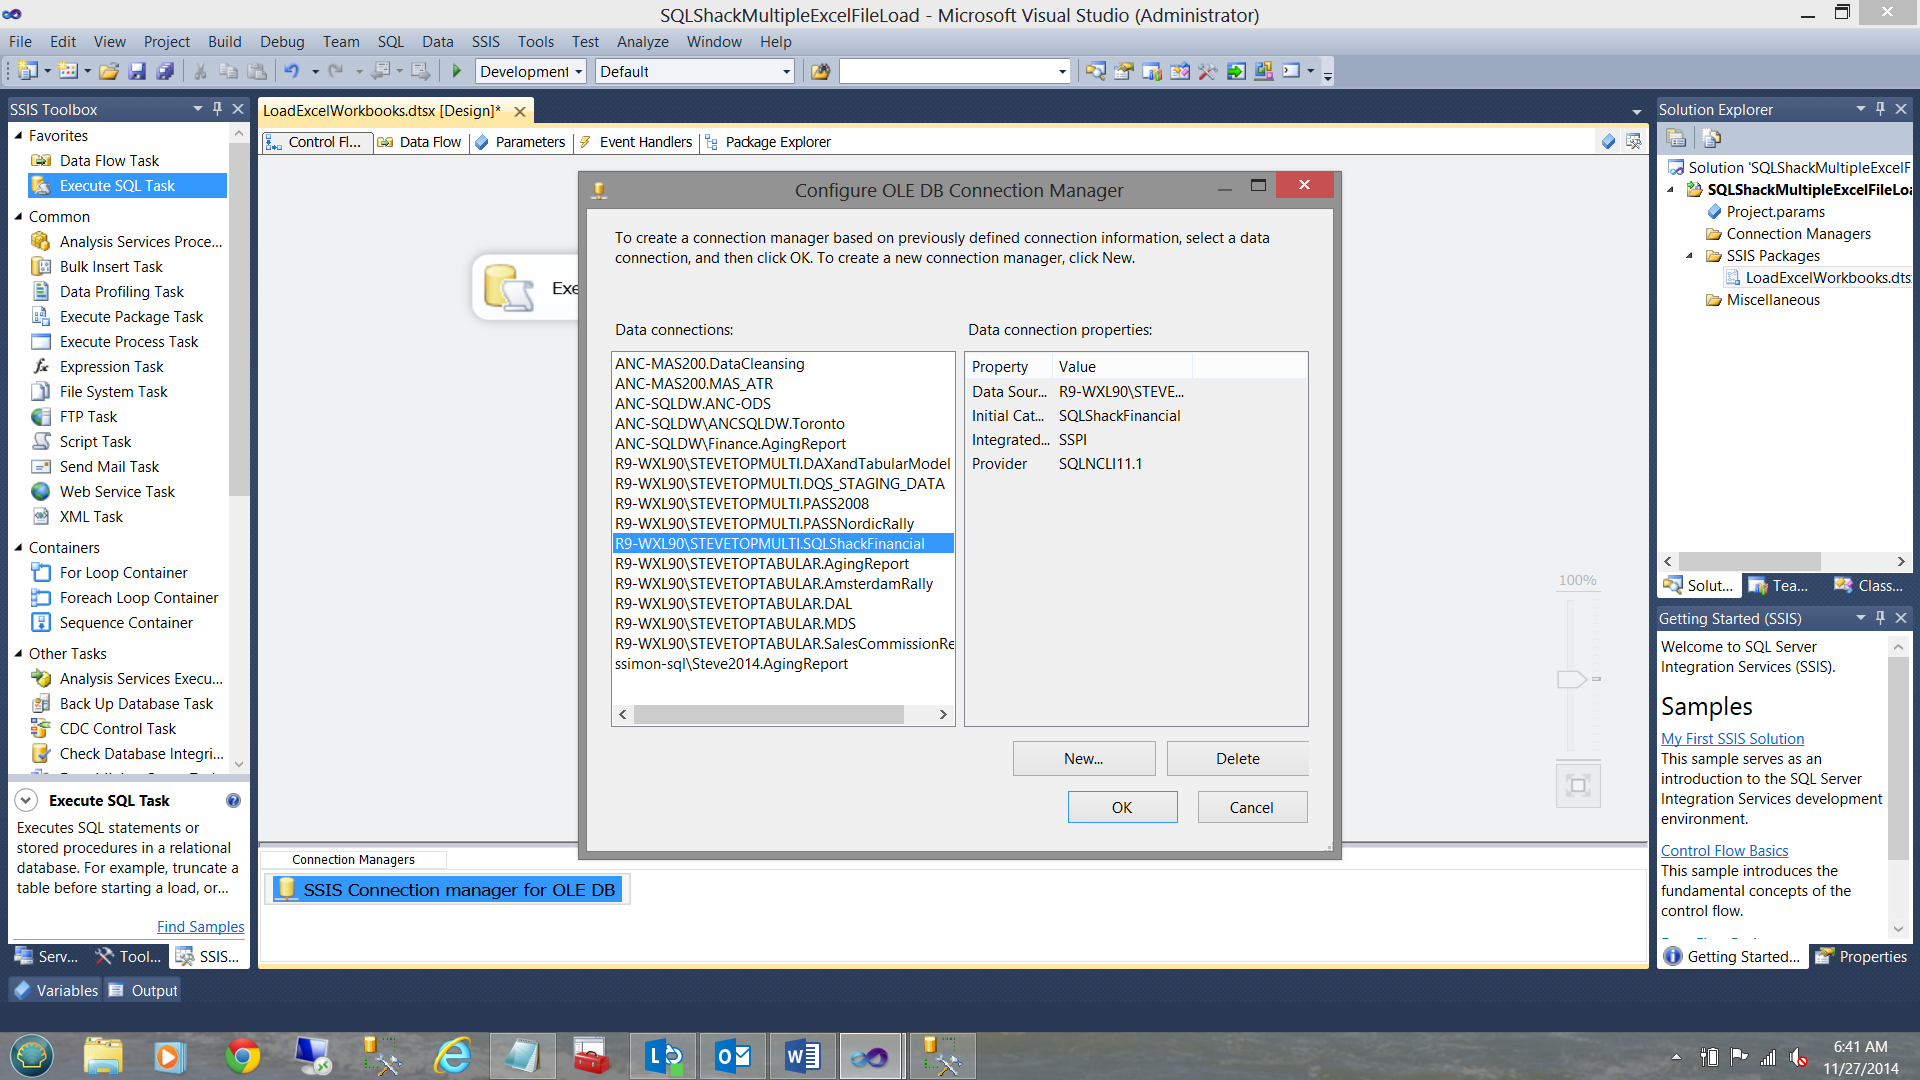
The “Configure OLE DB Connection Manager” screen is then brought into view. I choose my “SQLShackFinancial” connection from the list of existing connections. This connection was created for a previous paper that I wrote for SQL Shack.
然后进入“配置OLE DB连接管理器”屏幕。 我从现有连接列表中选择“ SQLShackFinancial”连接。 此连接是为我为SQL Shack撰写的上一篇文章创建的。
I click OK, and we are brought back to our work surface.
单击“确定”,我们回到工作界面。
Double clicking on the “Execute SQL Task” control brings up the “Execute SQL Task Editor”.
双击“执行SQL任务”控件将弹出“执行SQL任务编辑器”。
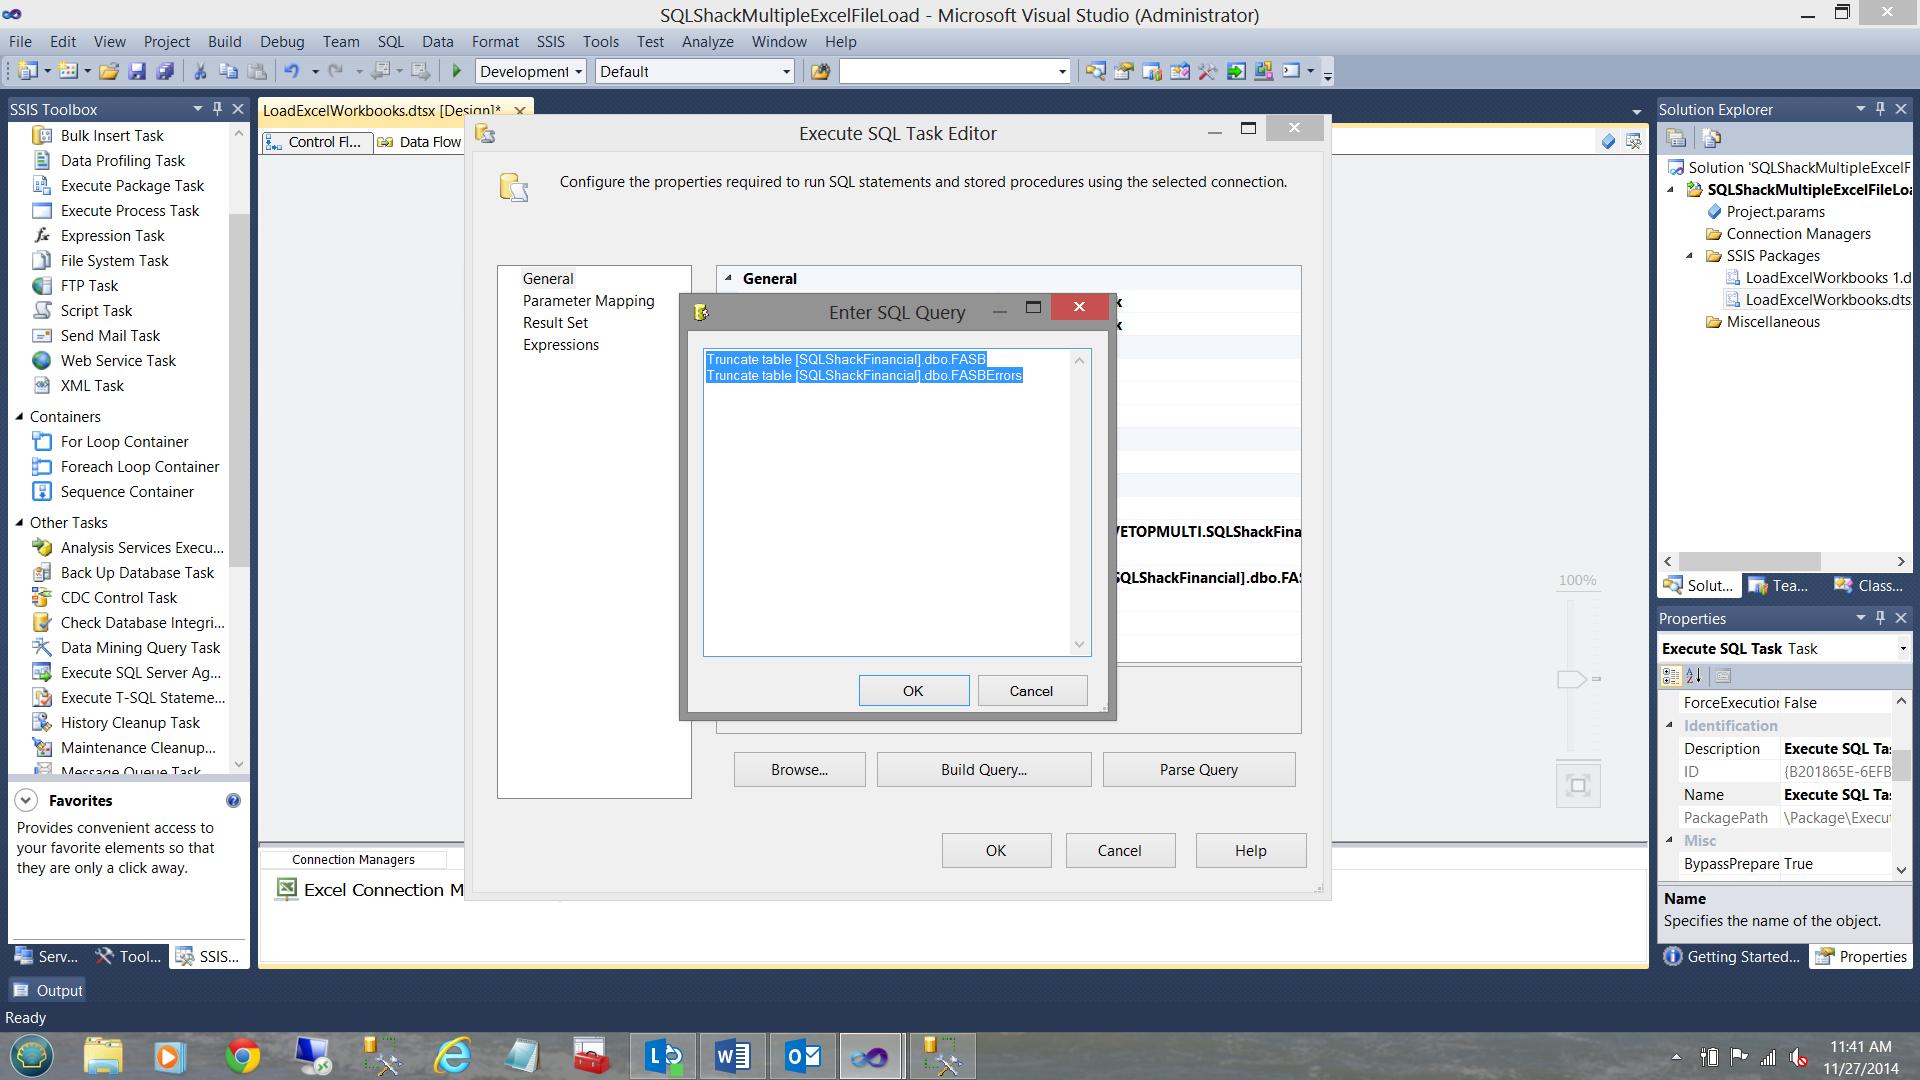
The reader will note that I have set the connection string to point to our “SQLShackFinancial” connection and I have entered two simple T-SQL commands in the “SQL Statement” text box. In our discussion going forward and because this paper is for a demo, I prefer to truncate the tables prior to demonstrating HOWEVER in reality these tables would not be cleansed each run.
读者会注意到,我已将连接字符串设置为指向“ SQLShackFinancial”连接,并且在“ SQL语句”文本框中输入了两个简单的T-SQL命令。 在继续进行的讨论中,并且由于本文仅用于演示,因此我希望在演示如何运行之前截断这些表,但实际上这些表不会在每次运行时都被清除。
I click OK, and OK to leave the “Execute SQL task” control and we land up (once again) on our work surface.
我单击“确定”,然后单击“确定”离开“执行SQL任务”控件,然后我们再次(再次)进入工作界面。
让REAL工作开始!! (Let the REAL work begin!!)
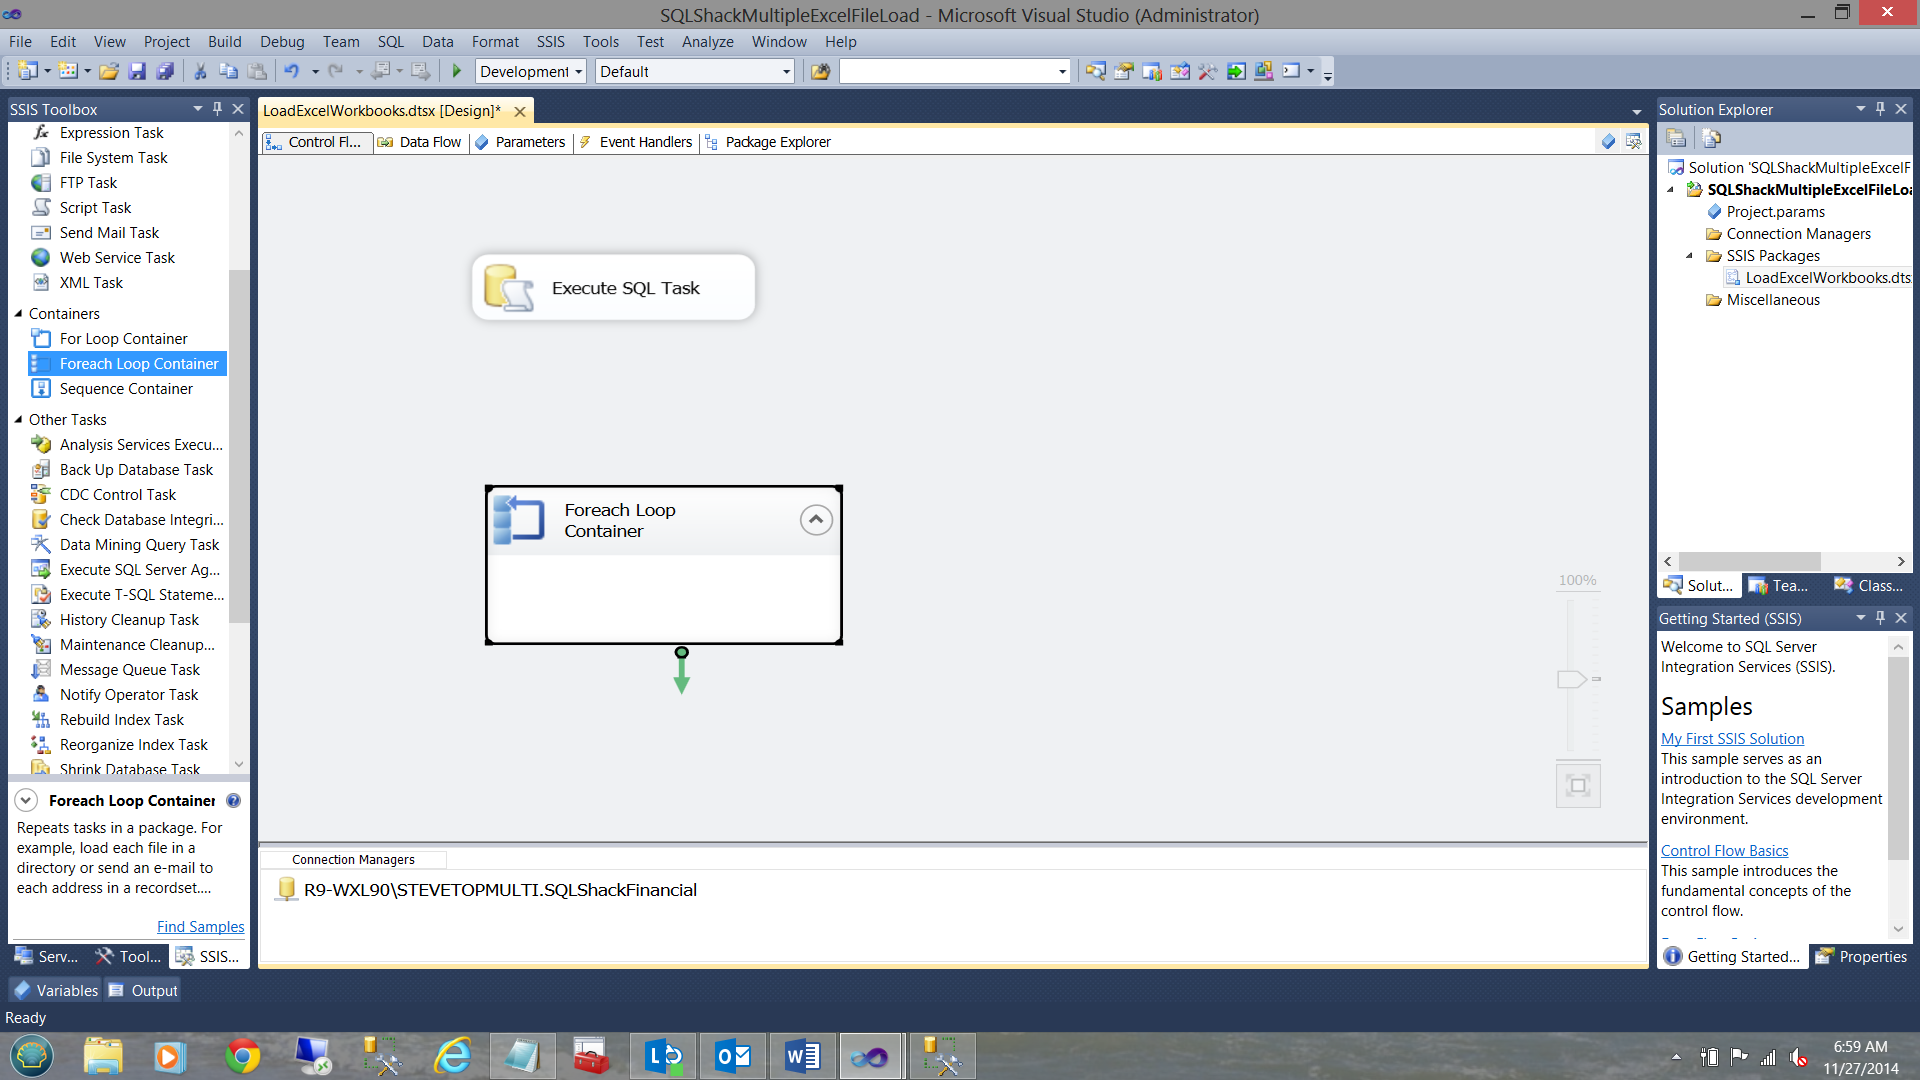
I now drag a “Foreach Loop Container” onto my work surface.
现在,我将“ Foreach循环容器”拖到我的工作面上。
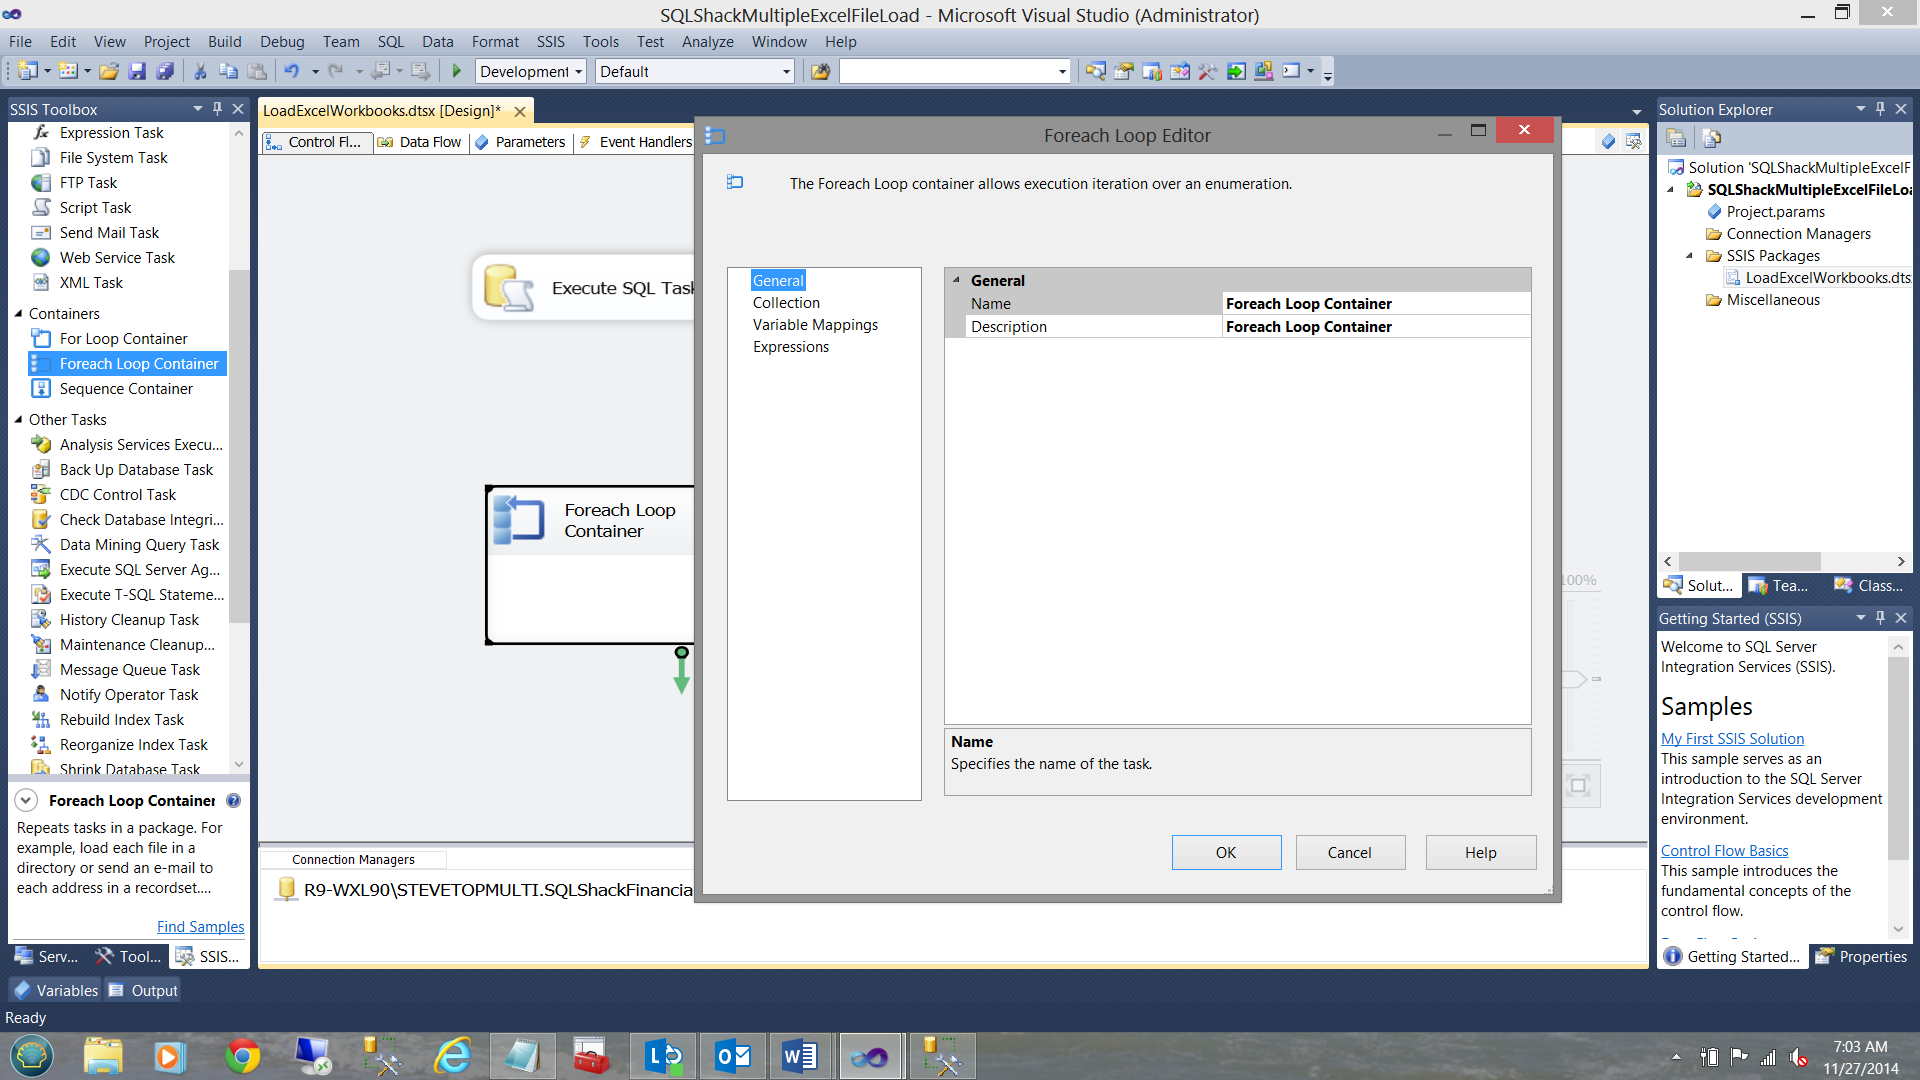
In order for the ‘magic’ to occur, we must “set” and configure a few variables within the “Foreach Loop Container”. I double click on the control and the “Foreach Loop” editor opens.
为了使“魔术”发生,我们必须在“ Foreach循环容器”内“设置”并配置一些变量。 我双击控件,“ Foreach Loop”编辑器打开。
I first click upon the “Collection” tab and configure this tab as follows:
我首先单击“集合”选项卡,然后按以下方式配置此选项卡:
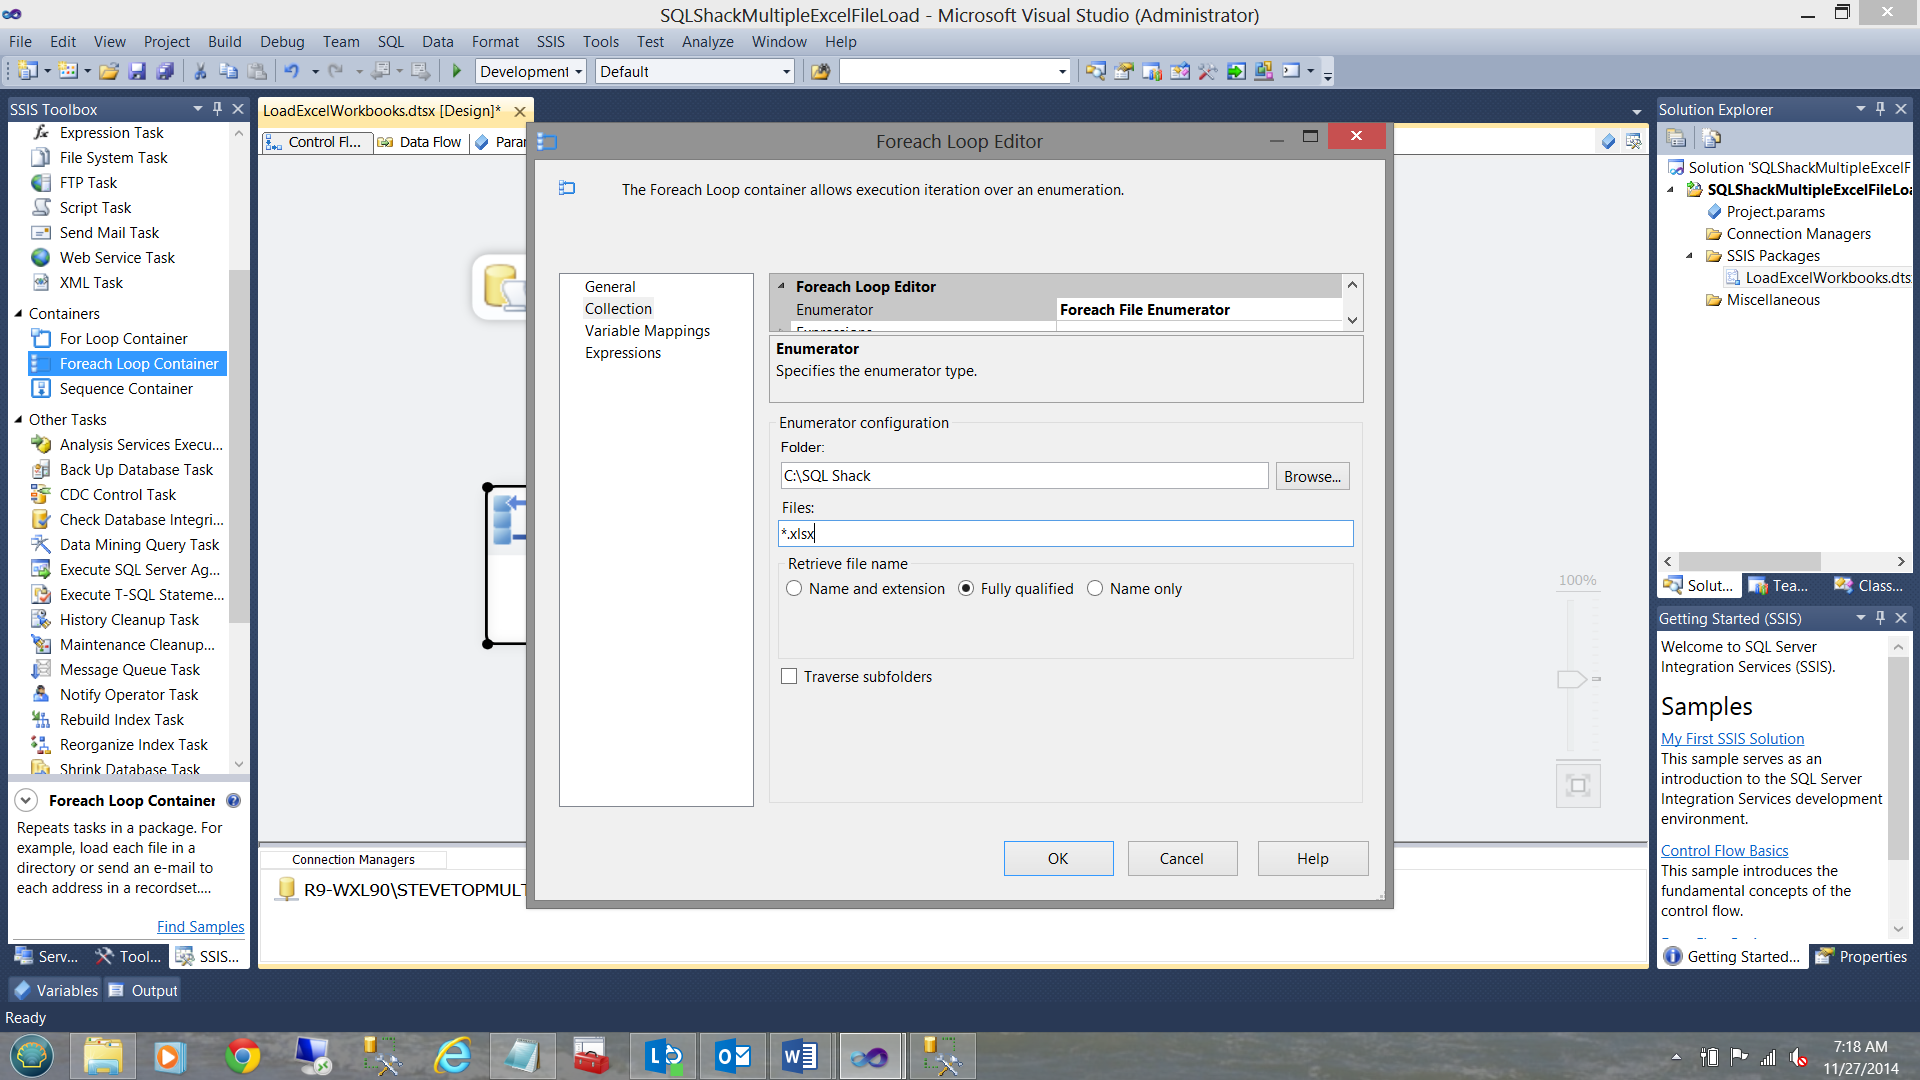
Note that I have entered the Folder in which the workbooks may / will be found and I tell SSIS that I want the package to INCLUDE ALL WORKBOOKS found with in this folder. In the real world this directory would be found on a server with a “common drive” used by all those departments with the correct rights.
请注意,我已经输入了可以在其中找到工作簿的文件夹,并且我告诉SSIS我希望程序包包括在此文件夹中找到的所有工作簿。 在现实世界中,可以在具有“通用驱动器”的服务器上找到该目录,所有具有正确权限的部门都使用该“通用驱动器”。
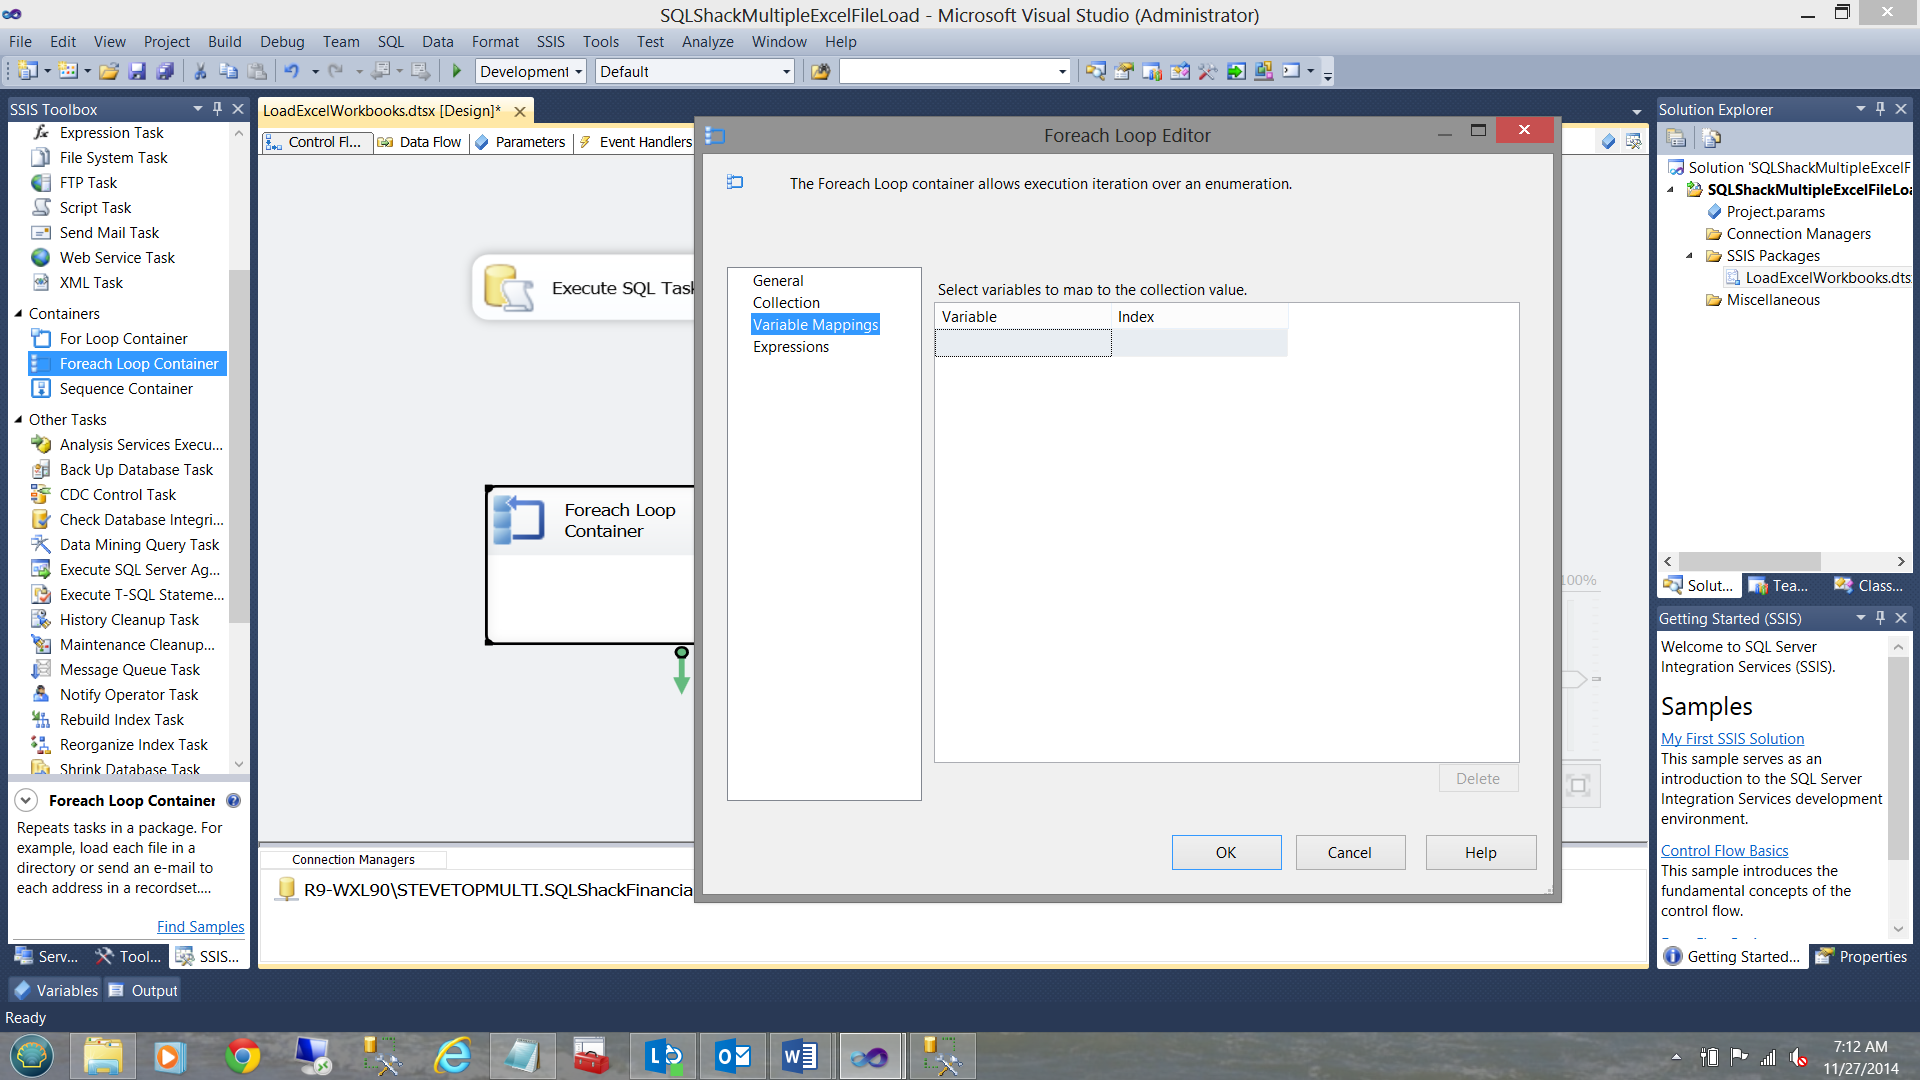
We now move to the third tab “Variable Mappings” to create a variable. The “Foreach Loop Editor” is once again displayed (see below).
现在,我们转到第三个选项卡“变量映射”以创建变量。 再次显示“ Foreach循环编辑器”(见下文)。
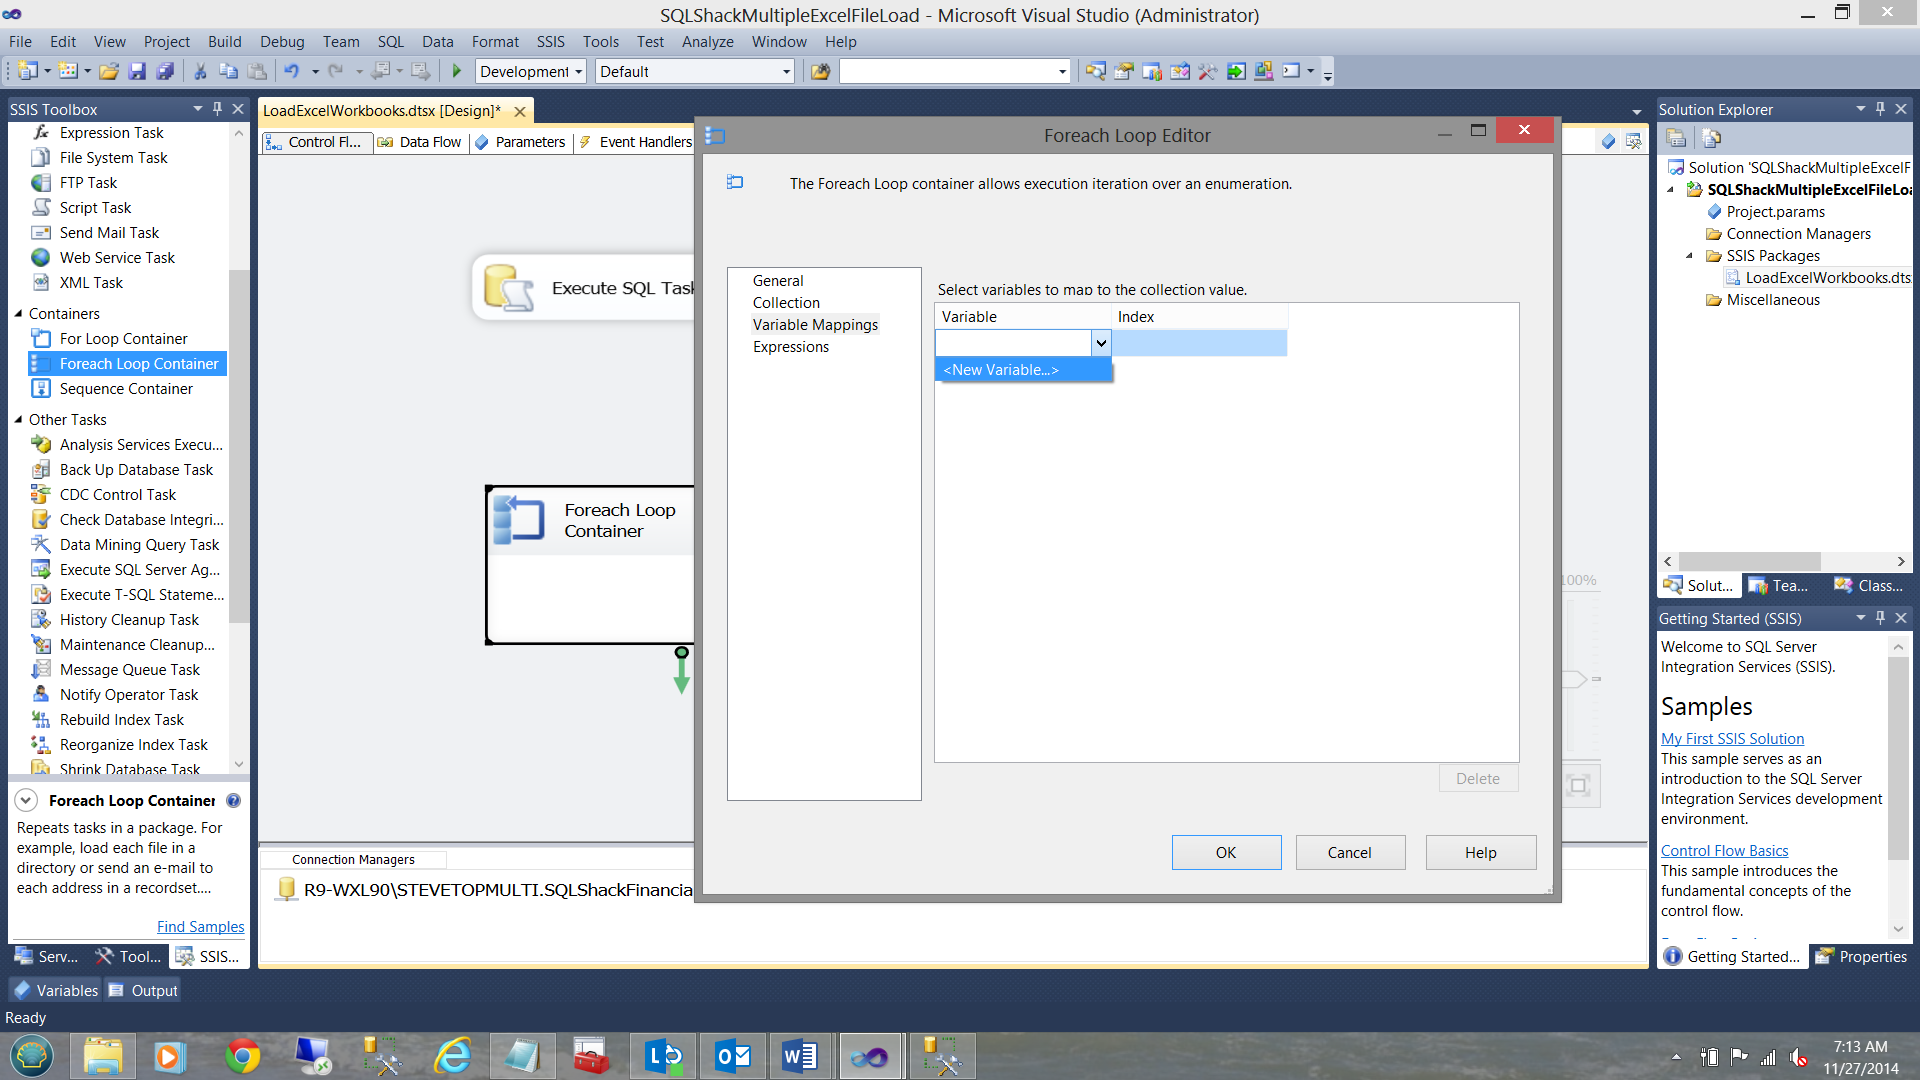
Clicking on the”Variable”tab, I am afforded the opportunity to add a new variable (see below).
单击“变量”选项卡,我有机会添加一个新变量(见下文)。
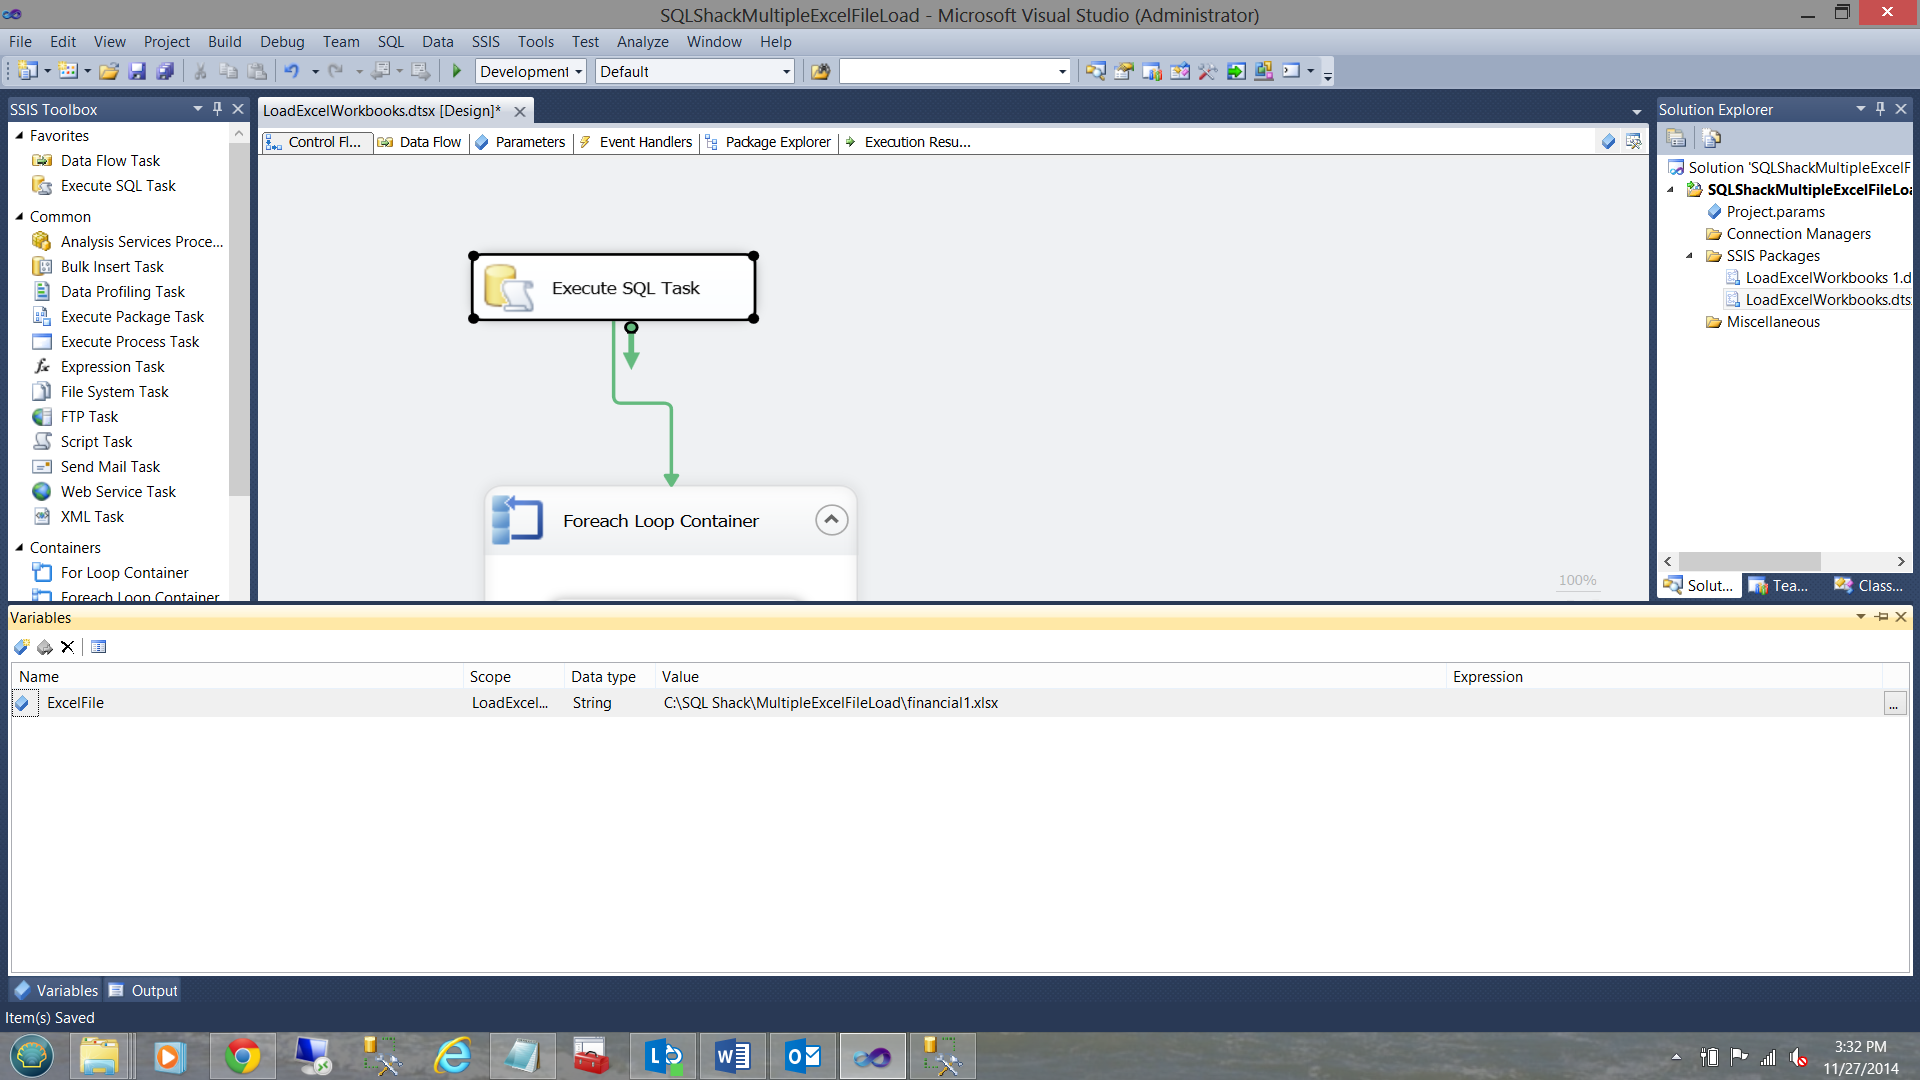
I call my variable “ExcelFile” and set the “Value” to the name of my first workbook (see below). This is MORE a default value than for any other purpose.
我将变量称为“ ExcelFile”,并将“ Value”设置为我的第一个工作簿的名称(请参见下文)。 此默认值比其他任何目的都更多。

I click “OK” to exit the “Add Variable” dialog box.
我单击“确定”退出“添加变量”对话框。
We have now completed configuring our “Foreach Loop Container”.
现在,我们已经完成了“ Foreach循环容器”的配置。
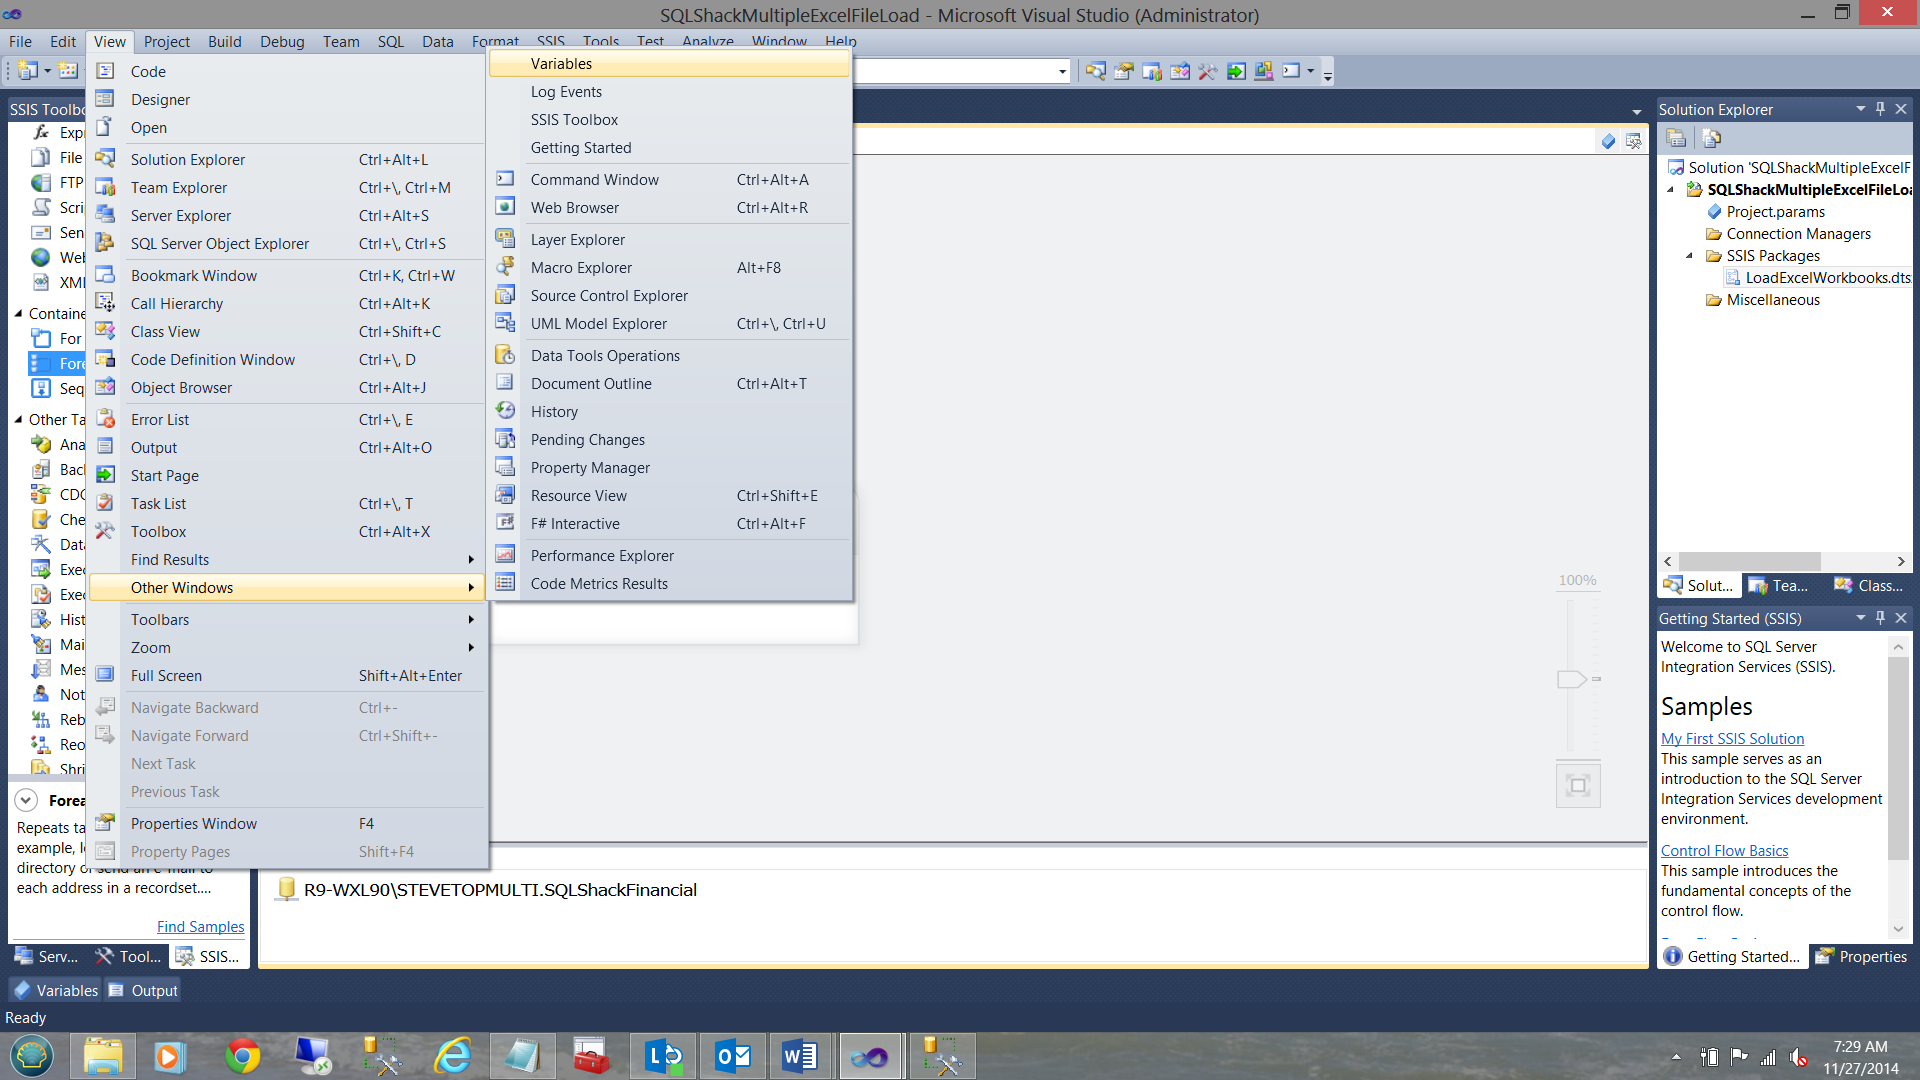
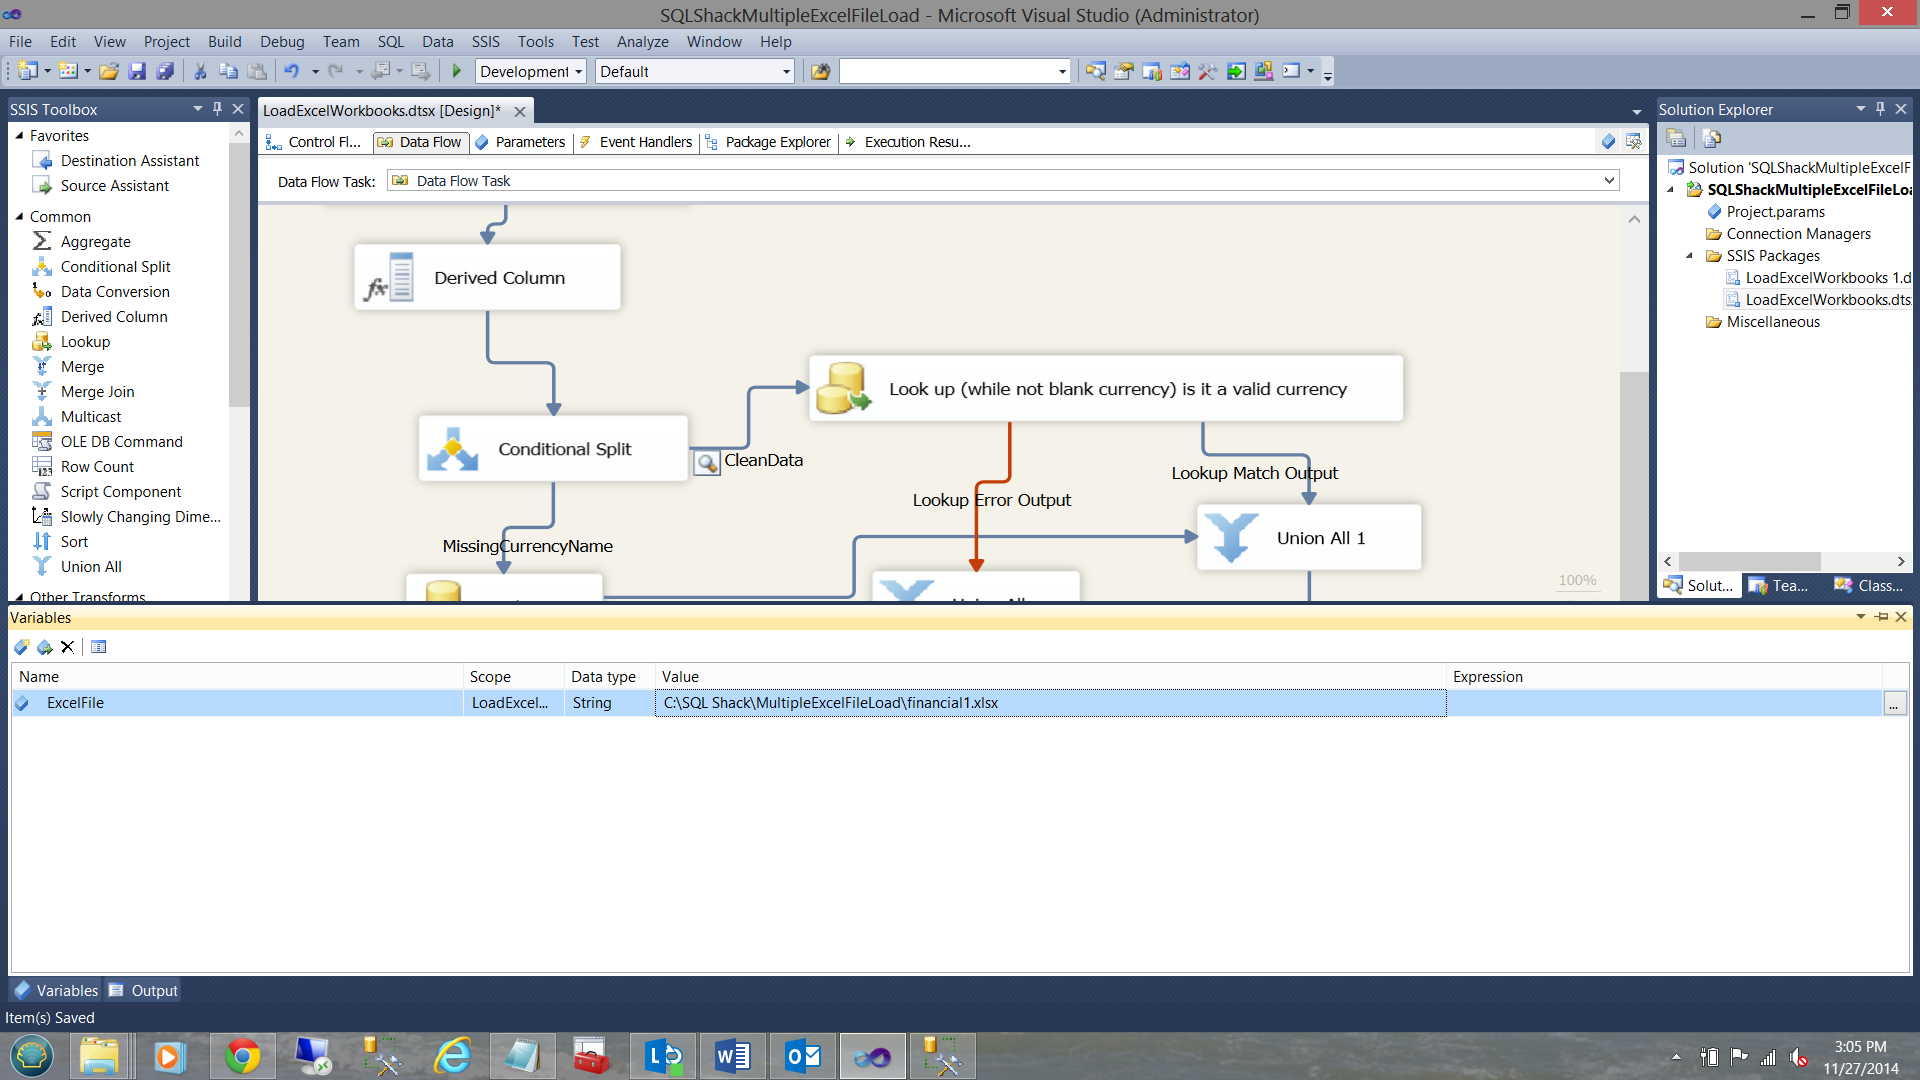
Opening our “Variables” window we shall see that the variable has been defined (see below).
打开“变量”窗口,我们将看到已定义变量(请参见下文)。
Note the variable (see below)
注意变量(见下文)
We are now “ready to go”.
我们现在“准备出发”。
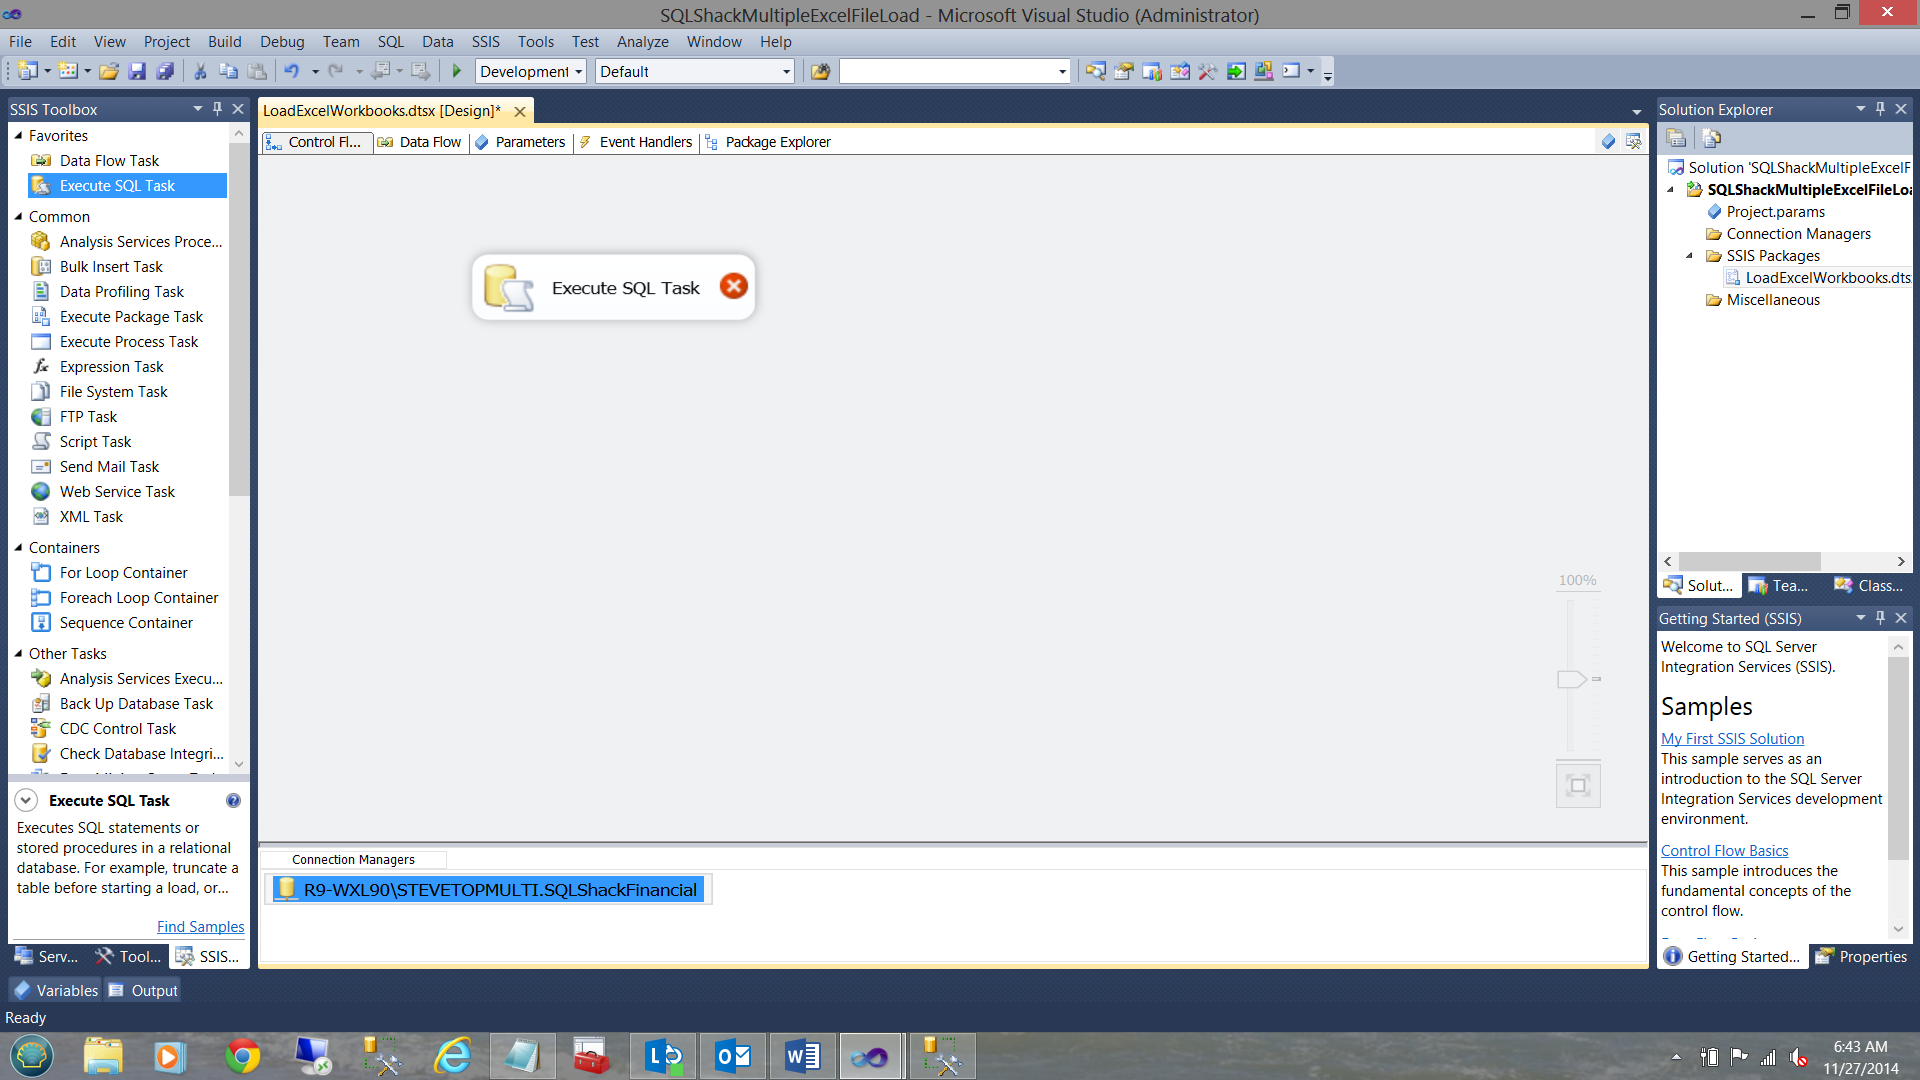
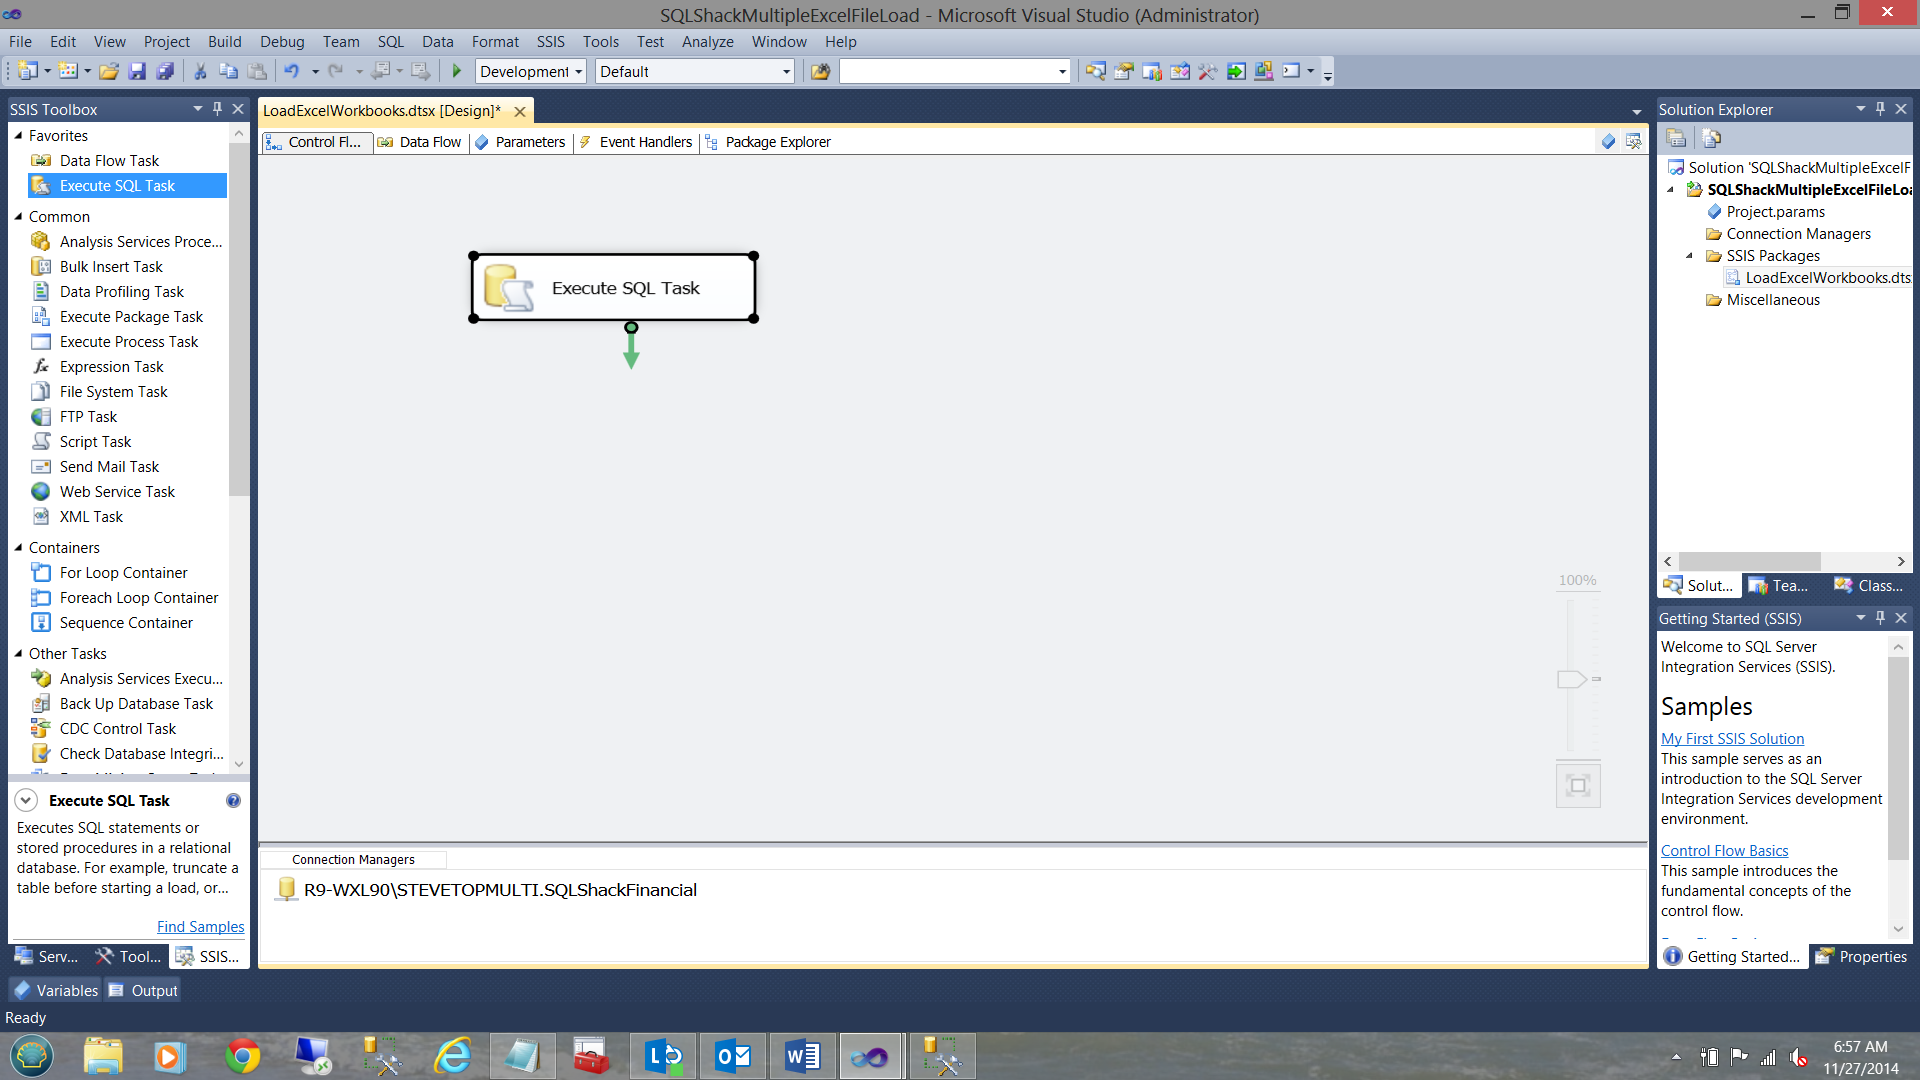
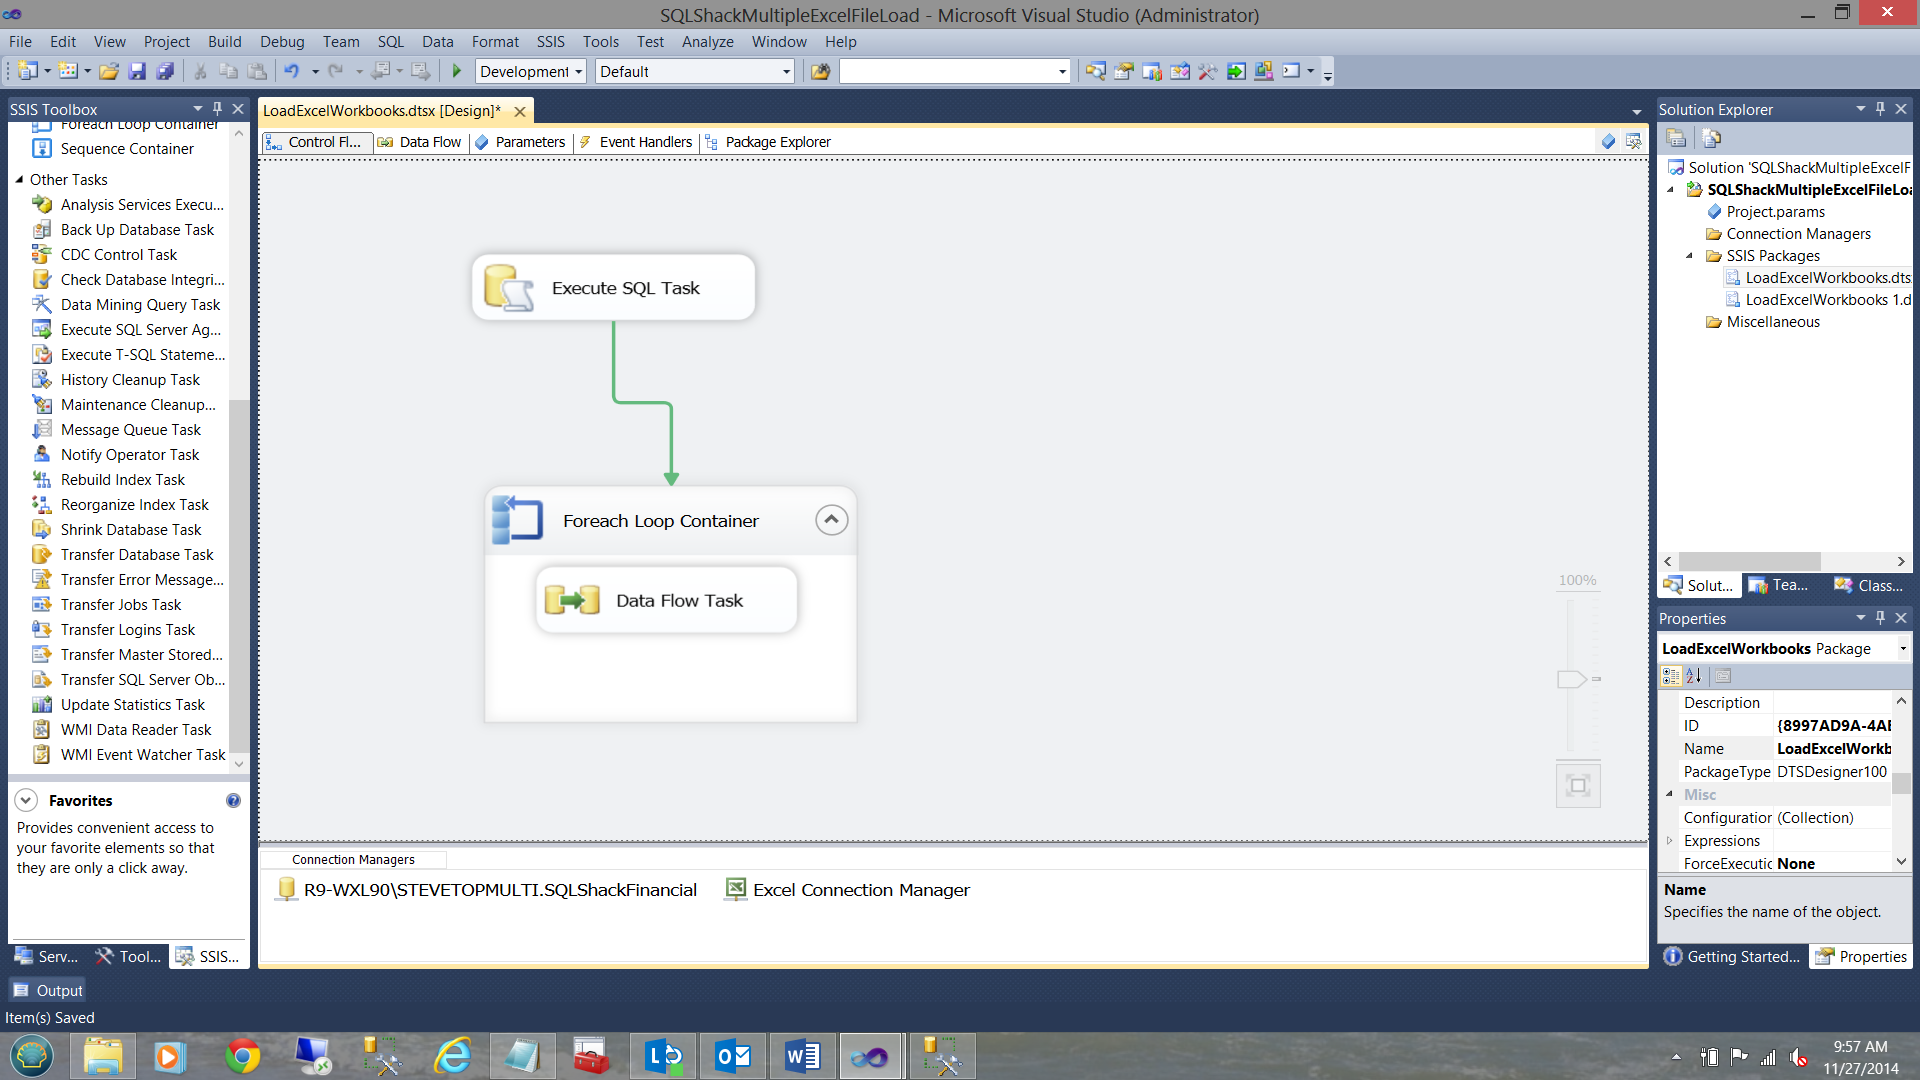
I now join our “Execute SQL Task” to our ”Foreach Loop Container”.
现在,我将“执行SQL任务”加入“ Foreach循环容器”。

设置Excel数据源或“您可能需要一些Slivovitz” (Setting the Excel data source or “you may want some Slivovitz”)
Setting the “Excel Data Source” CORRECTLY, at first “drove me to drink”!
正确设置“ Excel数据源”,首先是“开车送我喝酒”!
I start by dragging an Excel Data Source into the connection manager (see below).
首先,将Excel数据源拖动到连接管理器中(请参见下文)。
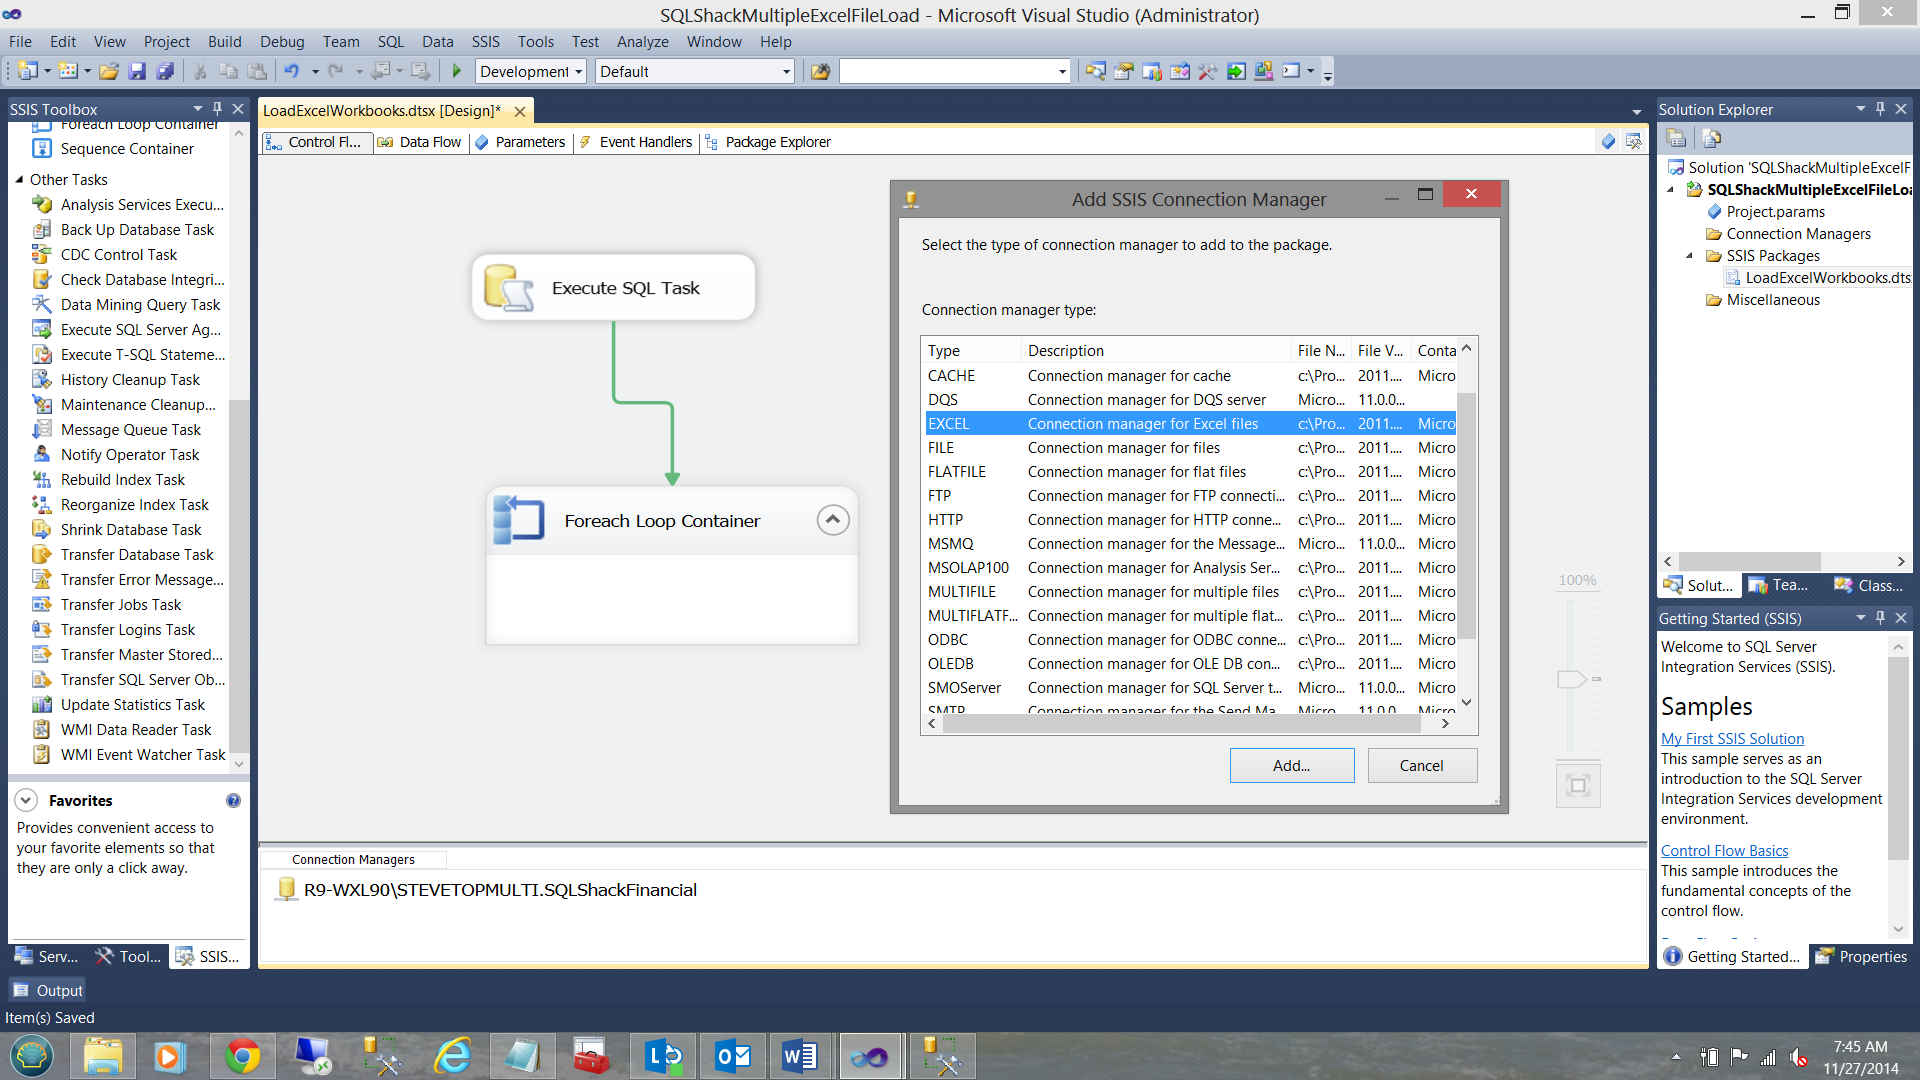
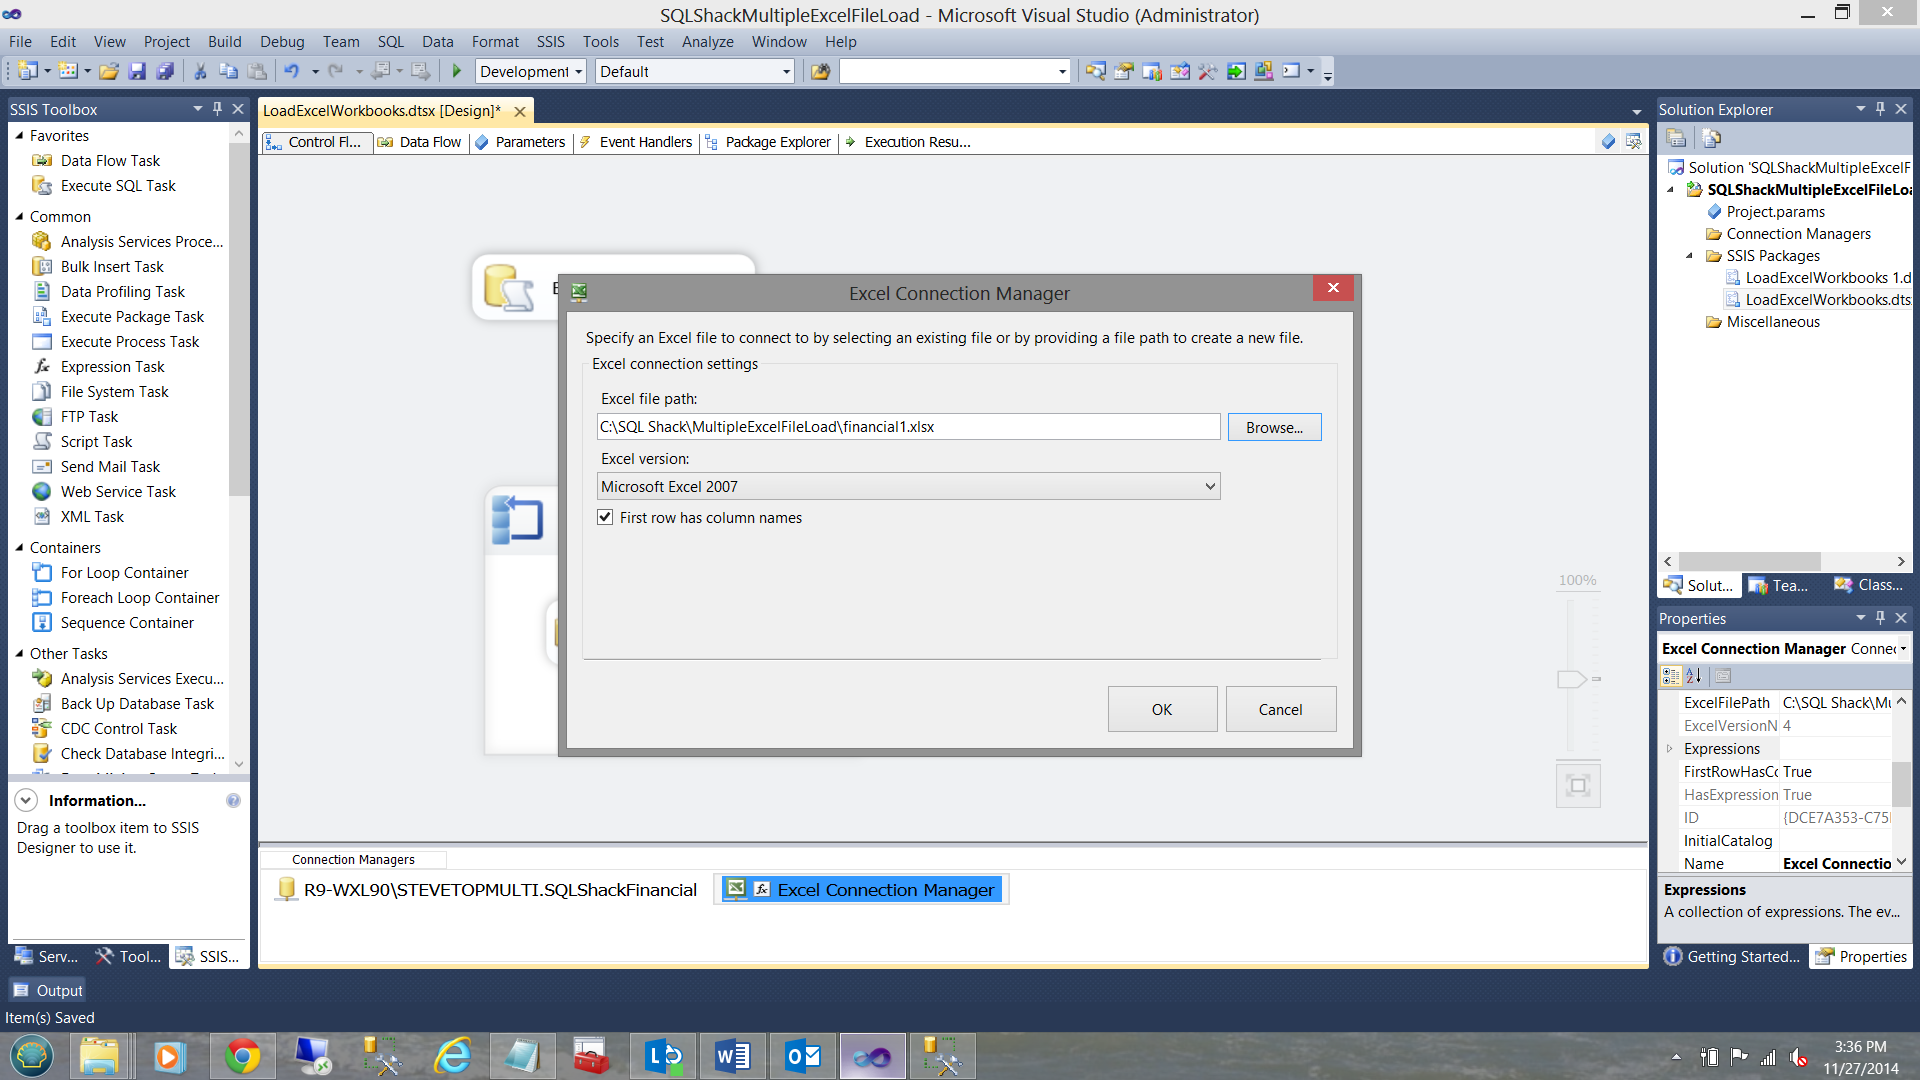
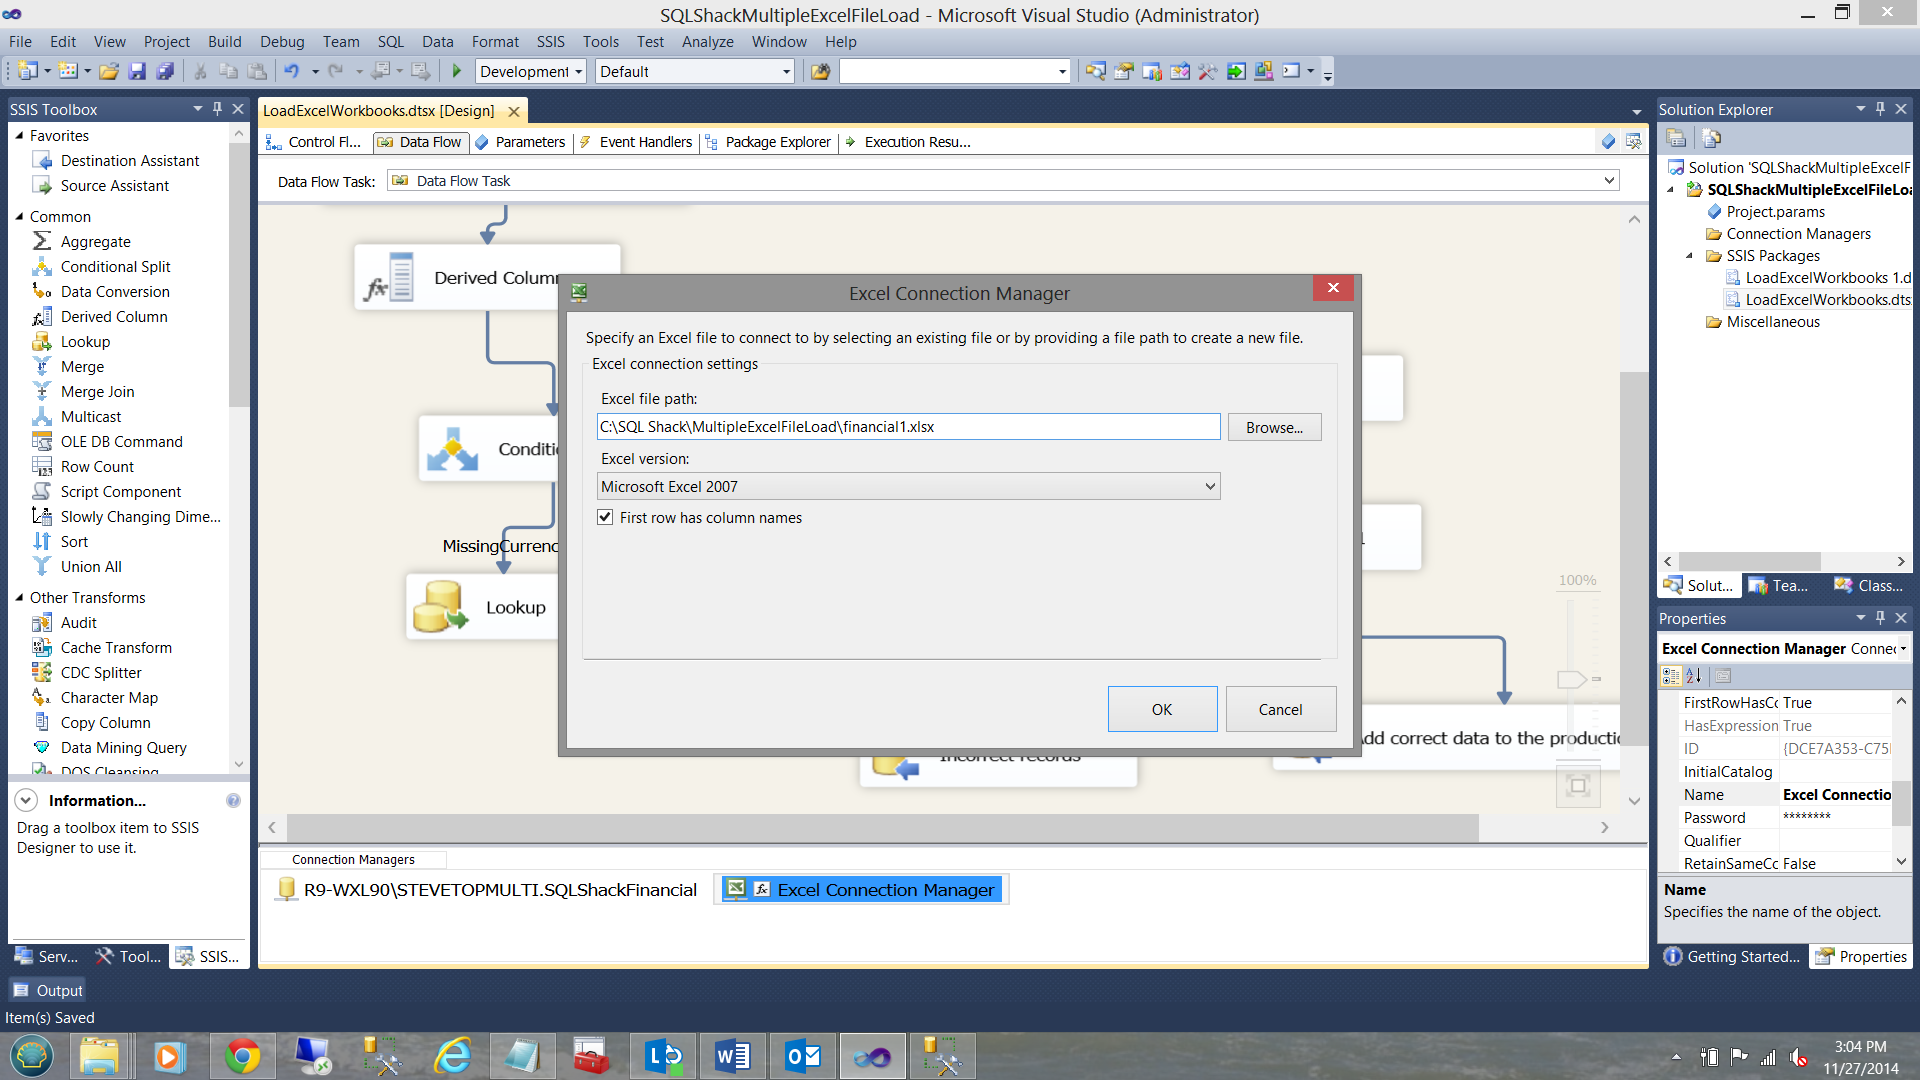
I right click within the “Connection Managers” Box and choose “Add a new Connection”. I select “EXCEL”, (see above).
我在“连接管理器”框中单击鼠标右键,然后选择“添加新连接”。 我选择“ EXCEL”(见上文)。
I browse to find the first Excel workbook (see below).
我浏览找到第一个Excel工作簿(见下文)。
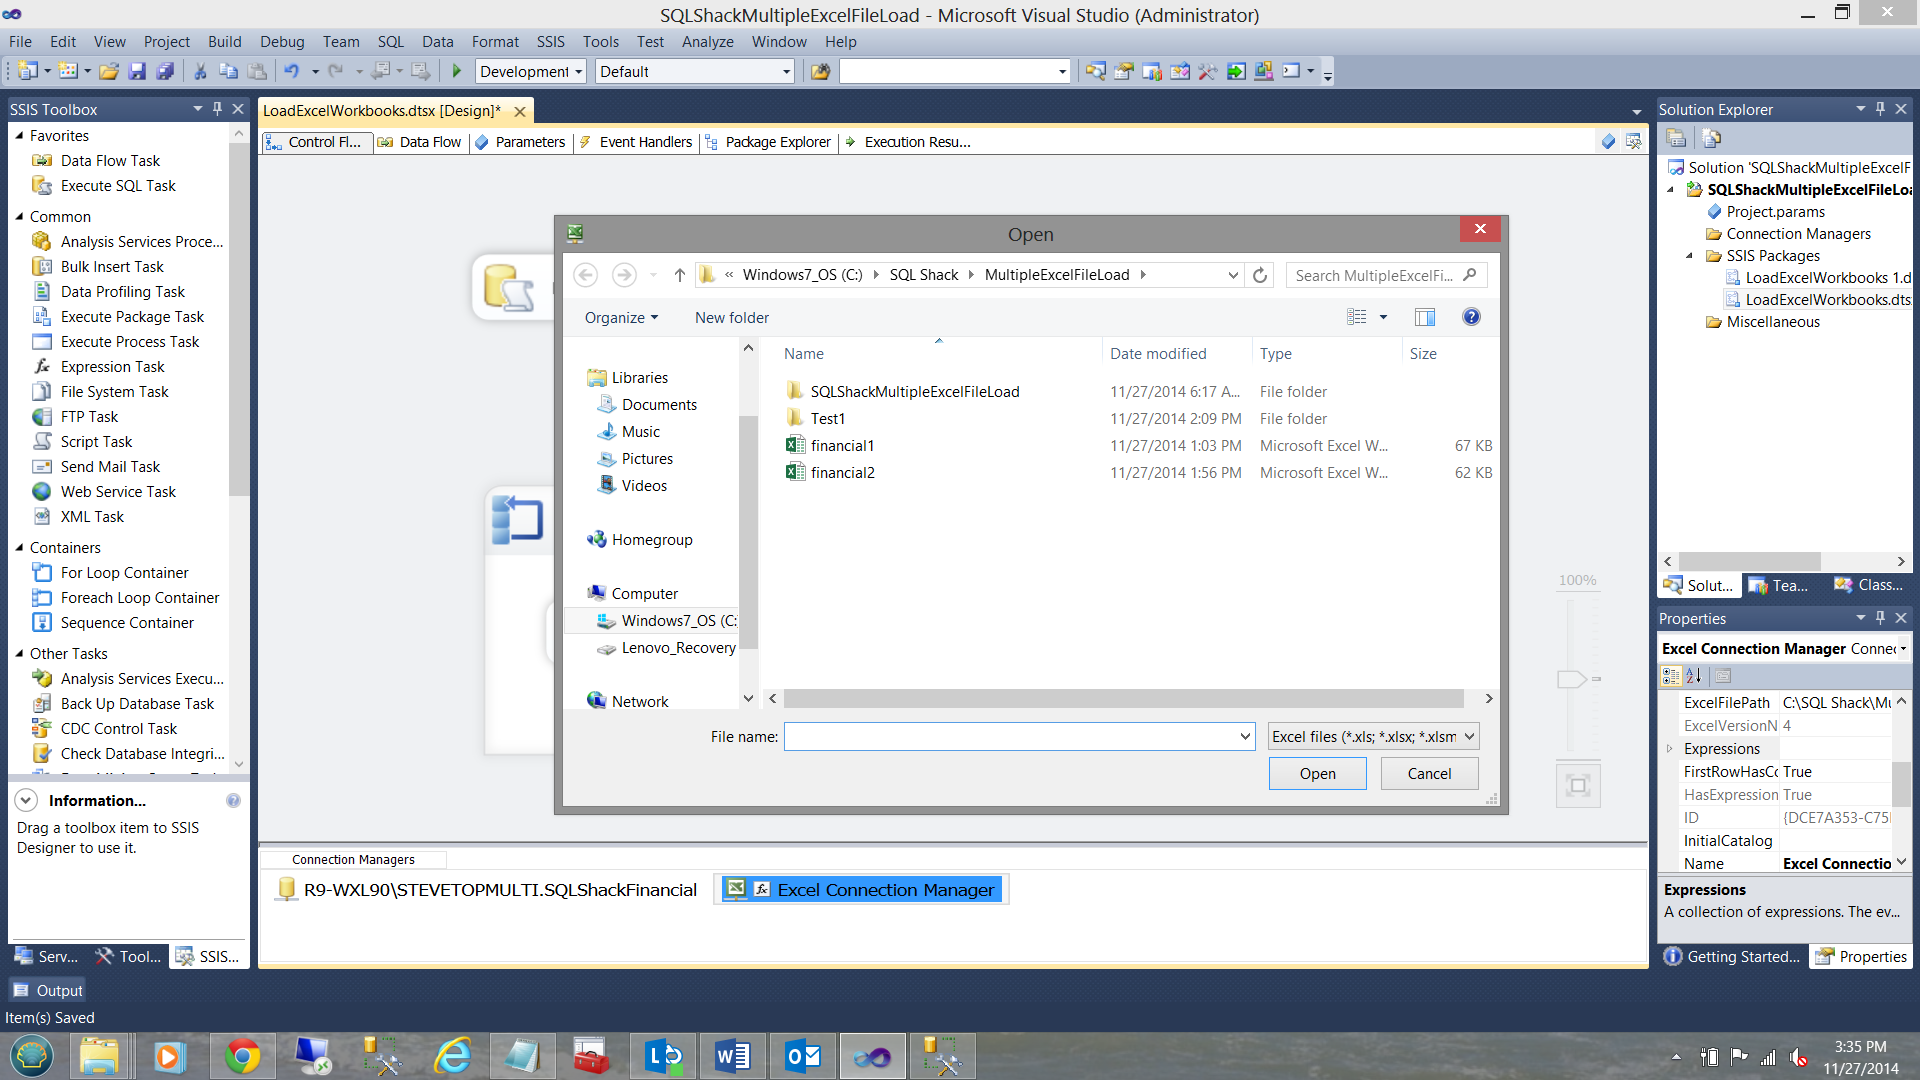
To accept this, I click “Open”.
要接受这一点,我单击“打开”。
My connection may be “finished” HOWEVER here comes the real tricky part!!!!
我的联系可能“结束”,但是真正棘手的部分却在这里!!!
Please stay with me for the next few sentences.
接下来的几句话,请和我在一起。
I now right click on the Excel connection that we just created and open the properties page.
现在,我右键单击刚刚创建的Excel连接,然后打开属性页 。
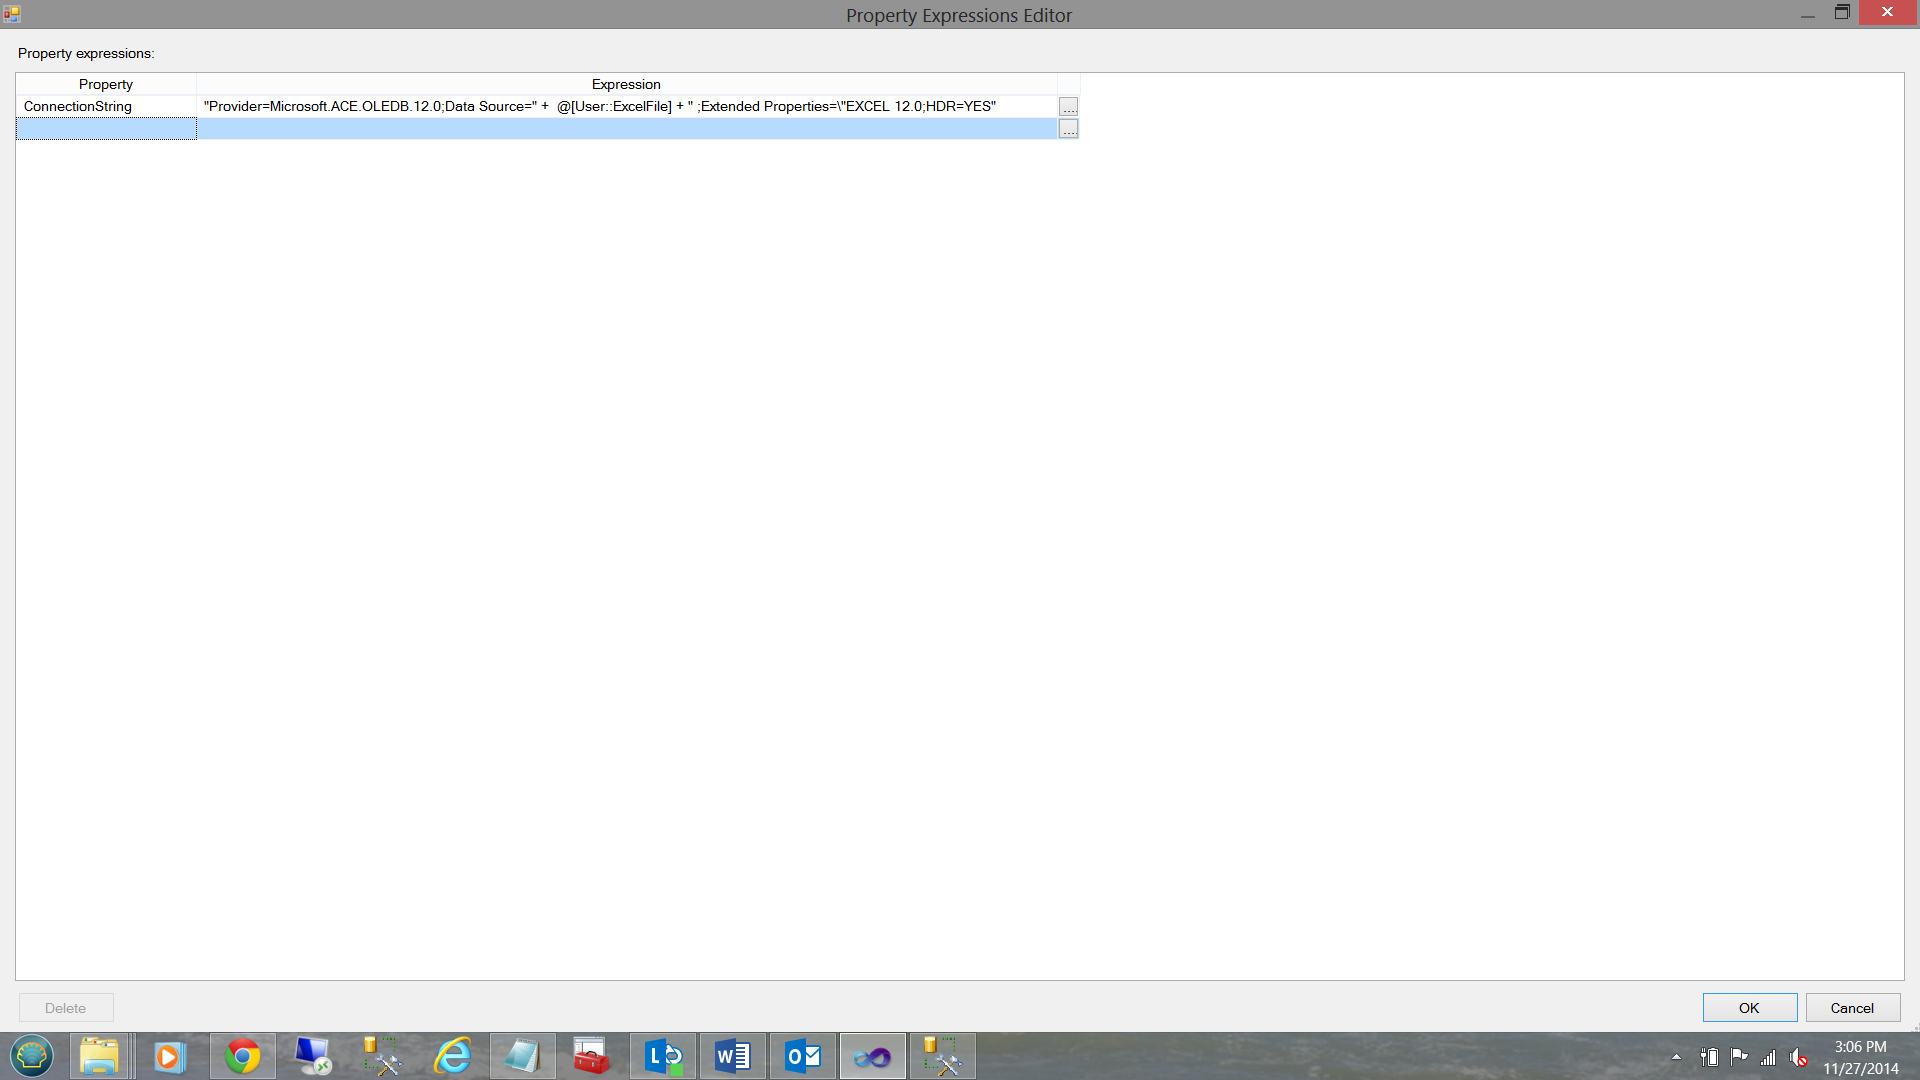
Find the “Expressions” property and click the ellipsis. The Property Expression Editor will then come up (see below).
找到“表达式”属性,然后单击省略号。 然后将出现“属性表达式编辑器”(请参见下文)。
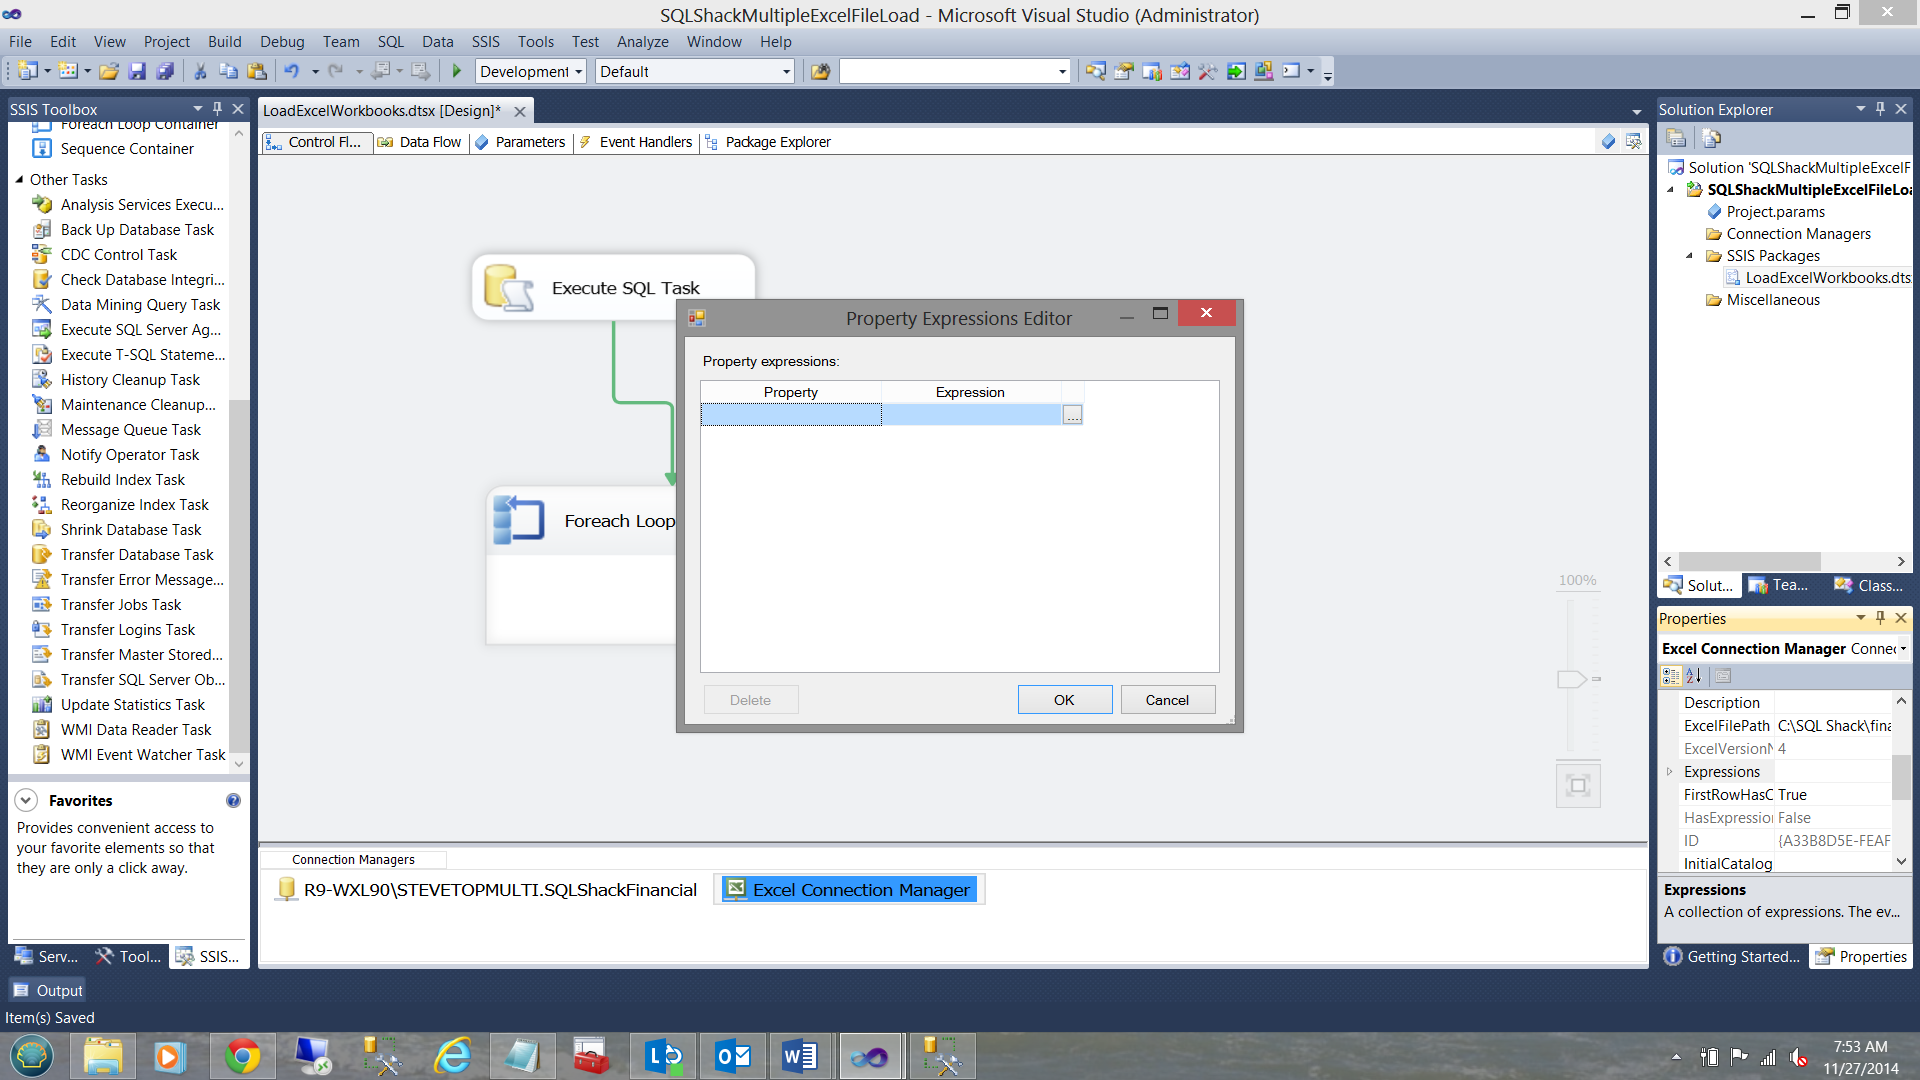
Choose “Connection String” from the “Property” dropdown box (see below)
从“属性”下拉框中选择“连接字符串”(见下文)
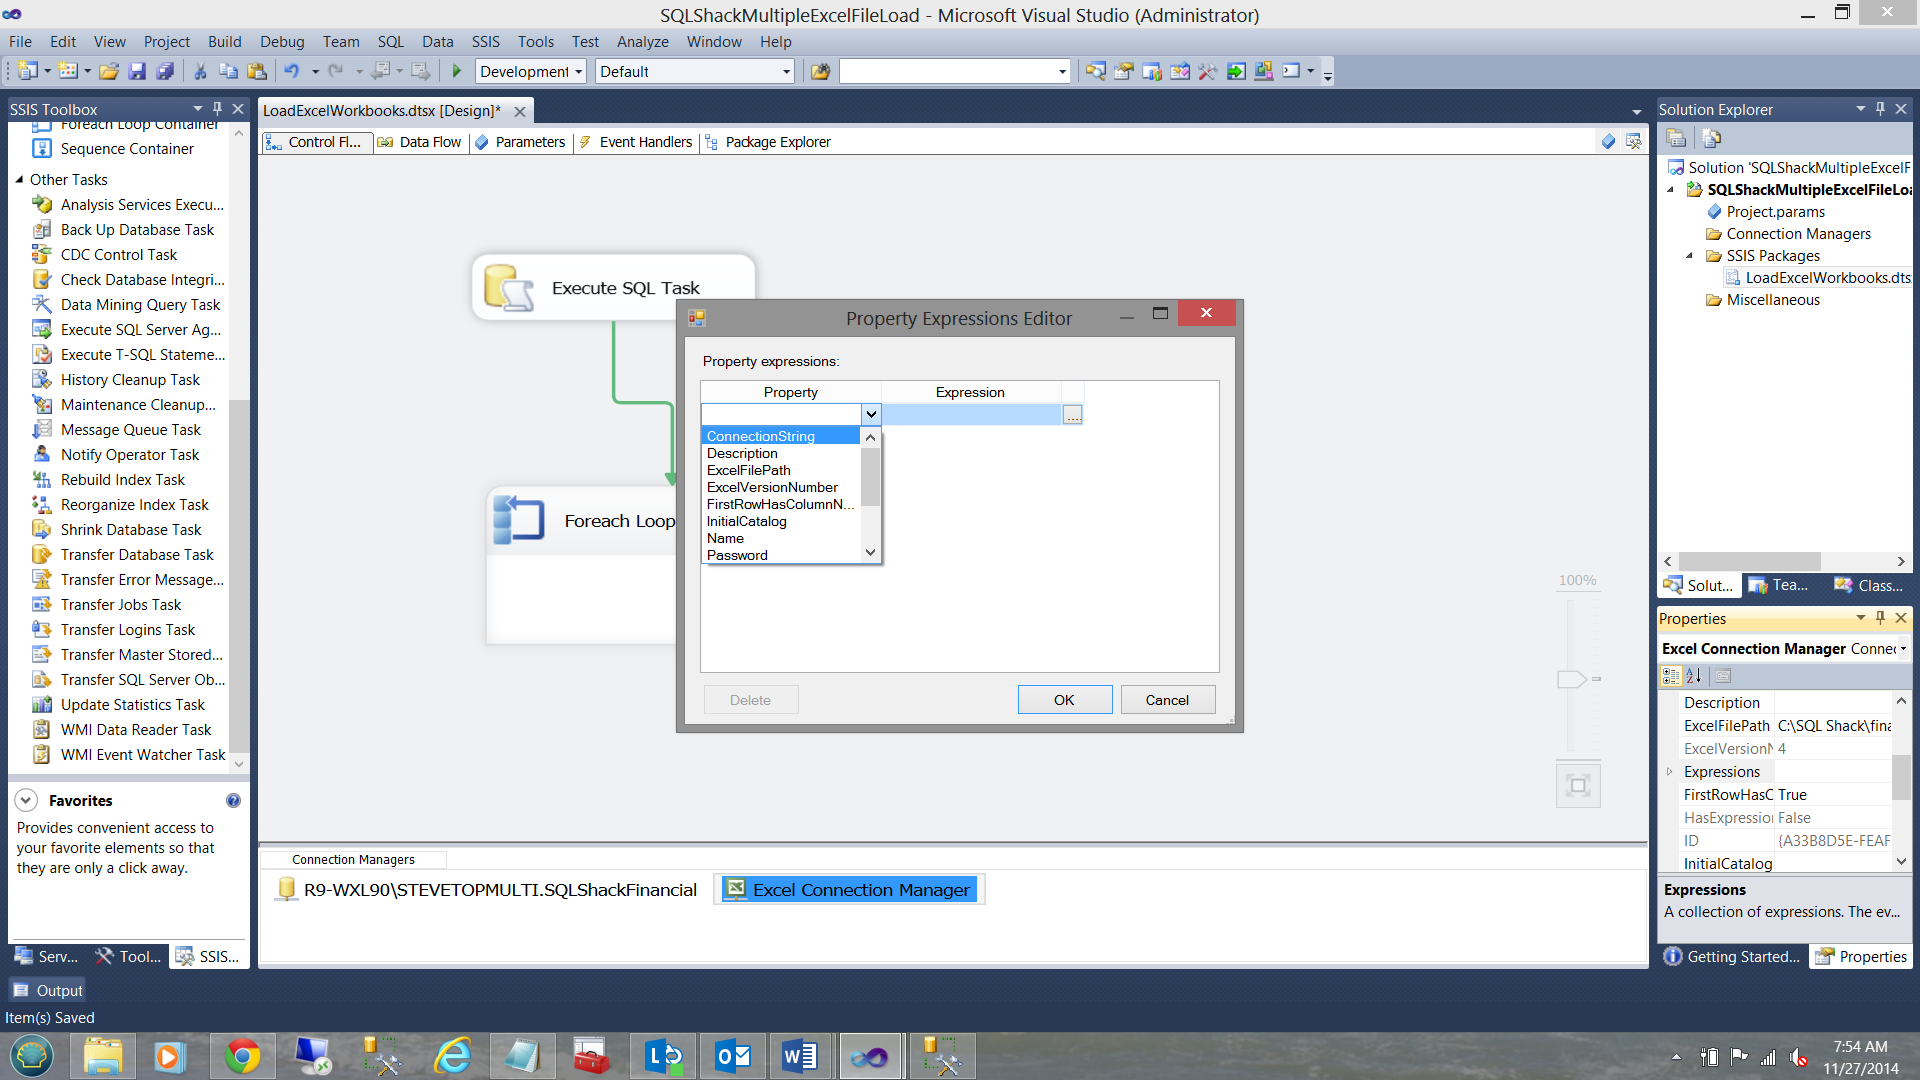
and copy the following expression
并复制以下表达式
Provider=Microsoft.ACE.OLEDB.12.0;Data Source=C:\Excel Load Loop\financial1.xlsx ;Extended Properties=”Excel 12.0;HDR=YES”;
Provider = Microsoft.ACE.OLEDB.12.0;数据源= C:\ Excel加载循环\ financial1.xlsx;扩展属性=“ Excel 12.0; HDR = YES”;
注意,必须删除对XML的所有引用! (NOTE that any references to XML must be removed!!!!!!!)
into the “Expression” box (see above) or a better example may be seen in the section entitled ‘Caveat Emptor’ below.
放入“表达式”框中(参见上文),或者在下面标题为“ Caveat Emptor”的章节中可以找到更好的示例。
We are now ready to design our Data Flow.
现在,我们准备设计数据流。
创建数据流 (Creating the Data Flow)
To begin we add a “Data Flow Task” to our “Foreach Loop Container” see below
首先,我们将“数据流任务”添加到“ Foreach循环容器”中,如下所示
Switching to the Data Flow tab within our SSIS project we find our blank surface.
切换到SSIS项目中的“数据流”选项卡,我们找到了空白表面。
I now add an “Excel Data Source” to the working surface.
现在,我将一个“ Excel数据源”添加到工作表面。

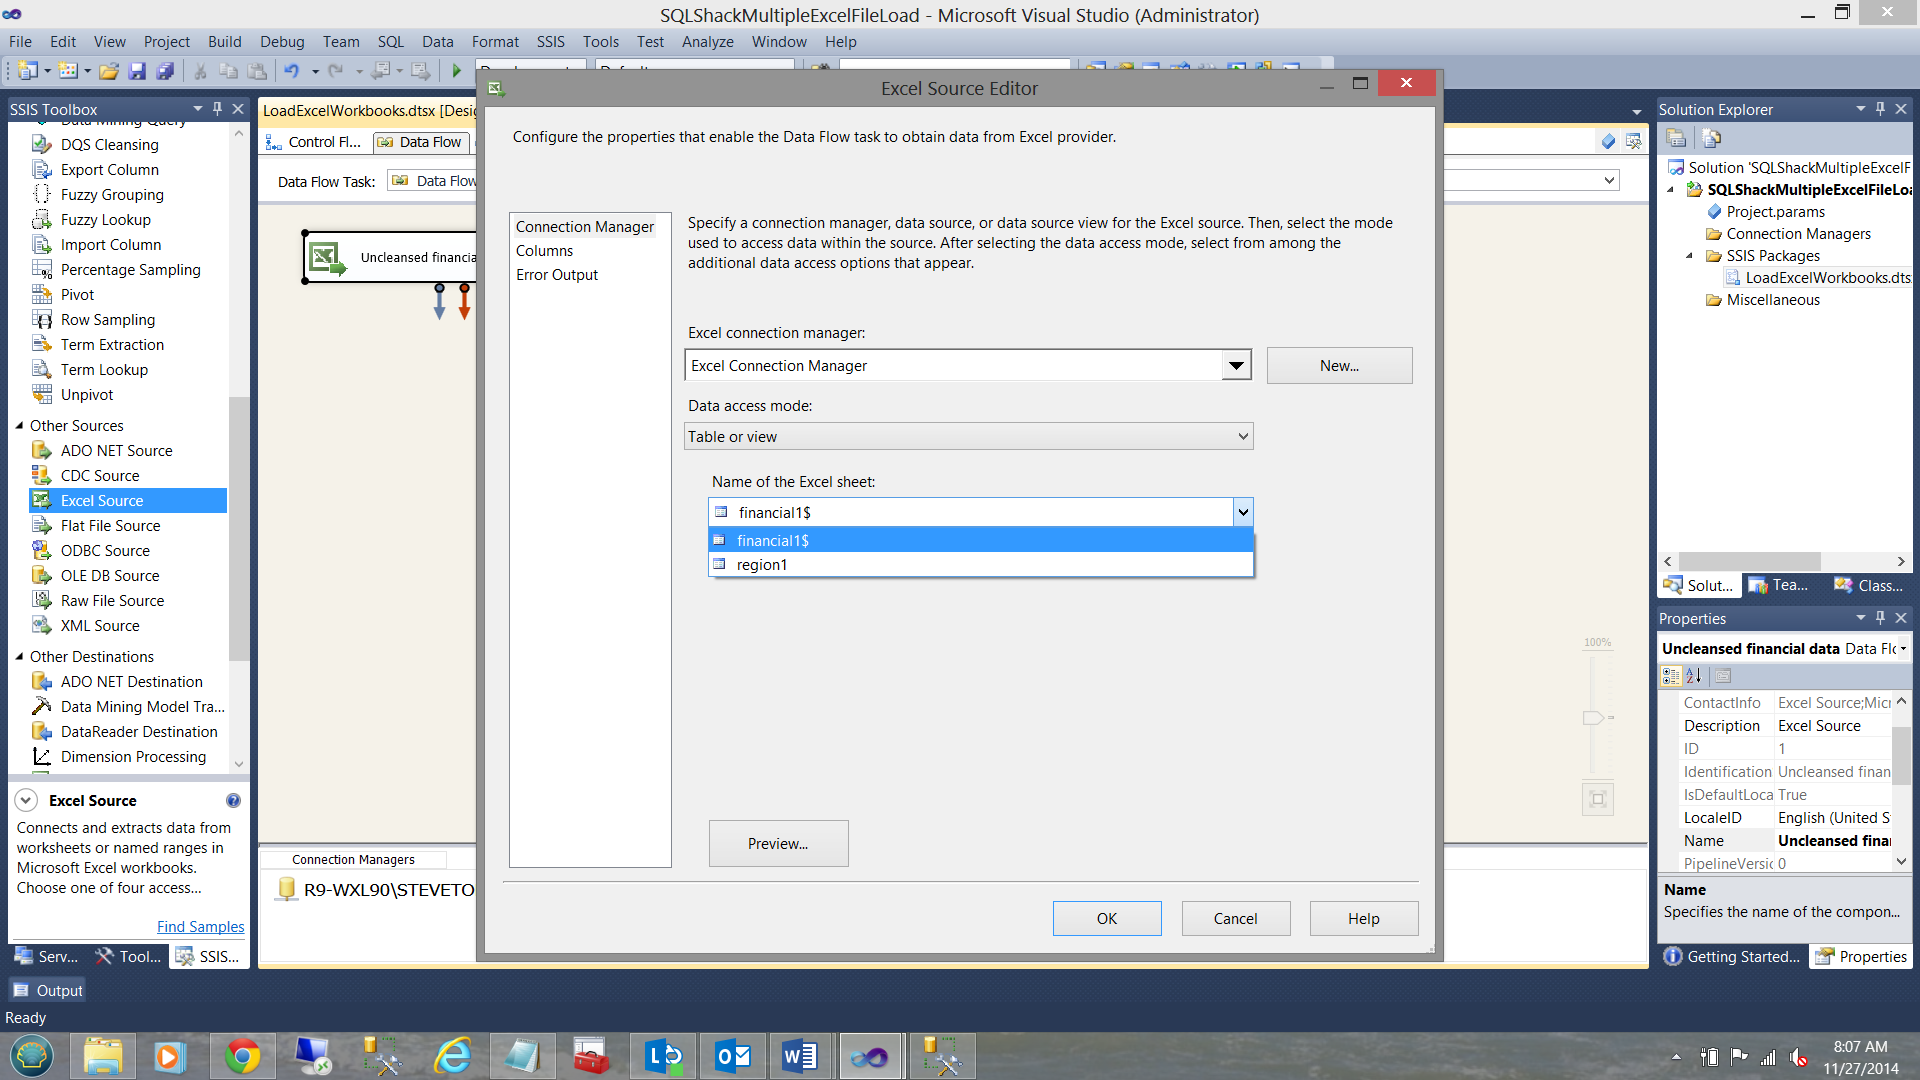
By double click the control, I bring up the “Excel Source Editor”. I select the “Connection Manager” tab and then select the financial1$ (my common worksheet name) (see below).
通过双击控件,我调出“ Excel Source Editor”。 我选择“连接管理器”选项卡,然后选择Financial1 $(我常用的工作表名称)(见下文)。
Click now upon the “Columns” tab, I find a list of the columns within the spreadsheet(see below).
现在单击“列”选项卡,在电子表格中找到列的列表(请参见下文)。
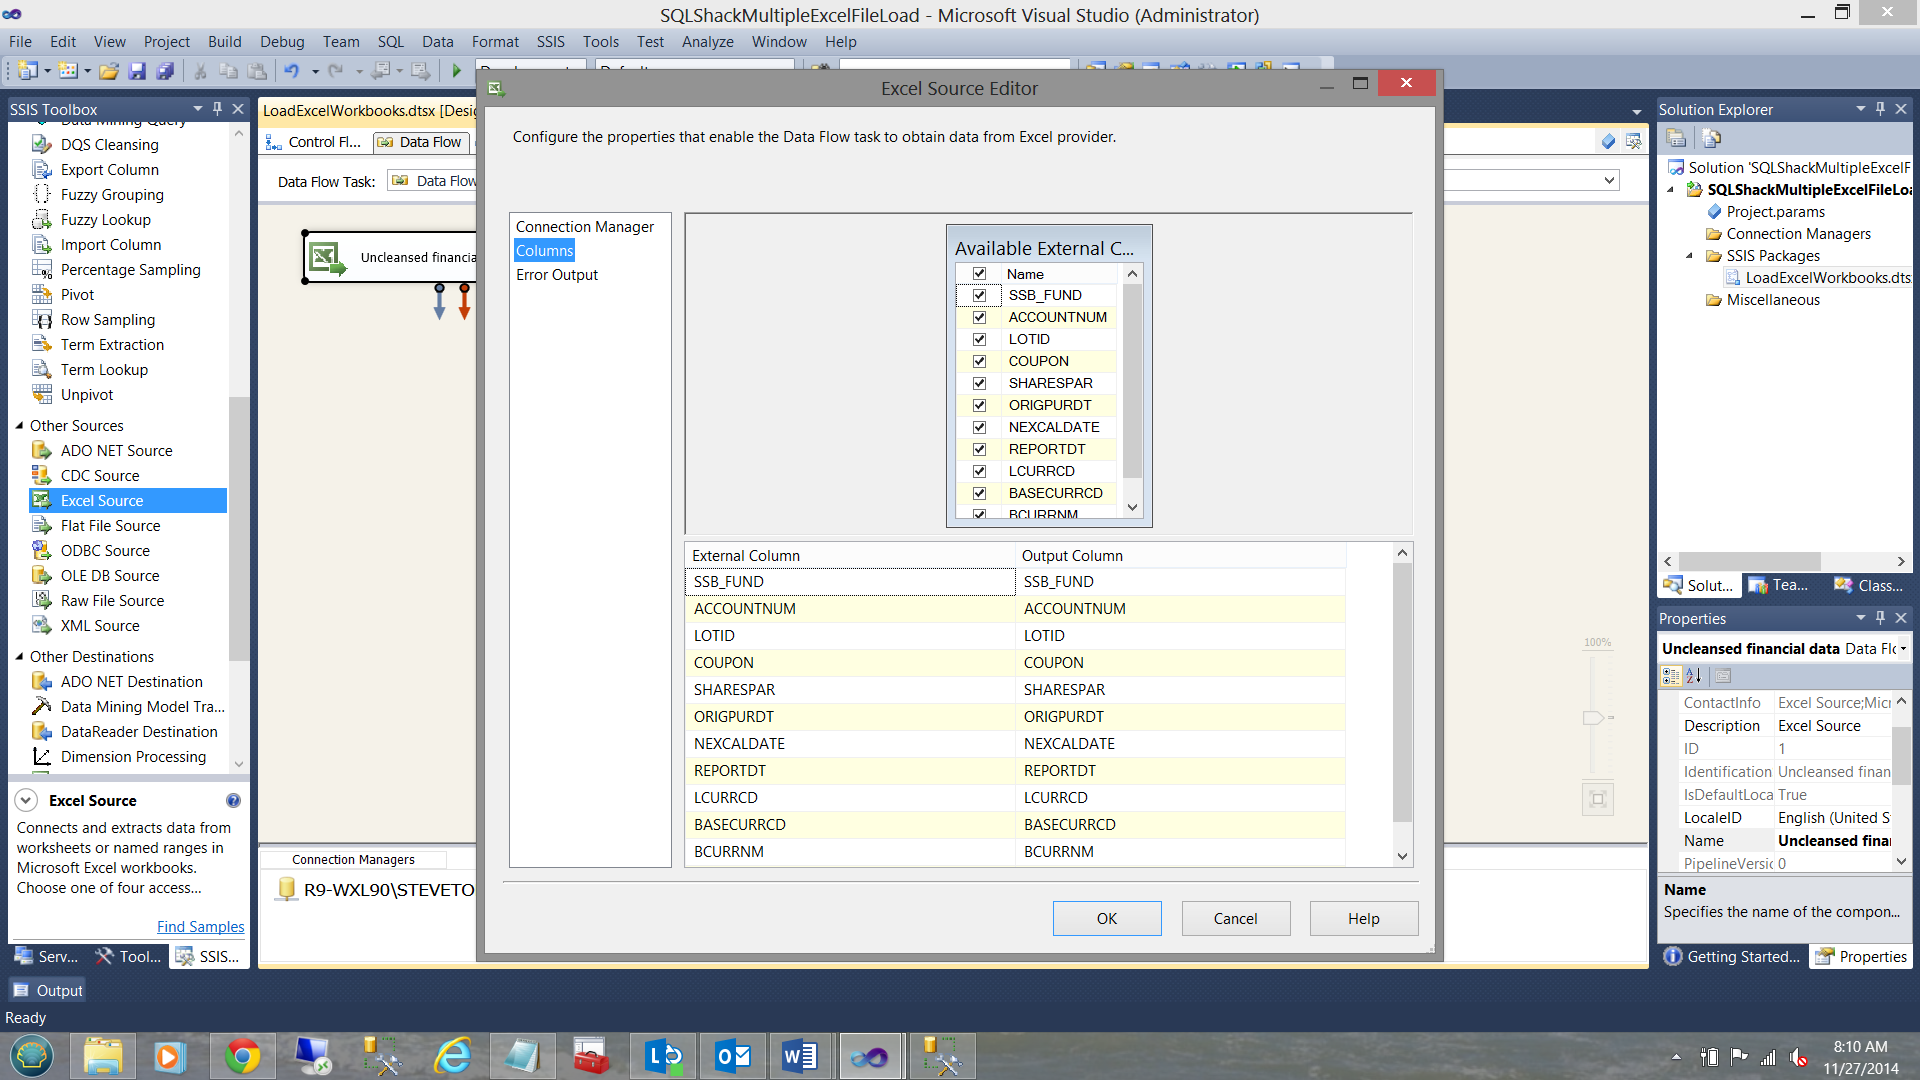
Now that I am happy that all the columns are present, I click OK to exit from the “Excel Source Editor”.
现在,我很高兴看到所有列都存在,因此单击“确定”退出“ Excel Source Editor”。
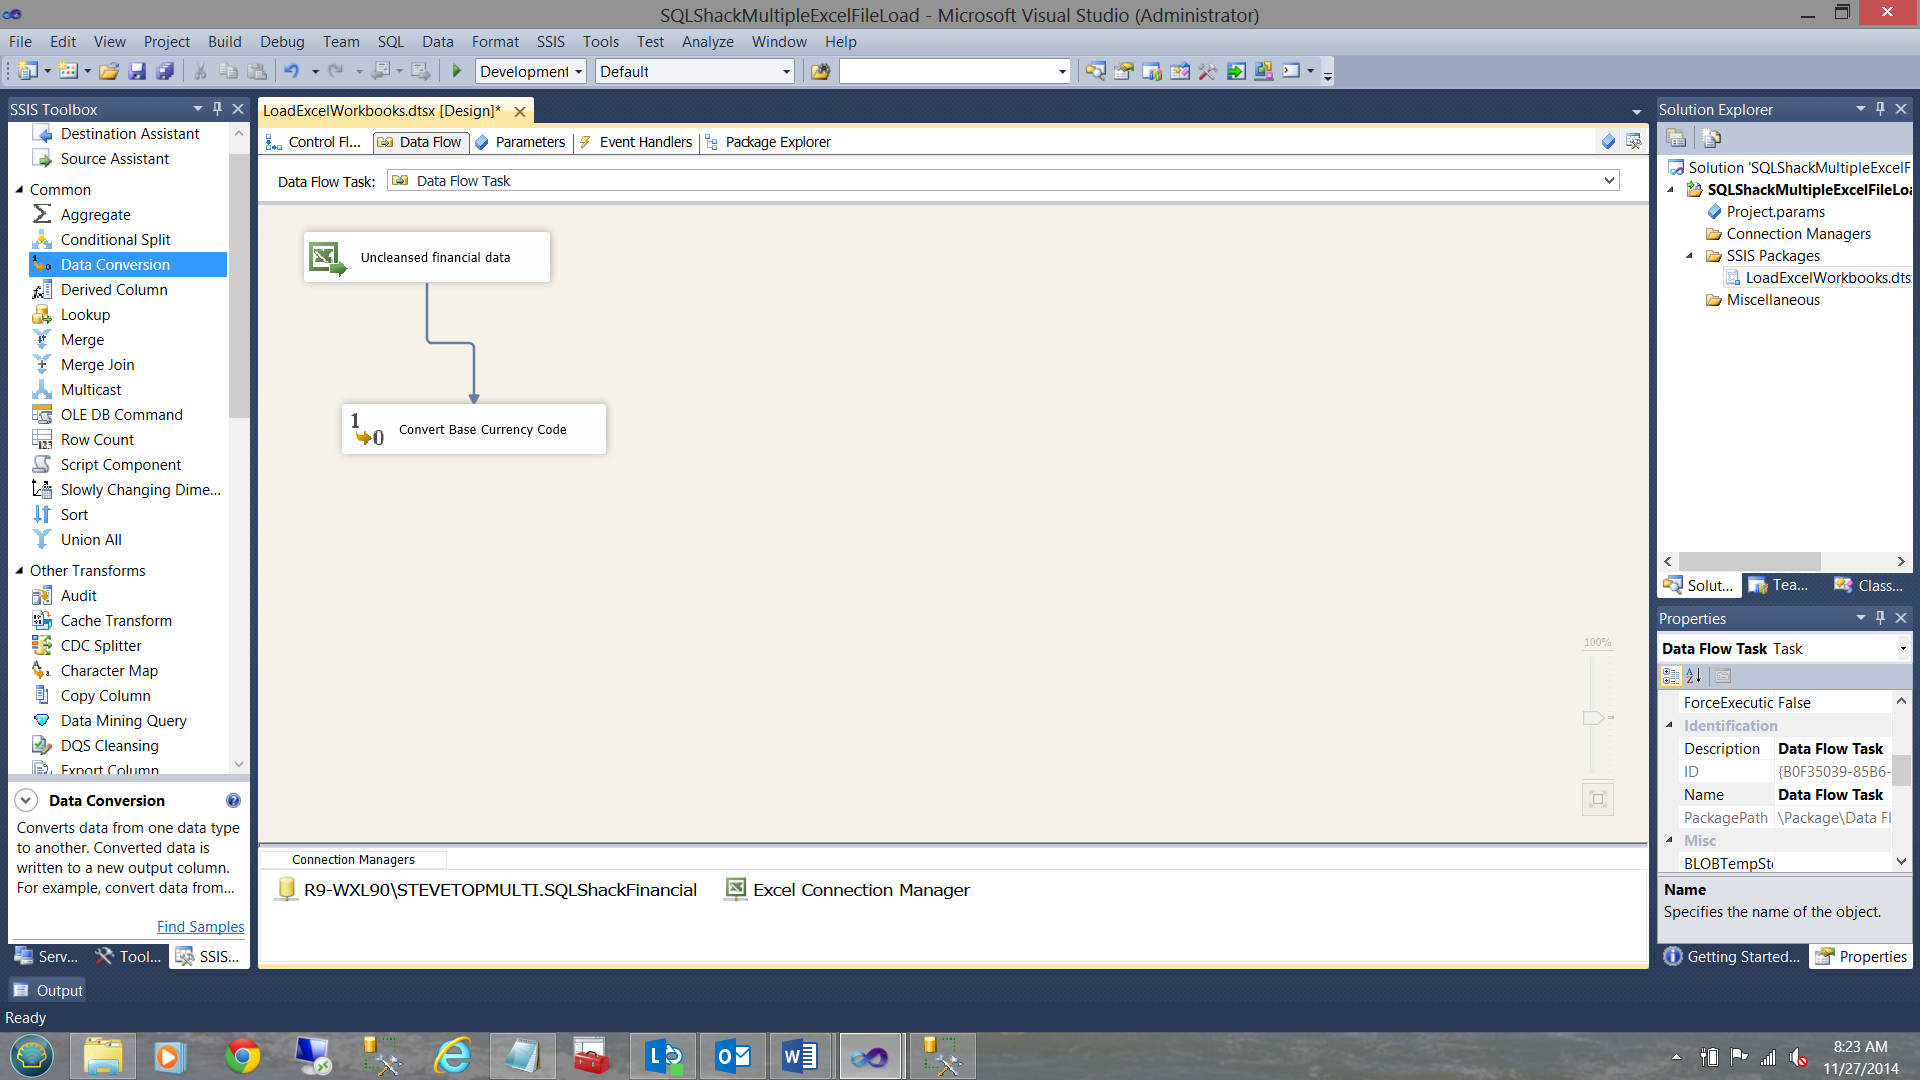
As I KNOW that my “Base currency codes” are in the wrong format, I drag a “Data Conversion” control onto the work surface and join it to my “Excel Data Source”.
当我知道“基本货币代码”的格式错误时,我将“数据转换”控件拖到工作面上,然后将其加入“ Excel数据源”。
Opening the “Data Conversion” control I find my “Base currency code” and convert it to a “DT_WSTR” format with a length of 25 (see below).
打开“数据转换”控件,找到我的“基础货币代码”,并将其转换为长度为25的“ DT_WSTR”格式(请参见下文)。
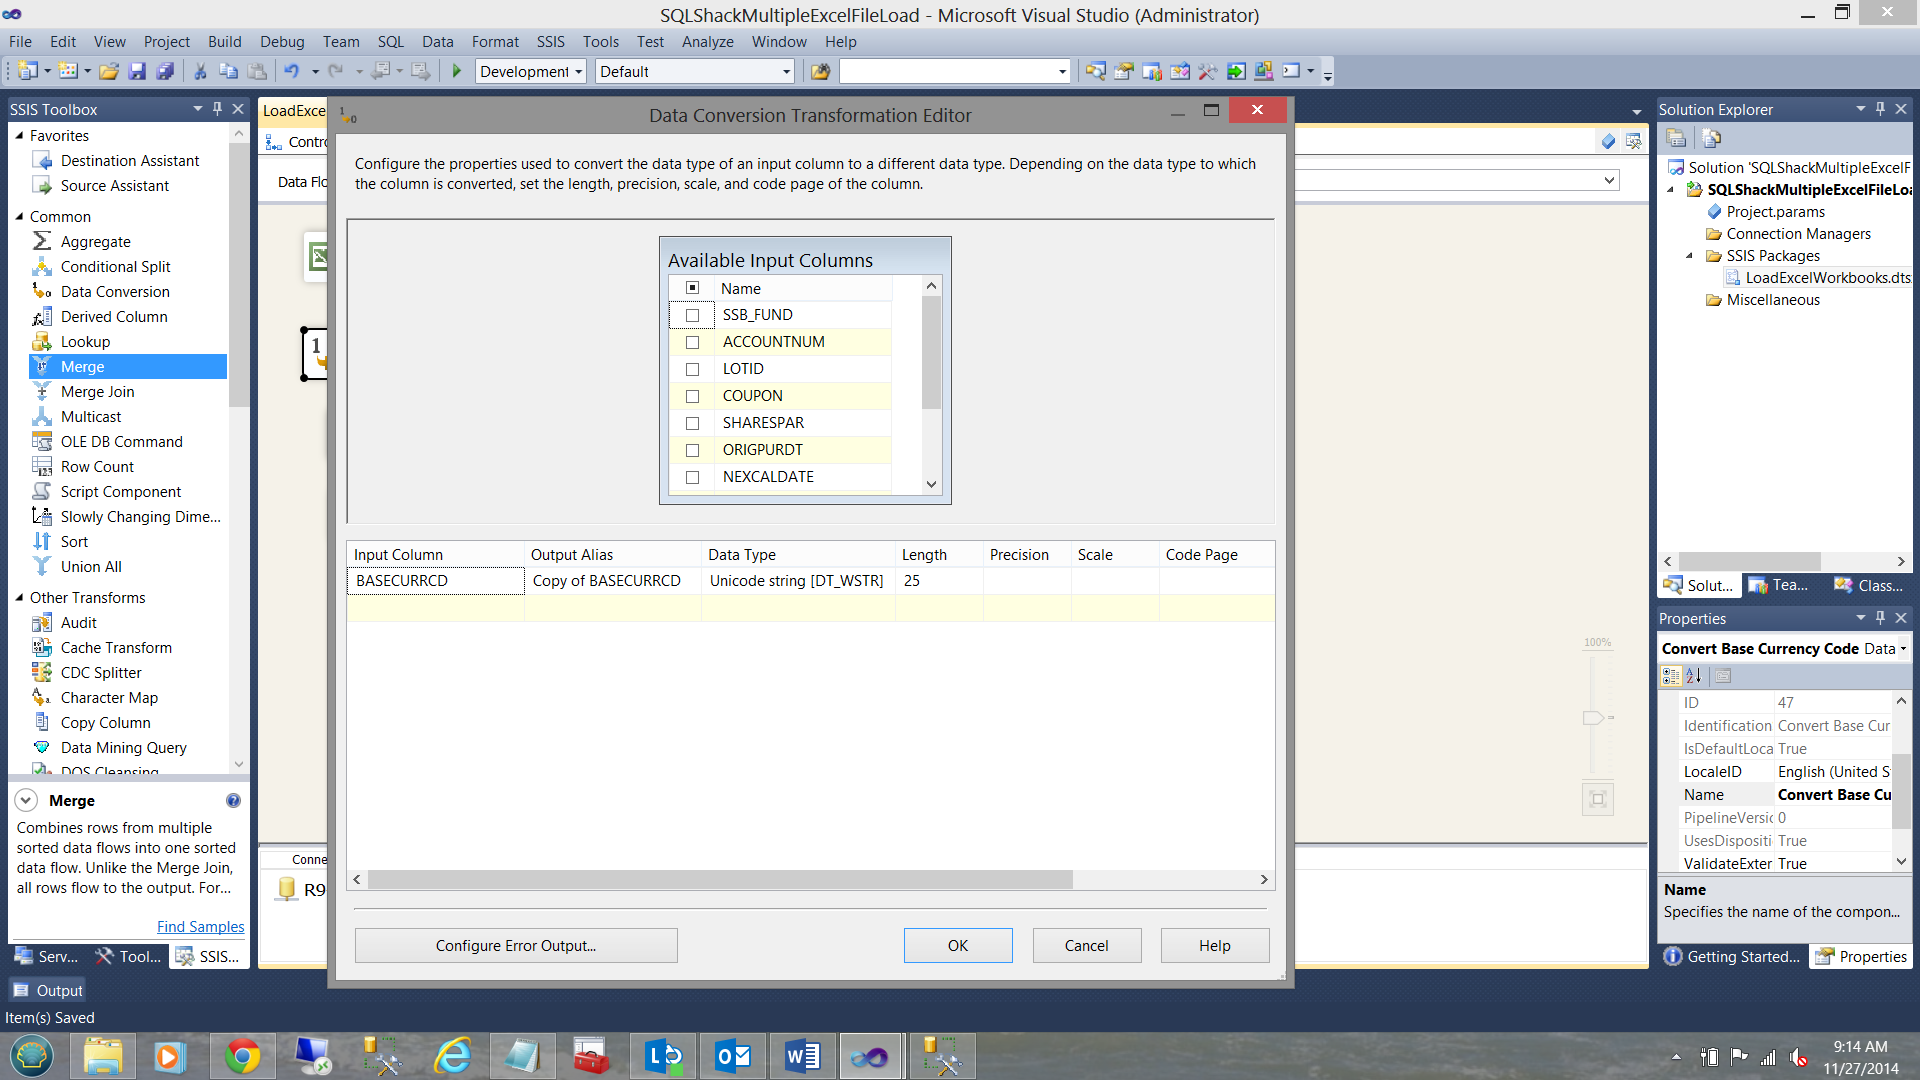
We are now complete with our data conversion. You may or probably will have additional fields that must be converted prior to being able to include values into your SQL Server database tables. They would be entered below the base currency code (as shown in the screen dump).
现在,我们完成了数据转换。 在将值包含到SQL Server数据库表中之前,您可能或可能会有其他字段必须转换。 将在基本货币代码下方输入它们(如屏幕转储所示)。
As my ‘par share” values are comma delimited and this often creates issues loading the values into SQL Server I have opted to add an additional step of transforming the data via a ‘derived column’. Yes, I could have altered the data format of the spreadsheet to be “un comma delimited” HOWEVER for this exercise I want to show you an alternate option.
由于我的“标准份额”值以逗号分隔,因此在将值加载到SQL Server中时经常会产生问题,因此我选择添加一个额外的步骤来通过“派生列”转换数据。 是的,我可以将电子表格的数据格式更改为“以逗号分隔”,但是对于本练习,我想向您展示一个替代选择。
Opening the “Derived Column Transformation Editor” I replace the existing ‘SHAREPAR field with the following:
打开“派生列转换编辑器”,我将现有的“ SHAREPAR”字段替换为以下内容:
I am now complete within the “Derived Column Transformation Editor” thus I close out by clicking OK.
现在,我已经在“派生列转换编辑器”中完成操作,因此单击“确定”结束。
修复其他列 (Fixing other columns)
Knowing full well that I often have incorrect currency names or BLANK currency names within my incoming data, I now need to cater for both cases.
充分了解我的传入数据中经常有不正确的货币名称或BLANK货币名称,现在我需要解决这两种情况。
I now add a “Conditional Split” to the feed and open the “Conditional Split Transformation Editor”.
现在,我向Feed中添加“条件拆分”,然后打开“条件拆分转换编辑器”。
The astute reader will note that I have catered solely here for the case of a blank currency name on the incoming data. We shall see how to handle erroneous currency names in a few minutes.
精明的读者会注意到,我仅在这里为输入数据中的空白货币名称提供服务。 我们将在几分钟后看到如何处理错误的货币名称。
I close out of the “Conditional Split Transformation Editor”.
我将关闭“条件拆分转换编辑器”。
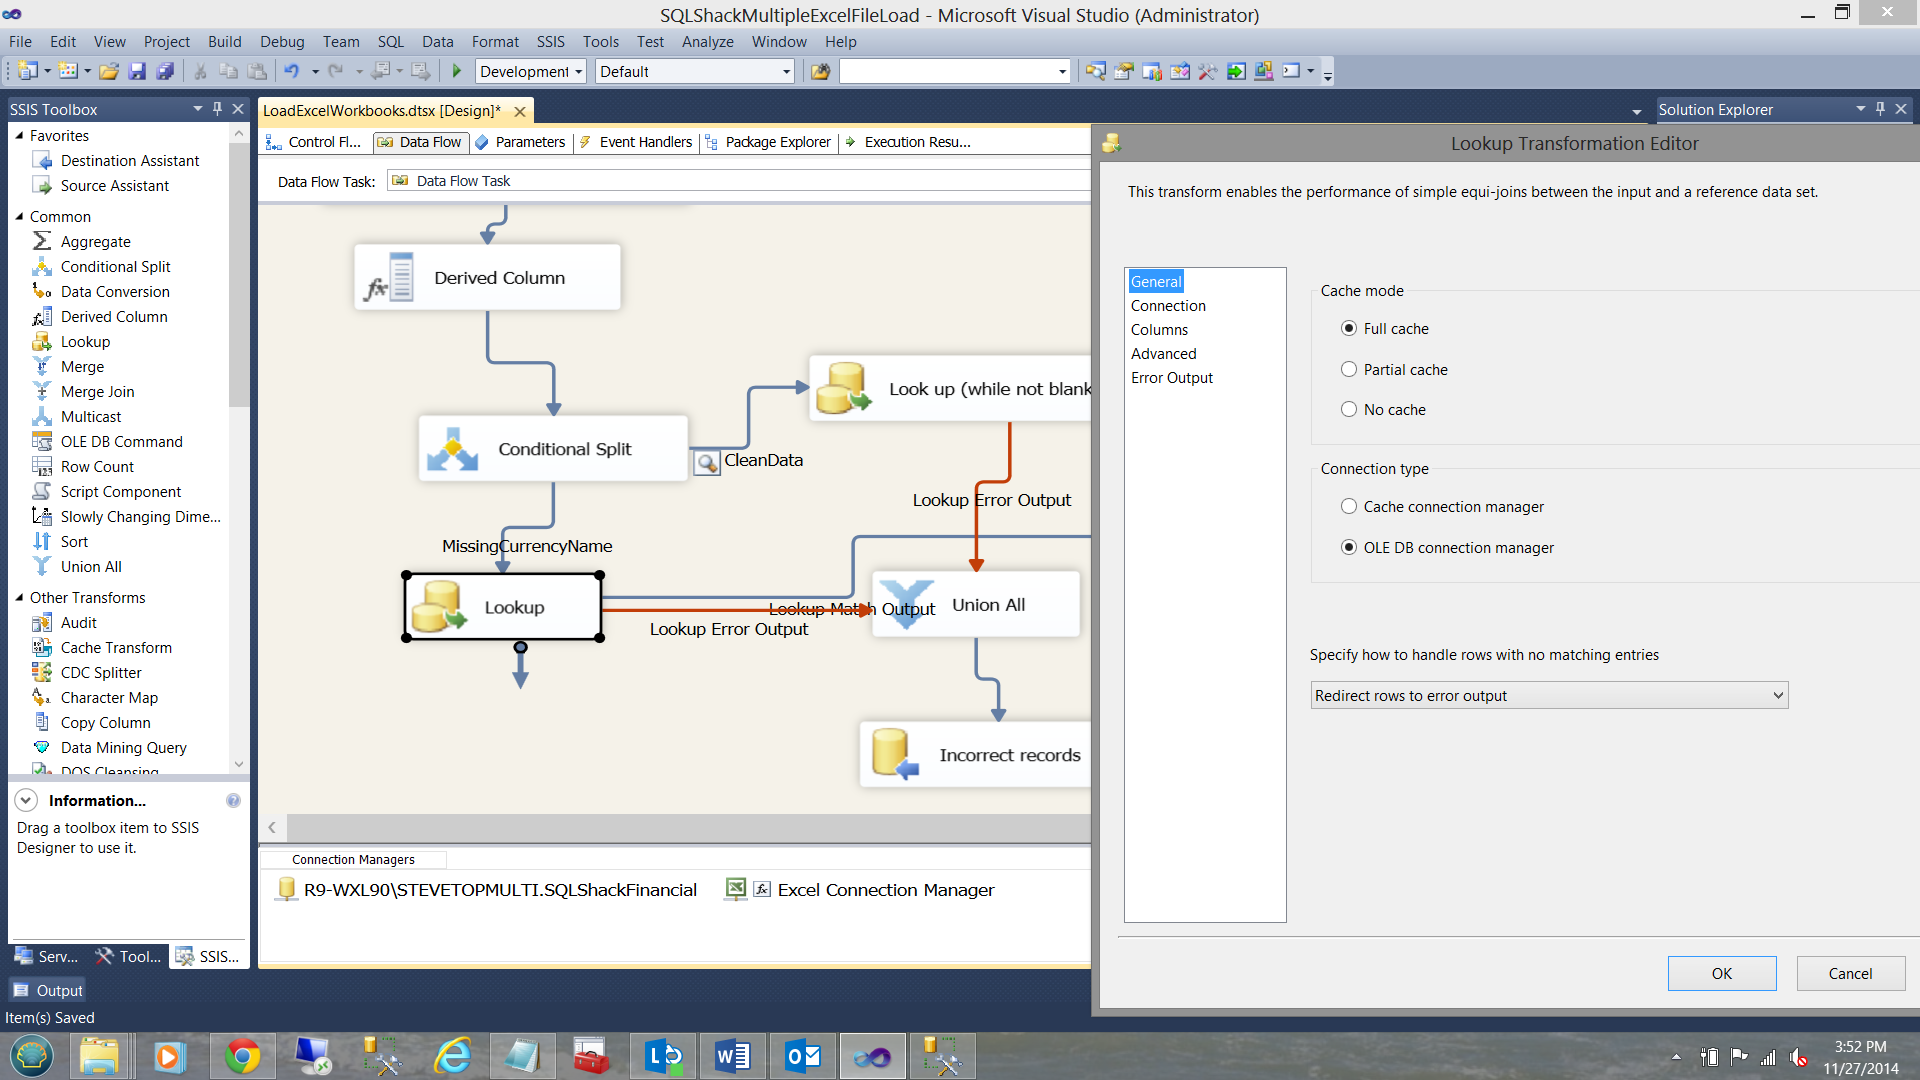
For the “Good Data” branch of the Conditional Split, I now perform a “Look up” to ensure that the currency name on my incoming records are valid. I add a “Lookup” control.
对于条件拆分的“ Good Data”分支,我现在执行“ Look up”以确保传入记录中的货币名称有效。 我添加一个“查找”控件。
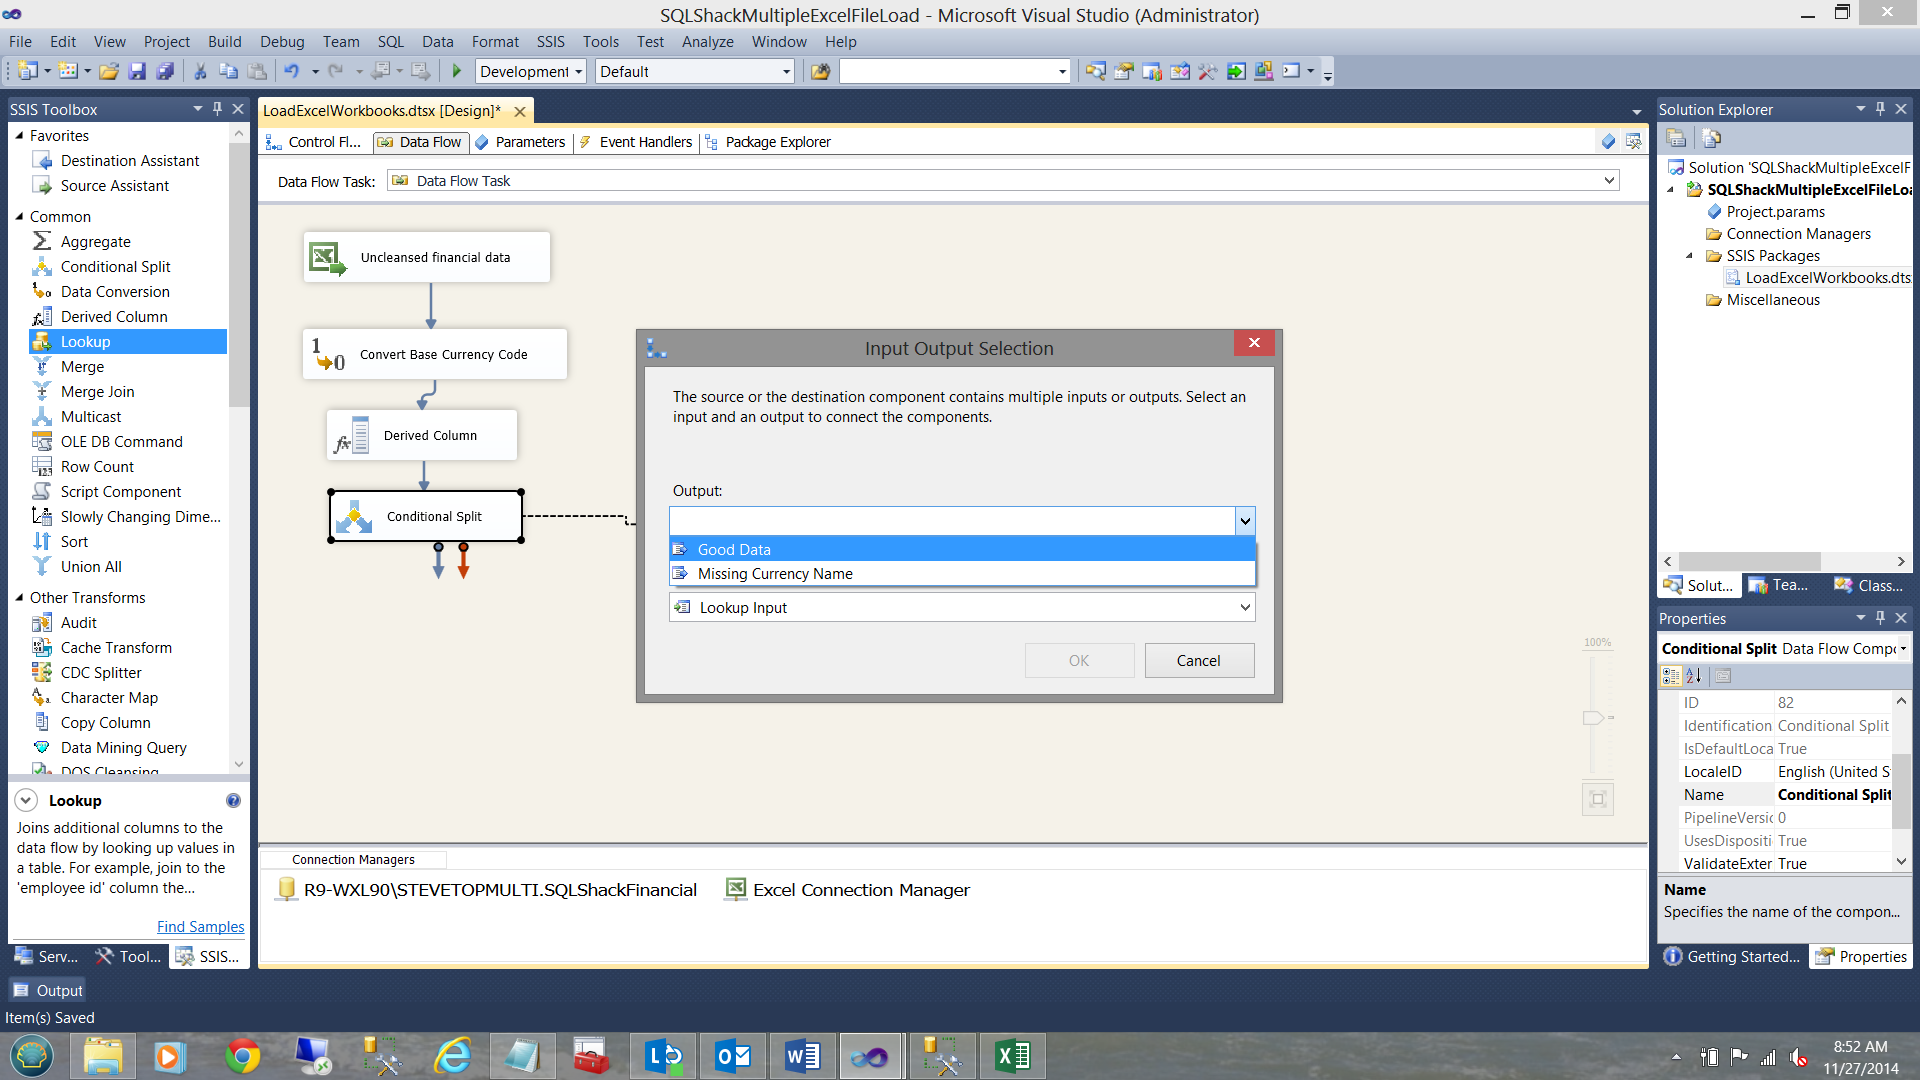
The “Look up” now added, I must now configure the “Good Data” portion. I select the “Good Data” option.
现在添加了“查找”,我现在必须配置“良好数据”部分。 我选择“良好数据”选项。
I must now configure the “Look Up” control.
现在,我必须配置“查找”控件。
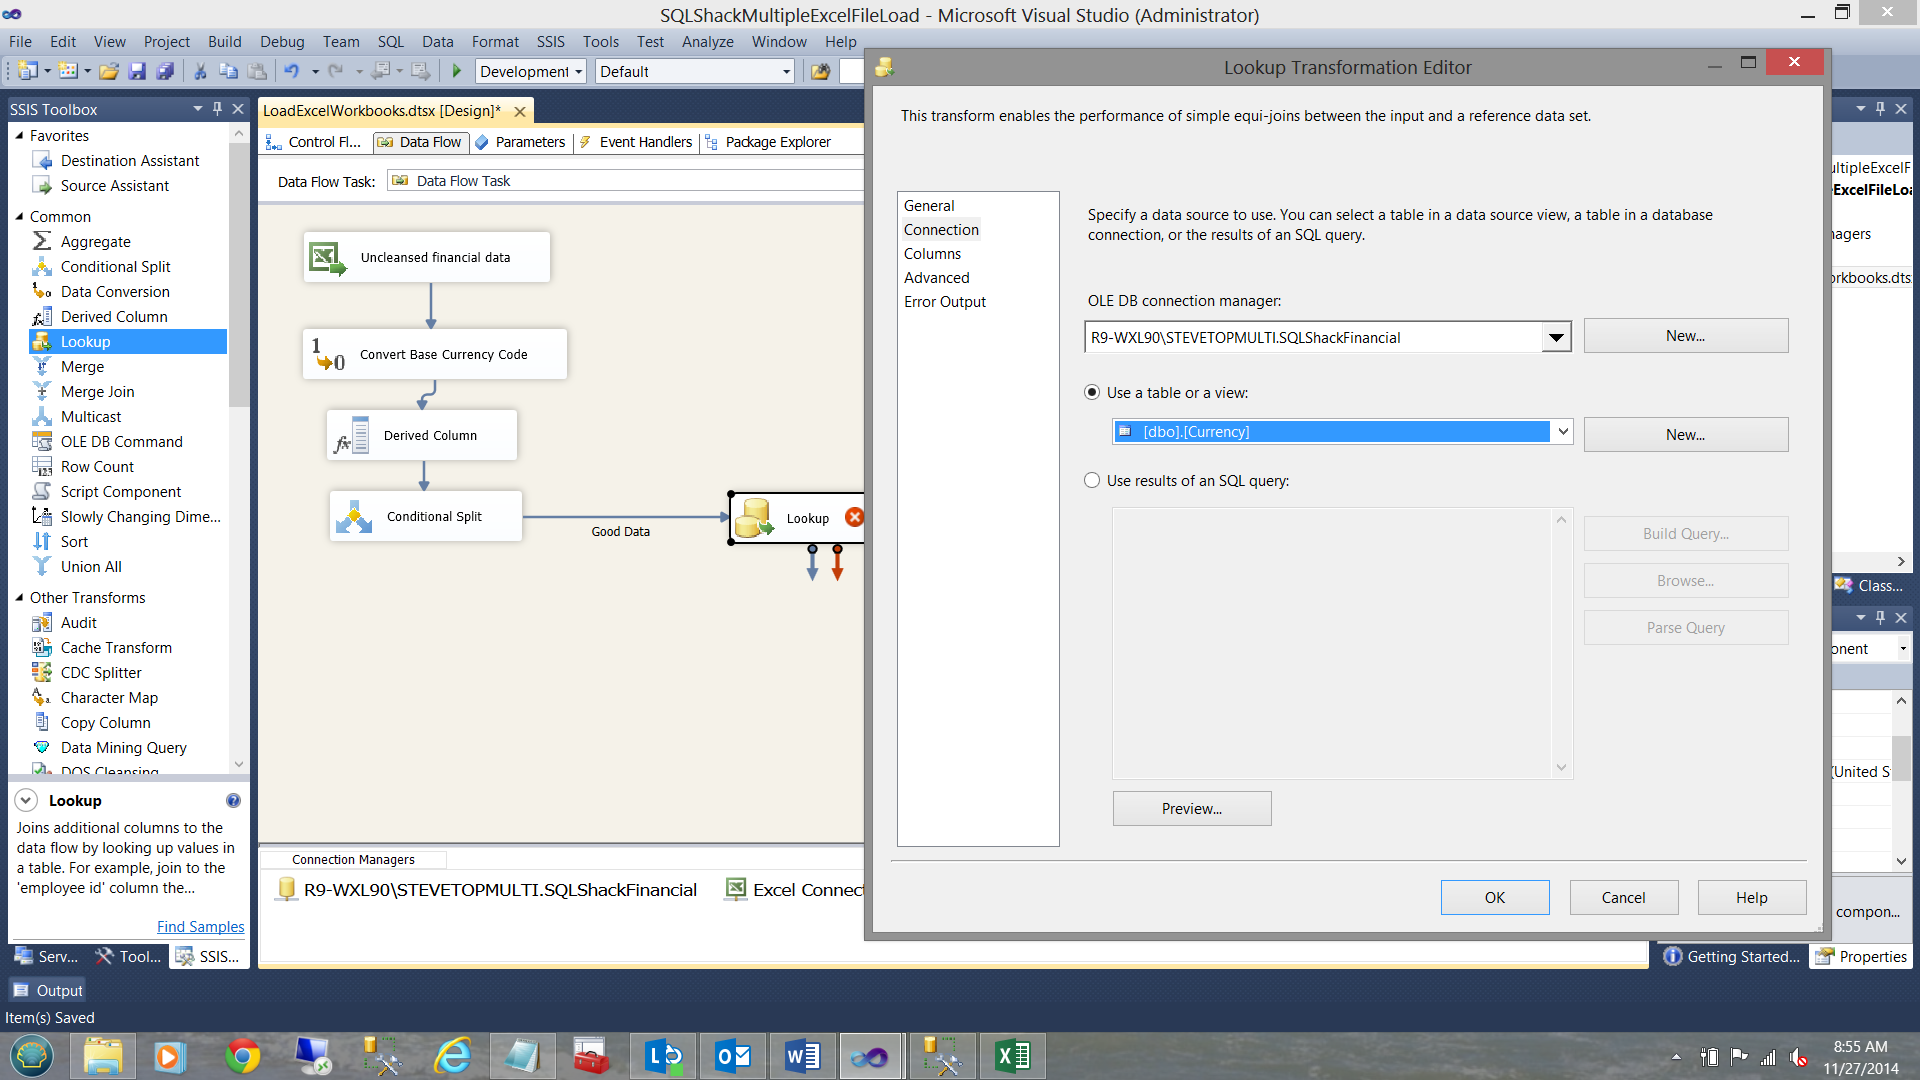
I set the look up table to check my master currency list within the Currency table.
我设置了查询表,以检查“货币”表中的主货币列表。
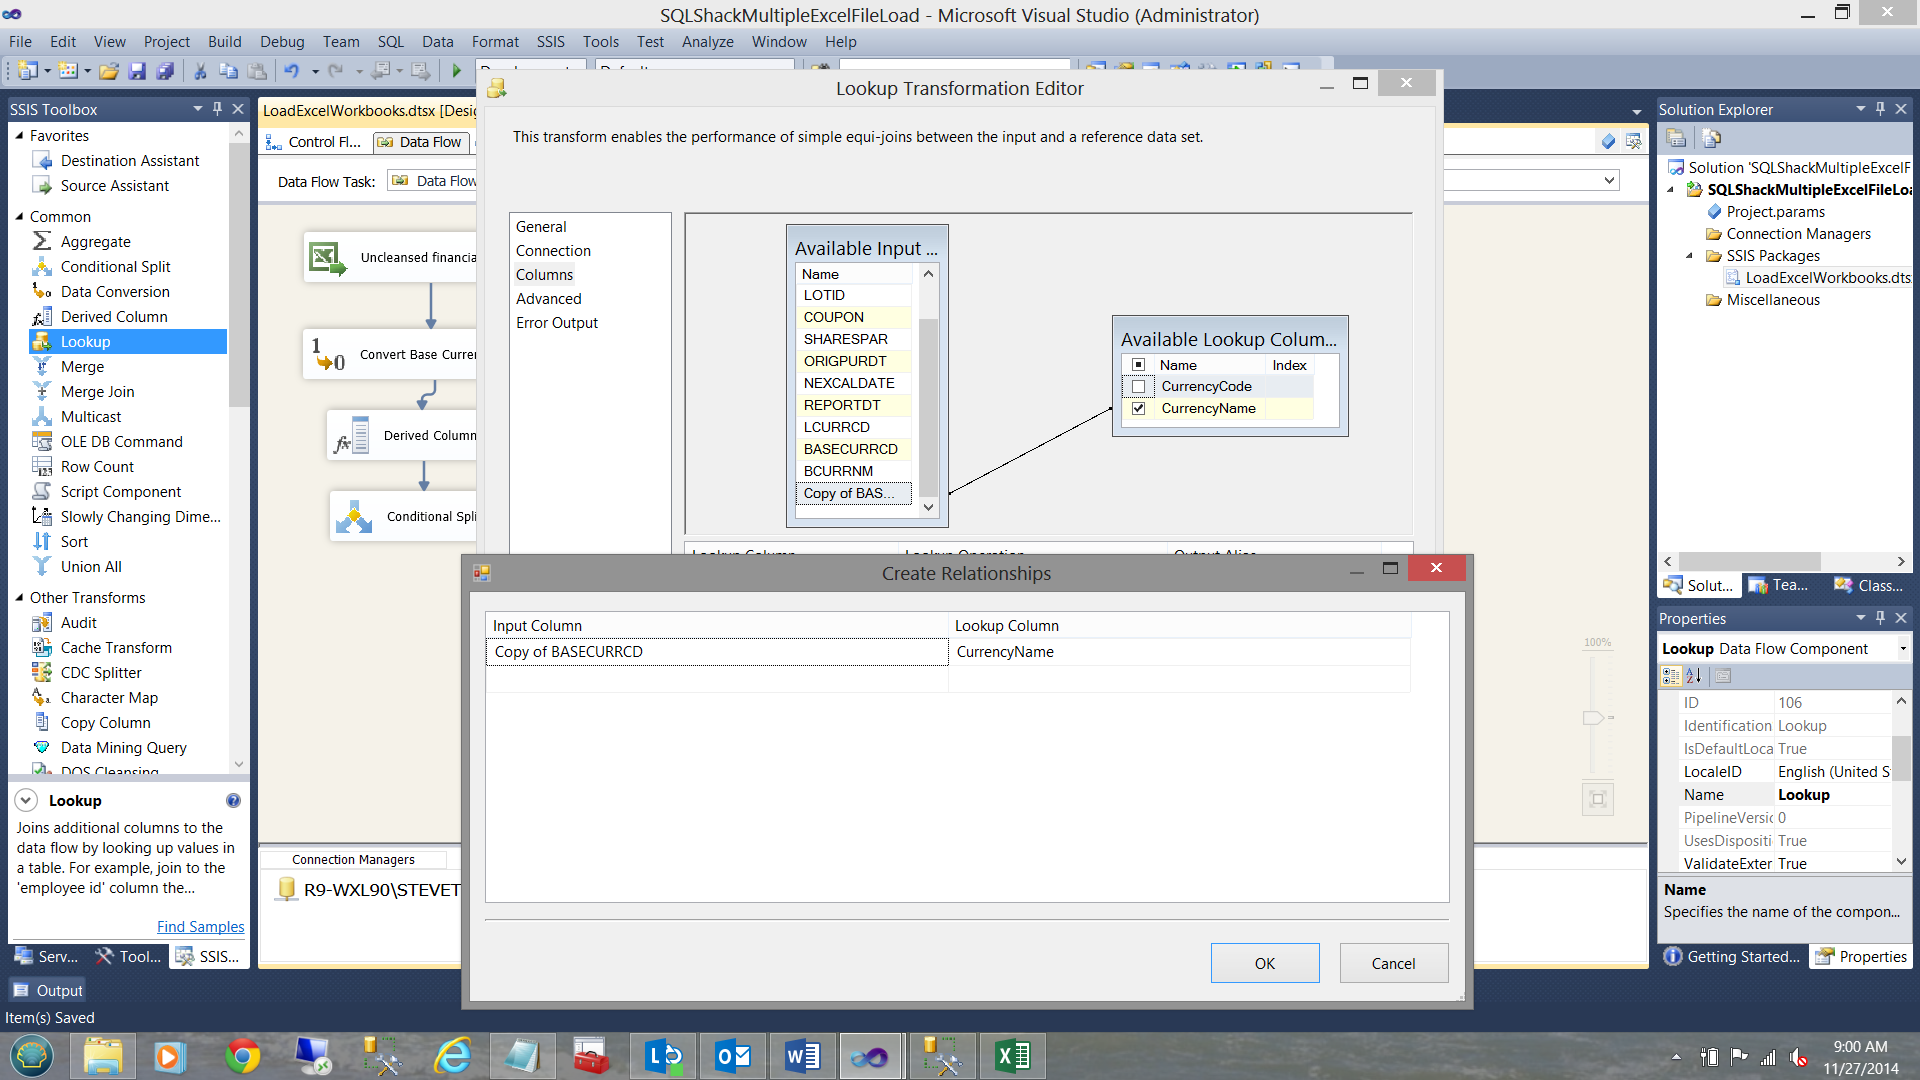
As you will note above, I have mapped the copy of the currency code to the currency code from the master list within the “Currency” table. I wish to look up the Currency Name. We are now finished with the “Lookup” thus I close out of the Editor.
如您在上面所述,我已经将货币代码的副本映射到“货币”表中主列表中的货币代码。 我希望查找货币名称。 现在,我们完成了“查找”,因此我退出了编辑器。
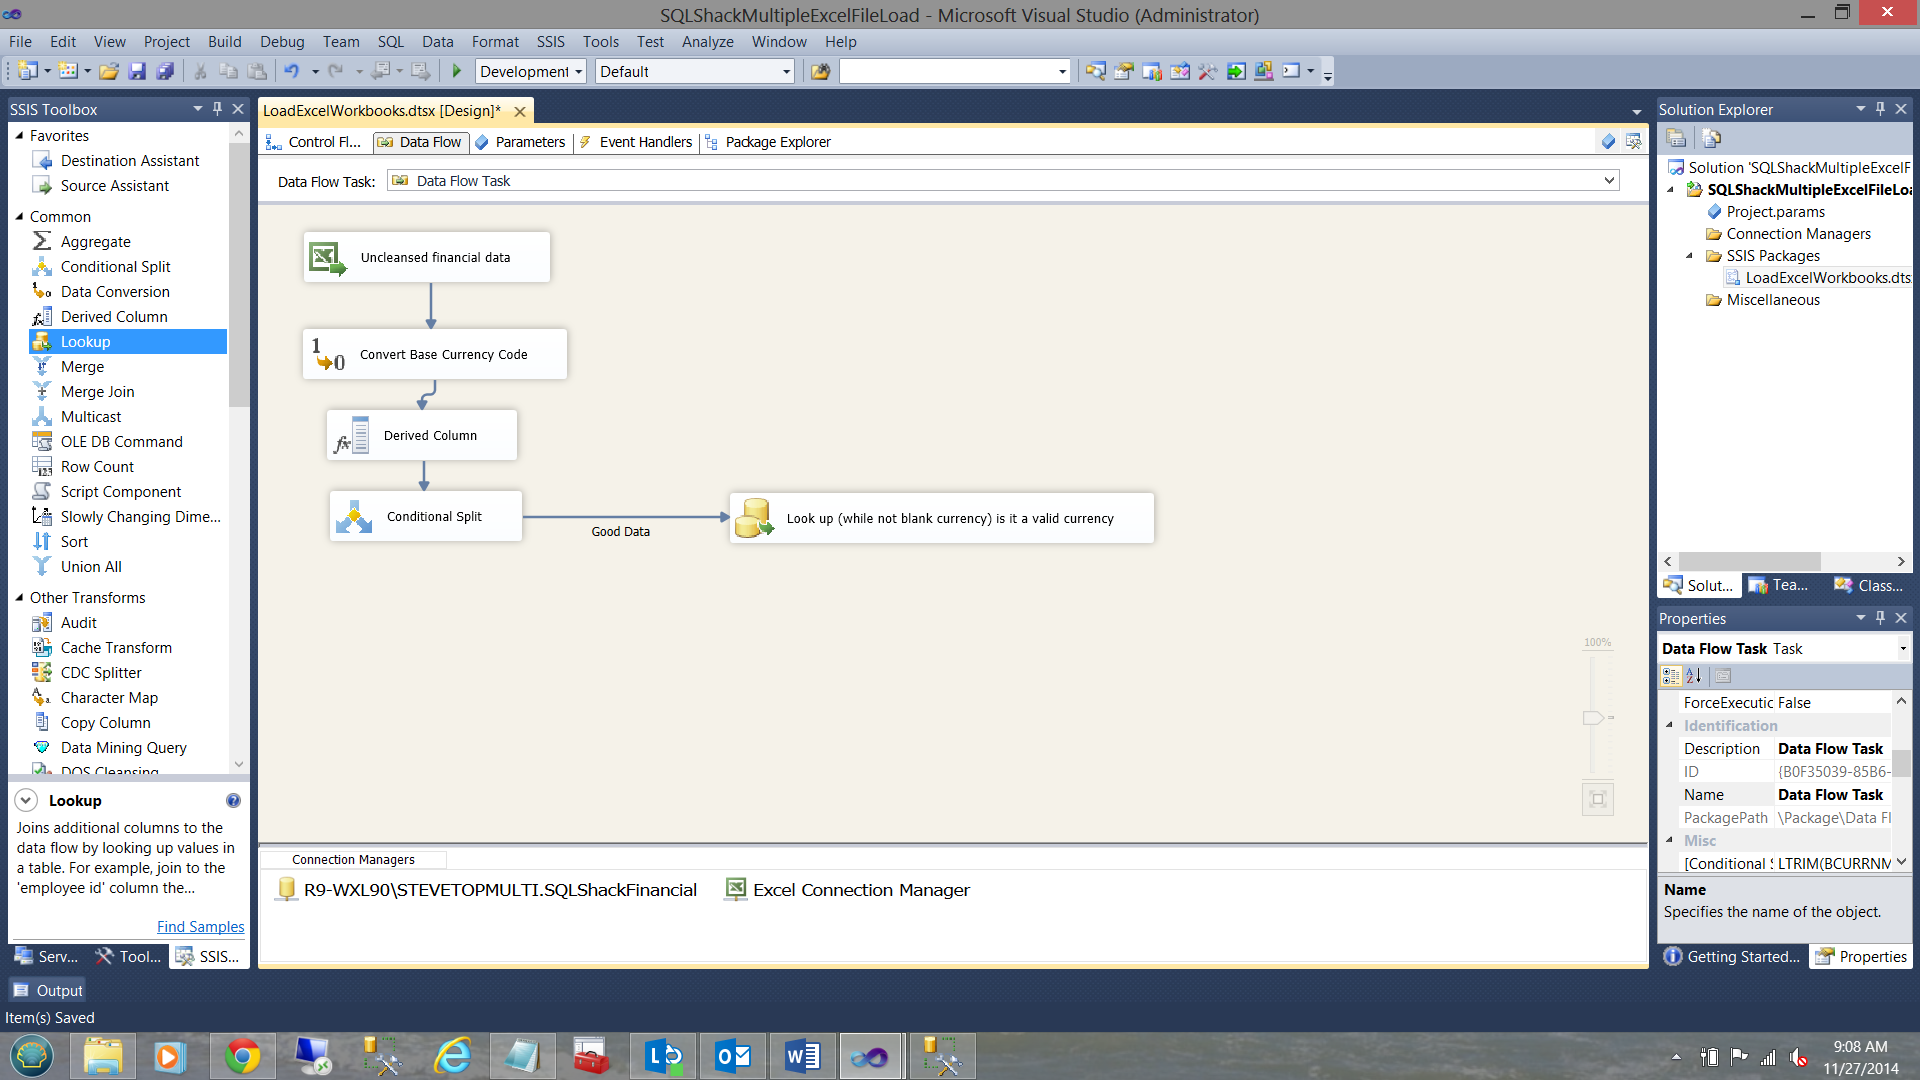
Our work surface now looks as follows:
现在,我们的工作界面如下所示:
We are now going to configure the other branch of the “Conditional Split”. We are now going to handle the blank currency names.
现在,我们将配置“条件拆分”的另一个分支。 现在,我们将处理空白货币名称。
As an aside, whilst we know that blank currencies are erroneous and as such must be placed in the “FASBerror” table, there is one other case that we must take into consideration and that is should the currency attached to a record be incorrect. As an example, there is no currency called ‘QWERTY’. This said, we need to add a “Union All”. The Lookup labeled ‘Lookup’ (see below) will catch ‘Qwerty’ and channel it to the bad data “Union All”.
顺便说一句,虽然我们知道空白货币是错误的,因此必须将其放置在“ FASBerror”表中,但在另一种情况下,我们必须要考虑到这一点,即记录所附带的货币不正确。 例如,没有称为“ QWERTY”的货币。 也就是说,我们需要添加一个“全部联盟”。 标有“查找”的查找(见下文)将捕获“ Qwerty”并将其引导至不良数据“全部联合”。
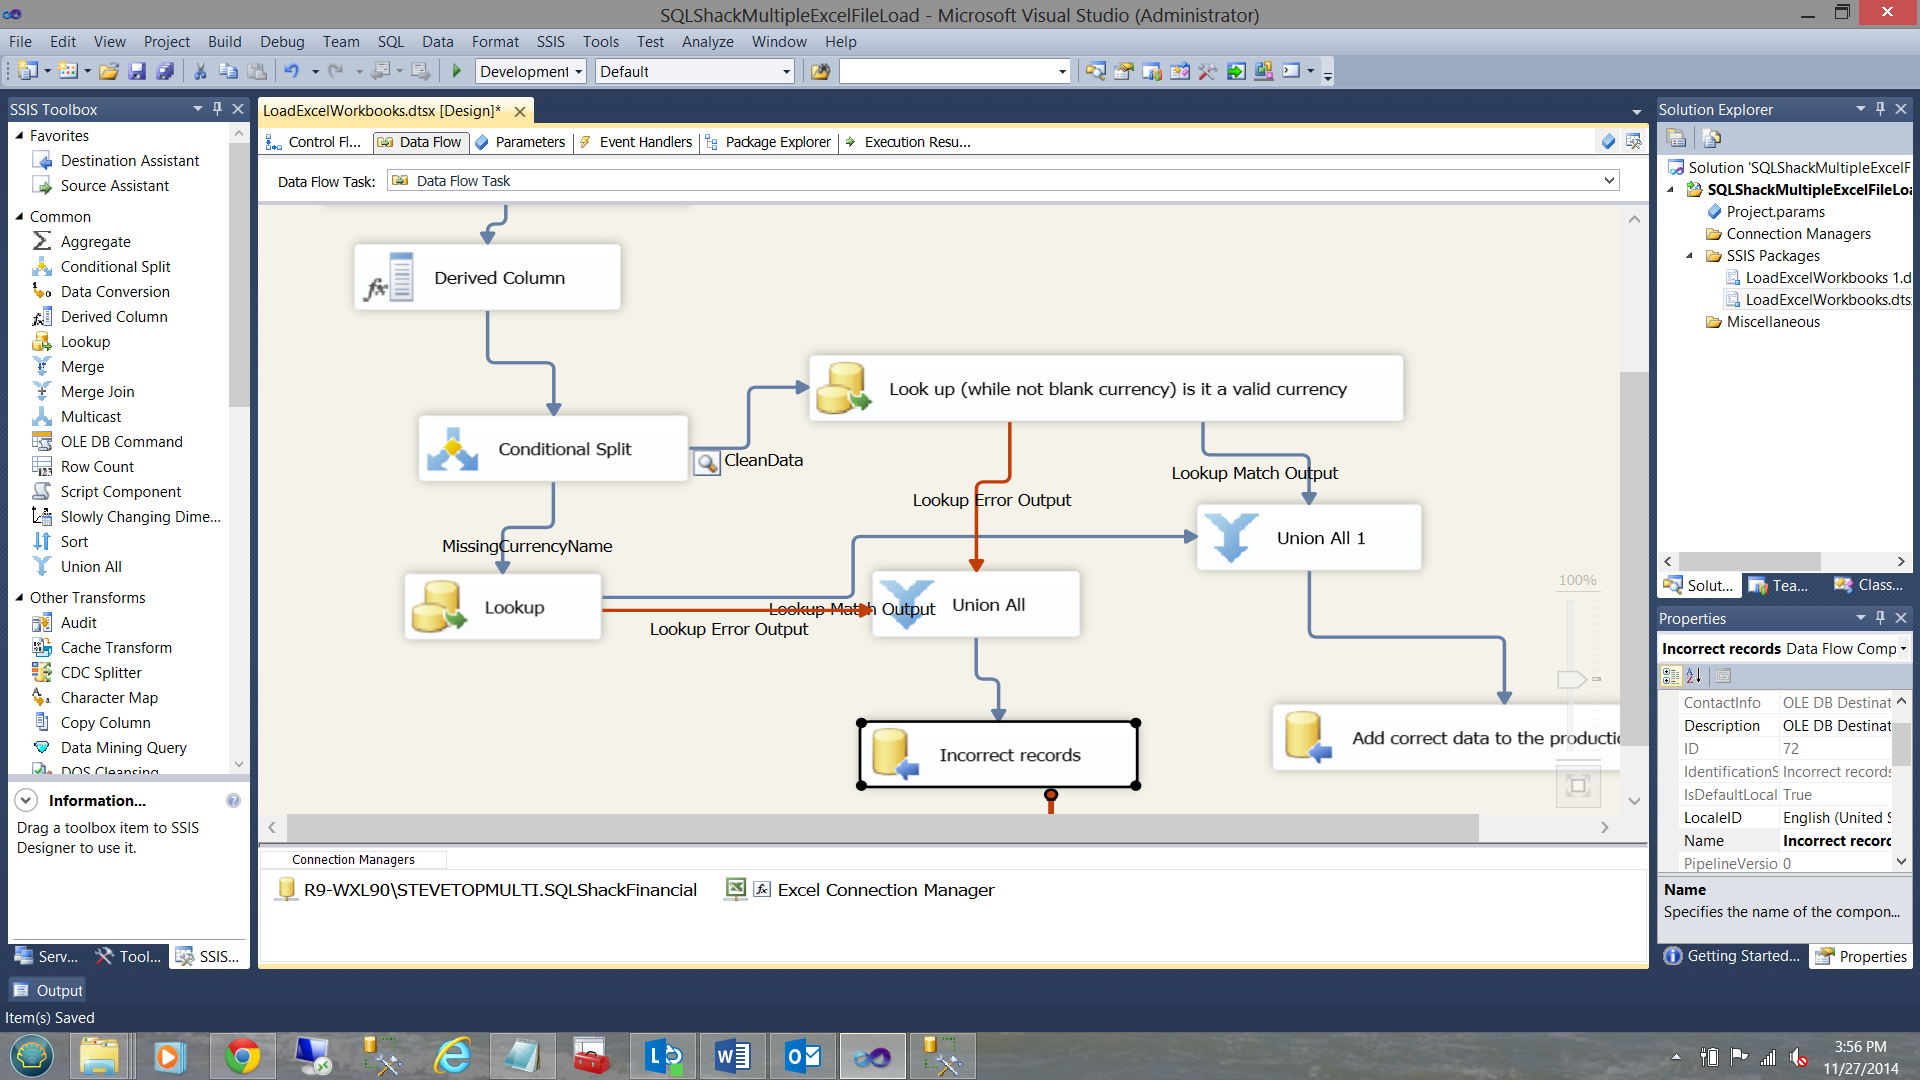
In this manner, all records with blank currency names PLUS all records with bad currency names such as “QWERTY” will be directed to our “FASBerror” table. Let us NOW create a connection to that “FASBError” Table. I now add an OLE DB Date Destination to our working surface and configure it to point to our FASBerror table.
这样,所有具有空白货币名称的记录加上所有具有不良货币名称的记录(例如“ QWERTY”)将被定向到我们的“ FASBerror”表。 现在让我们创建到该“ FASBError”表的连接。 现在,我将OLE DB日期目标添加到我们的工作表并将其配置为指向我们的FASBerror表。
We then check to see that the fields are mapped correctly.
然后,我们检查字段是否正确映射。
We click OK to exit the “OLE DB Destination Editor”. Our design surface resembles the one in the screen dump below:
我们单击“确定”退出“ OLE DB目标编辑器”。 我们的设计图类似于以下屏幕转储中的图:

处理“更正”记录 (Handling the “Correct” records)
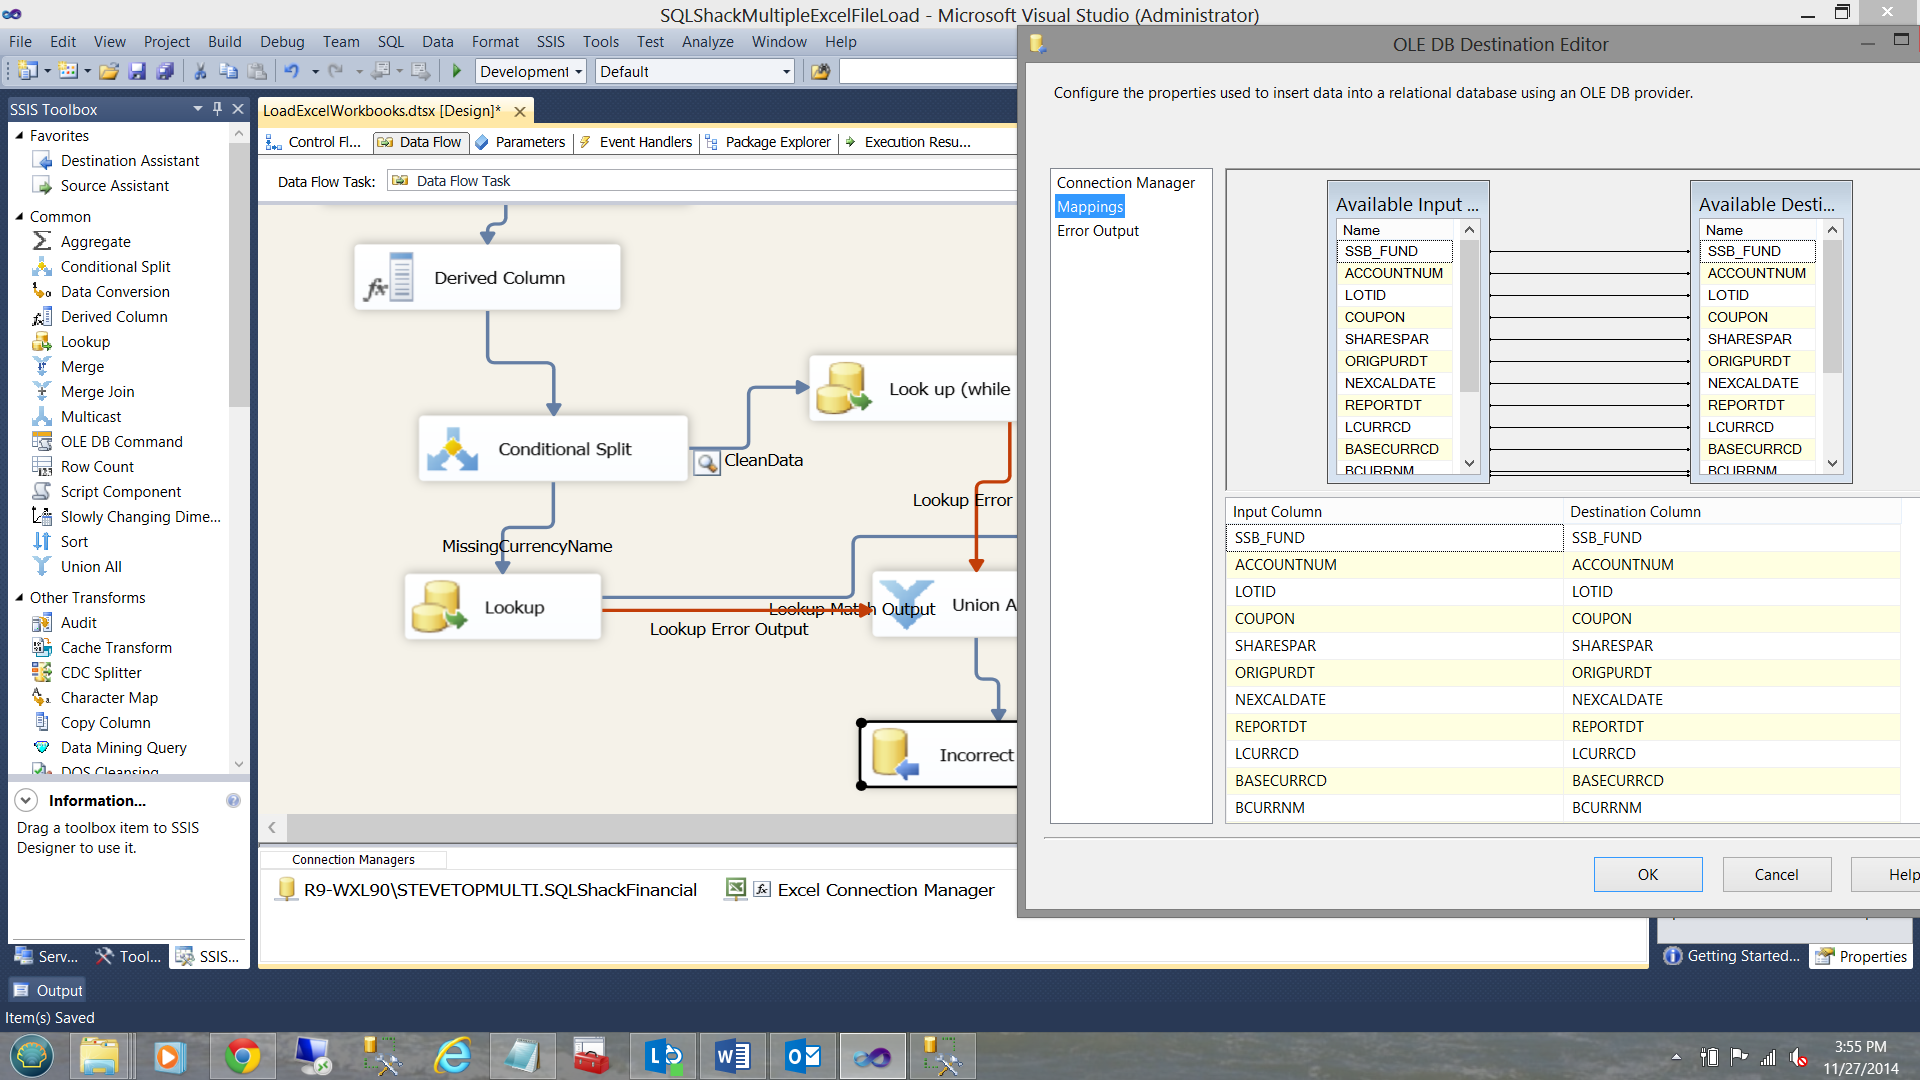
To complete our package we must now add the ability to place the correct records into our production database table. To do so we add an additional OLE DB Destination control (see below).
为了完成我们的程序包,我们现在必须添加将正确记录放入生产数据库表的功能。 为此,我们添加了一个附加的OLE DB Destination控件(请参见下文)。
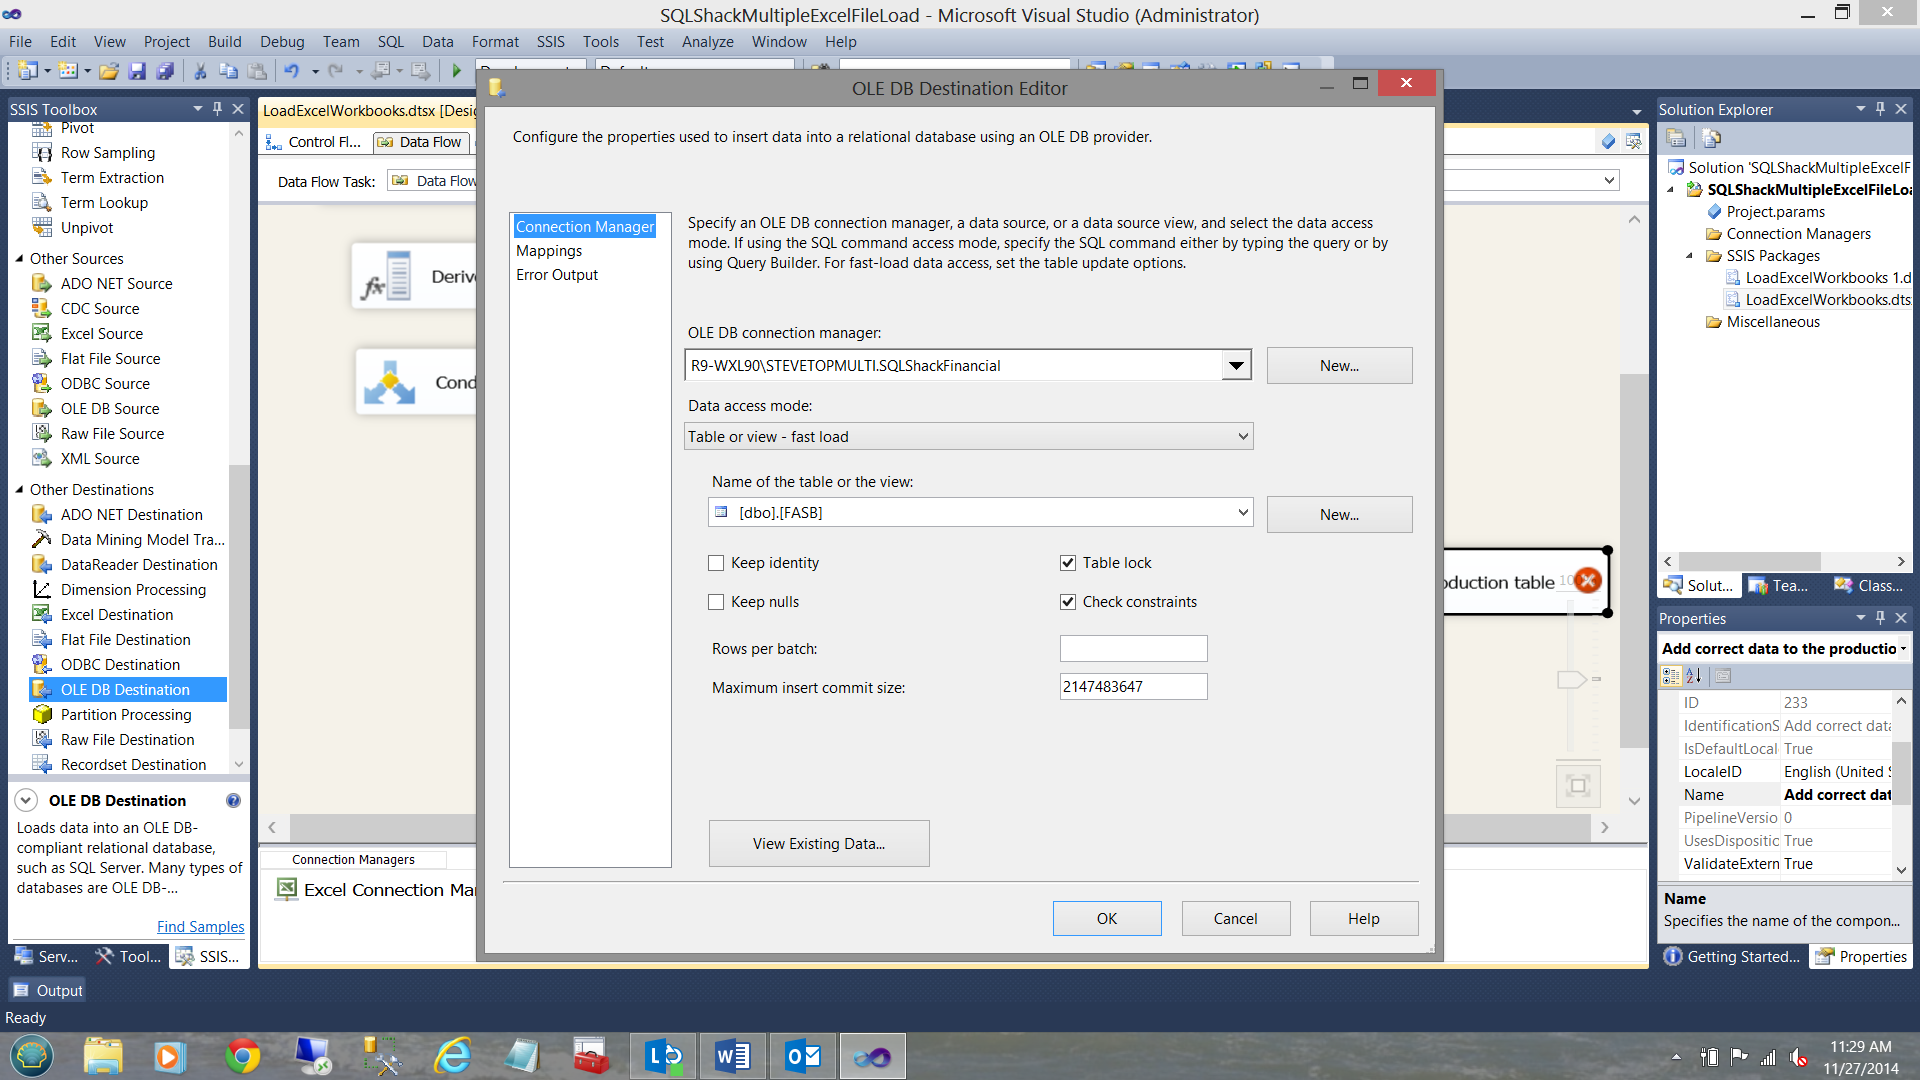
We must now just configure this OLE DB destination. As in past we configure the destination as follows:
现在,我们必须仅配置此OLE DB目标。 与过去一样,我们将目标配置如下:
This completes the construction of our package.
这样就完成了我们程序包的构建。
给您的包裹试驾 (Giving your package a test drive)
Running our package, we can see that all is well.
运行我们的程序包,我们可以看到一切都很好。
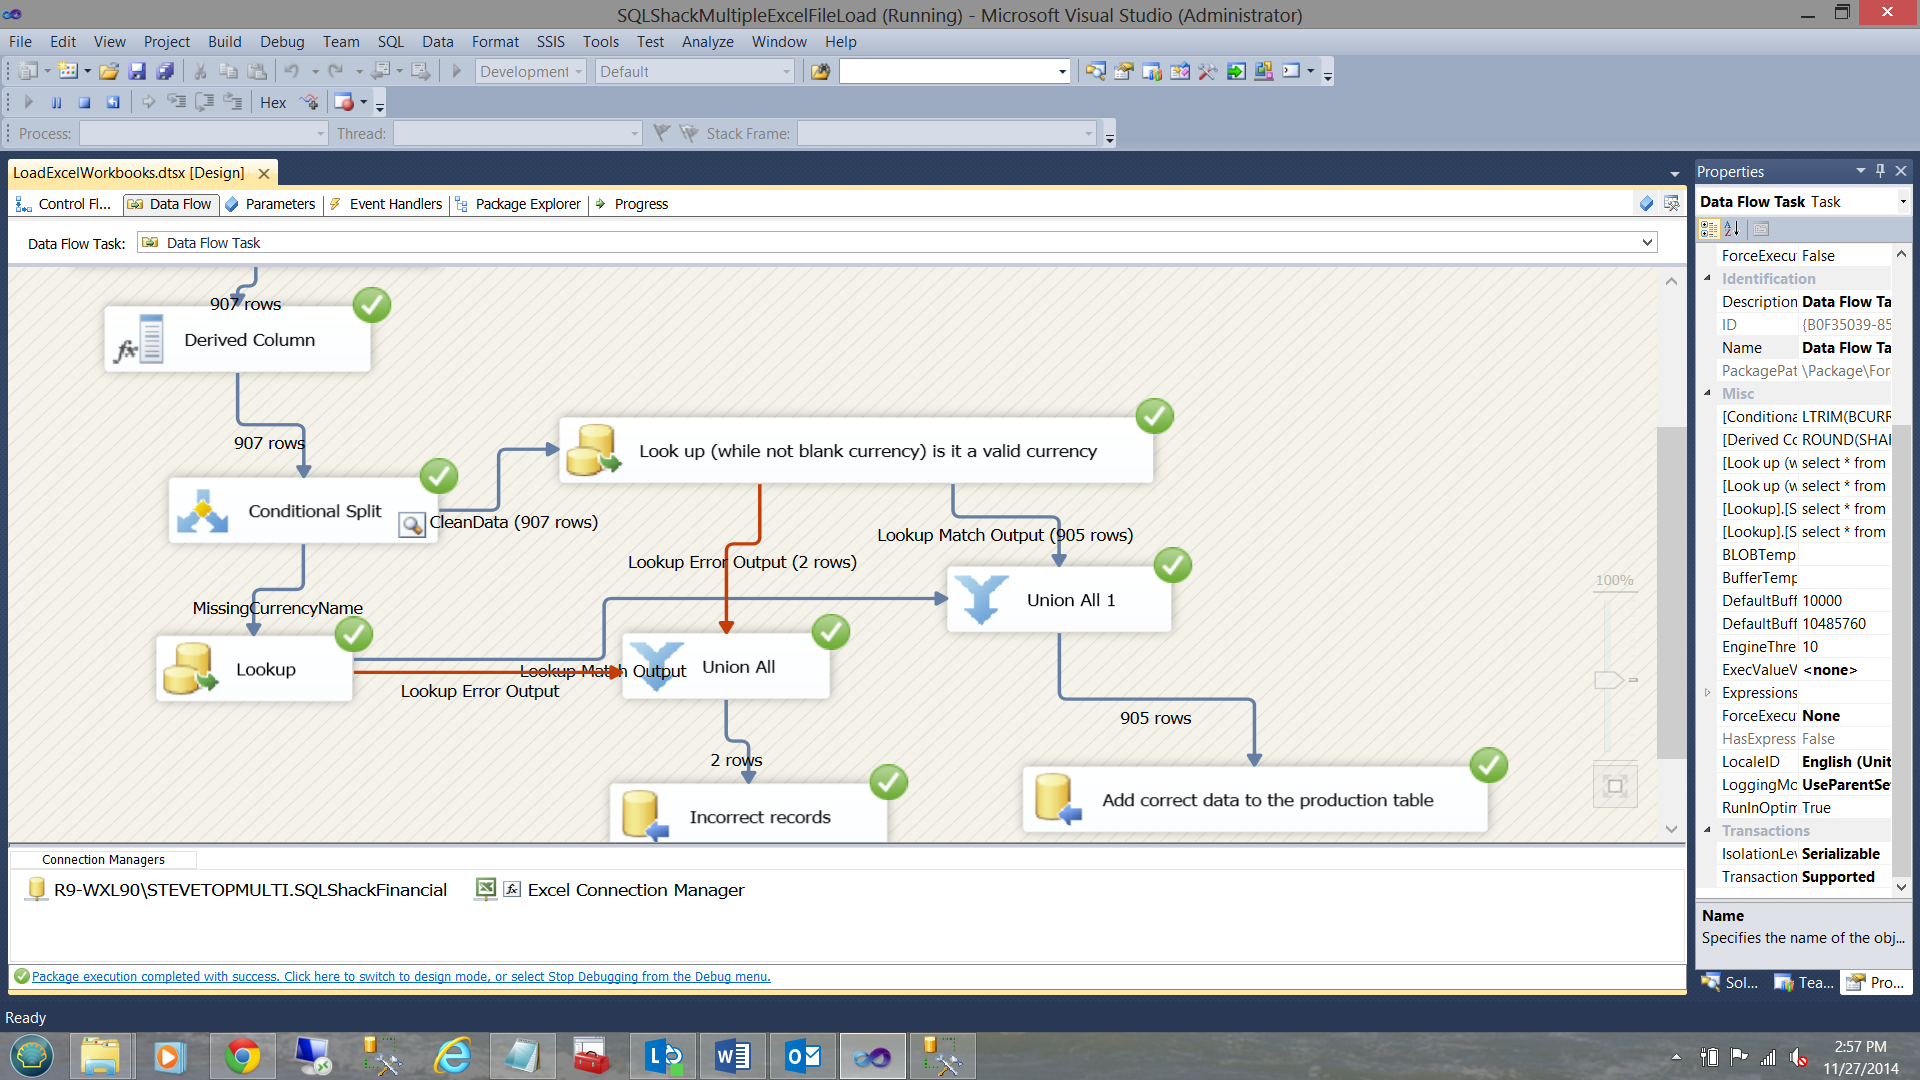
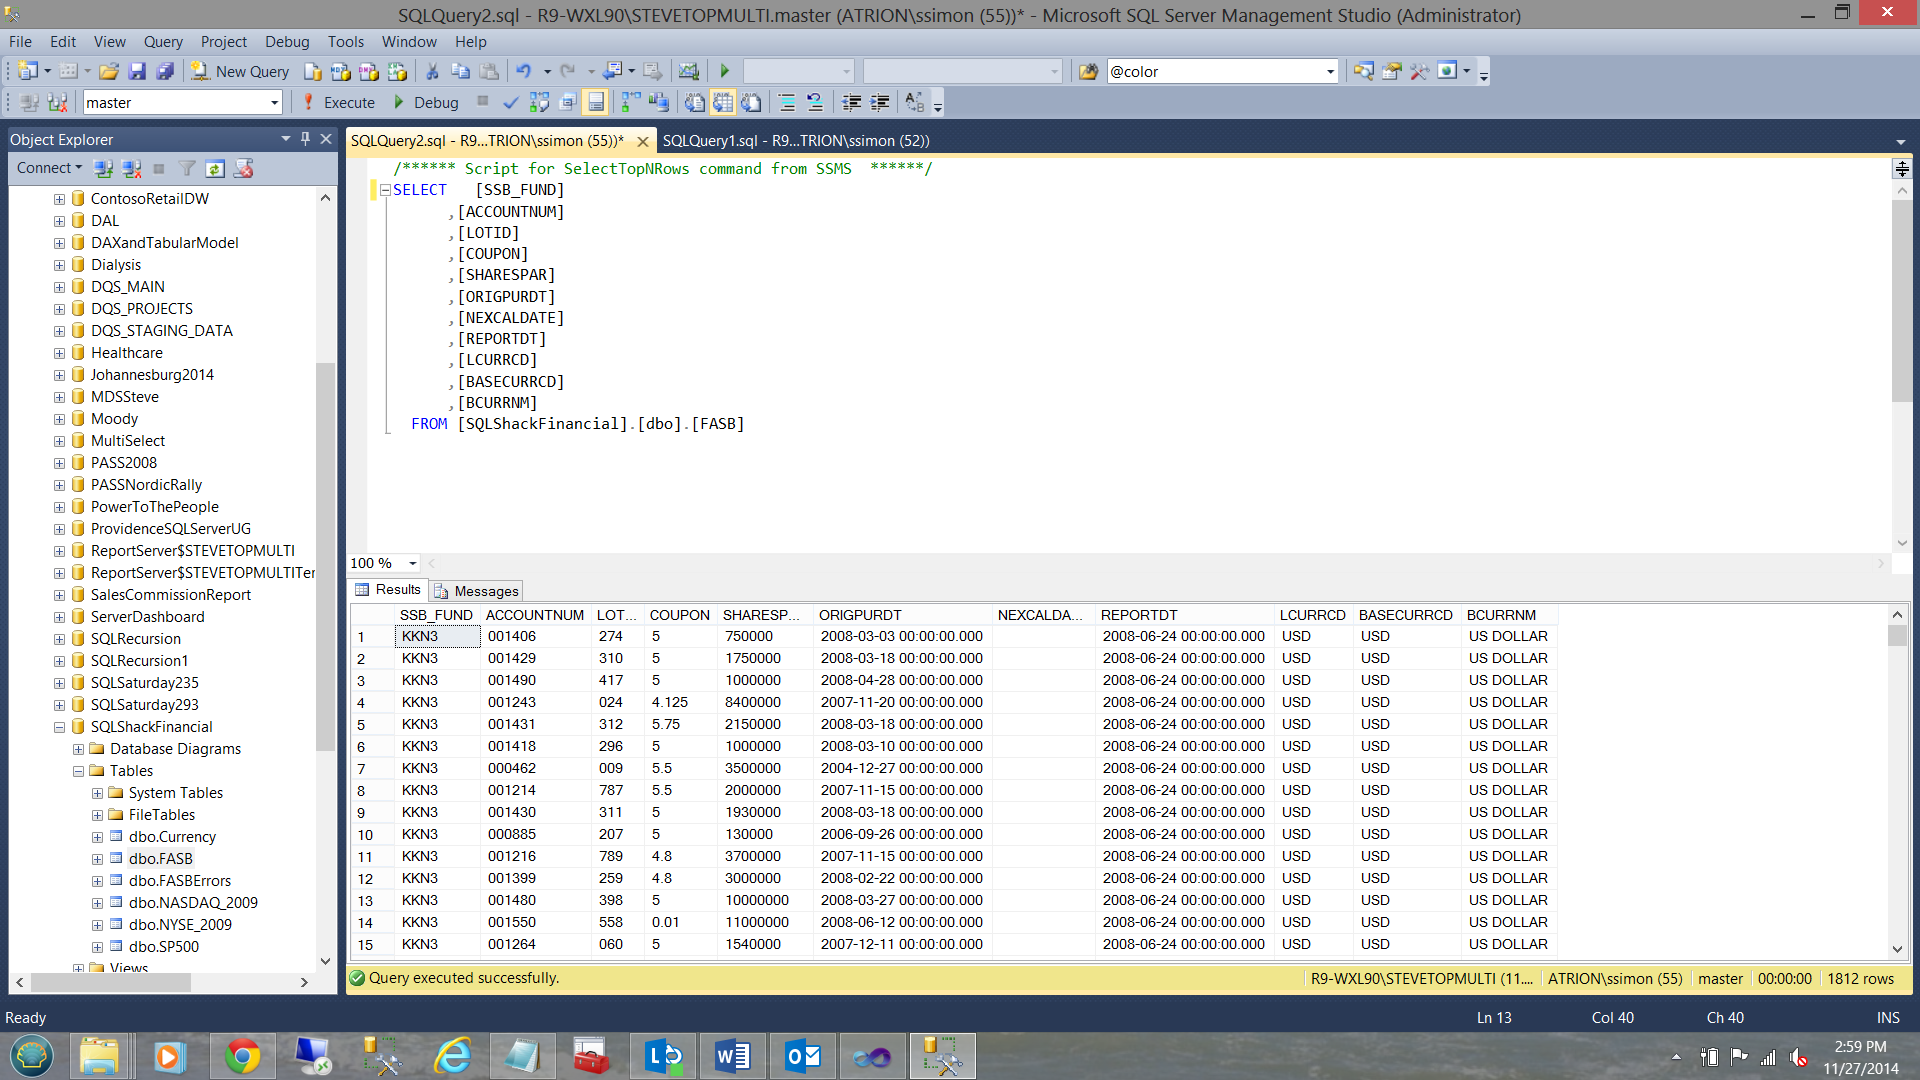
Having a look in SQL Server Management Studio, we see the results of our good records
在SQL Server Management Studio中,我们可以看到良好记录的结果
And our rejected records
和我们拒绝的记录

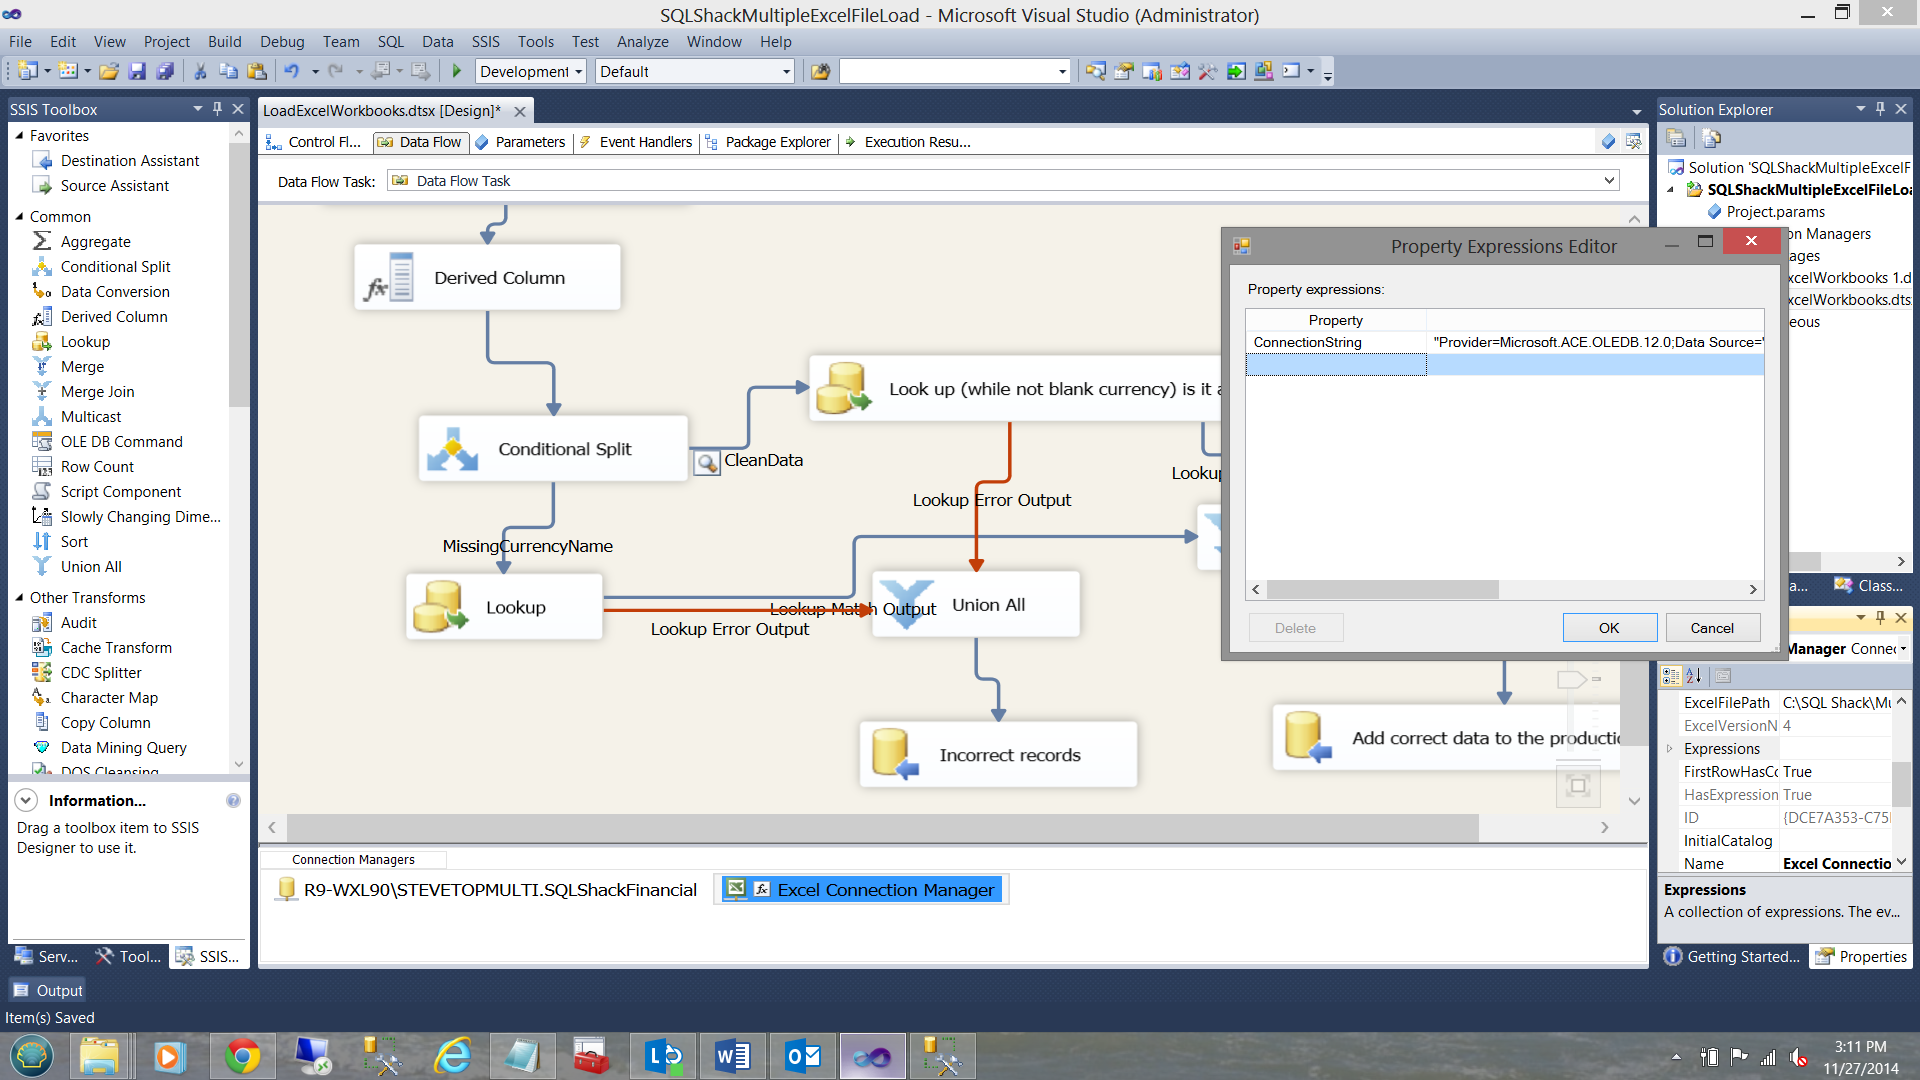
买者自负 (Caveat Emptor)
In order for this whole mechanism to work correctly, three settings are ABSOLUTELY CRITICAL. If these settings are not correct you will land up processing the same file over and over again as many times as the number of excel files.
为了使这个整个机制才能正常工作,有三个设置是绝对 关键的 。 如果这些设置不正确,您将反复处理相同文件的次数是excel文件数的次数。
Once again we may access the Expression Property of the Excel connection string by right clicking on the excel connection (in the Connection Managers) and by selecting the Expressions property box and clicking the ellipsis (see below).
再次右键单击excel连接(在“连接管理器”中),然后选择“ 表达式”属性框并单击省略号,可以访问Excel连接字符串的Expression属性 。
结论 (Conclusions)
Oft times one has data of the same format from varied sources. Most financial folks utilize Excel spreadsheets to load their data. In the case of my client, the various fund accountants had their own valuations that were calculated daily for their holdings. These results were posted daily to the production database.
通常,来自不同来源的数据格式相同。 大多数财务人员利用Excel电子表格加载数据。 以我的客户为例,各个基金会计师都有自己的估值,这些估值每天都会根据其持有量进行计算。 每天将这些结果发布到生产数据库中。
Using a “Foreach Container” and bit of innovative development we were able to put together a cool SSIS package which you too may employ at your site.
使用“ Foreach容器”和一些创新的开发,我们可以将一个很酷的SSIS软件包组合在一起,您也可以在自己的站点中使用它。
Finally the SSIS package may be initiated by the SQL Server agent OR by using a .Net File System Watcher (which looks for the presence of the correct number of files OR the presence of the last daily file) and then starts a batch file which contains a DTEXEC call to the SSIS package.
最后,SSIS包可以由SQL Server代理启动,也可以通过使用.Net文件系统监视程序(查找是否存在正确数量的文件或是否存在最近的每日文件)来启动,然后启动包含以下内容的批处理文件:对SSIS包的DTEXEC调用。
This is the technique that I have employed.
这是我采用的技术。
Want more information, then please do contact me.
需要更多信息,请与我联系。
In the interim, happy programming!!
在此期间,编程愉快!!
翻译自: https://www.sqlshack.com/excel-loading-multiple-workbooks-sql-server/
Excel将多个工作簿加载到SQL Server中相关推荐
- 利用Visual Studio Project自动将数据加载到SQL Server数据库中
介绍 (Introduction) A few months back, I encountered an interesting challenge at a client site. For th ...
- 独家 | 提速20倍!3个细节优化Tableau工作簿加载过程(附实例)
作者:Jeffrey A. Shaffer 翻译:张玲 校对:丁楠雅 本文约3000字,建议阅读10分钟. 本文为你简要介绍快速加载Tableau工作簿的技巧,以优化其性能. Katarzyna &q ...
- FPGA加载bit文件可以工作,加载mcs不能工作的原因
FPGA加载bit文件可以工作,加载mcs不能工作的原因 1: 使用ISE的MPACT用bit文件生成mcs的时候设置错了应该,检查一下FLASH型号,容量,位宽都有没有选对. 2: mcs文件的大小 ...
- 为什么服务器未响应ins,9修复Instagram无法正常工作,加载或崩溃的最佳方法
当您启动Instagram帐户时,您可能会发现Instagram根本无法使用. Instagram图片不显示,没有通知可用,甚至经常崩溃. Instagram现在关闭了吗? 如何解决Instagram ...
- Excel如何在整个工作簿中批量替换指定数据
今天跟大家分享一下Excel如何在整个工作簿中批量替换 1.下面以下图为例跟大家介绍一下怎么批量替换整个工作簿数据. 2.首先我们点击下图选项 3.单击[更多].[批量替换] 4.选择全部工作表,然后 ...
- Excel怎么将同一工作簿多个表格合并
今天跟大家分享一下Excel怎么将同一工作簿多个表格合并 1.如下图打开演示文件,想要将工作簿中两个工作表合并为一个. 2.点击[方方格子]选项 3.选择[汇总拆分],[合并多表] 4.点击[当前工作 ...
- 【知识兔】自学Excel之2:工作簿操作
工作簿是Excle的工作区域,是用户使用Excel进行操作的载体,一个工作簿中包含多个工作表,工作表是由若干个行和列组成的二维表格. 工作簿的主要类型有:普通工作簿(*.xlsx),97-2003工作 ...
- 「Excel技巧」Excel批量提取当前工作簿下的所有工作表名称
摘自:「Excel技巧」Excel批量提取当前工作簿下的所有工作表名称 (baidu.com) 一个工作簿里有很多工作表,想要提取当前工作簿的所有工作表名称,你会怎么操作? 过去的我,可能会一个个手动 ...
- python调用r语言加载包错误_Python中调用R语言包指南.docx
Python中调用R语言包指南R语言是非常强大的做统计分析和建模方面的开源软件,它有非常丰富的统计软件包,做统计可以说只有你想不到的,没有R办不到的.Python又是当下最流行的编程软件之一,Pyth ...
最新文章
- 关于HTML代码的转义
- appium获取元素节点的方法_Appium学废系列(四) 如何写出优雅又健壮的脚本
- SharePoint 集成OWA概述
- 小米算法题判断直线相交
- docker内程序如何读取dockerfile和compose.yml中设置的环境变量
- 阿里云肖力:跳过量变过程的安全质变
- 【干货】分享总结:MySQL数据一致性
- UVA10375 POJ2613 ZOJ1863 Choose and divide【组合计算+迭代】
- idea配置Translation插件为有道翻译引擎
- 揭秘nginx访问的神秘面纱
- 阿里云 mysql 导出数据库_阿里云服务器如何操作导出数据库
- 【C语言】输出百分号“%”
- 解决中文名单按拼音排序的问题
- MILABOT:基于深度强化学习打造聊天机器人
- 图片延迟加载对seo有什么影响呢?
- 各种品牌类型的主板 电脑开机启动选项快捷键
- ArcGIS三维建模(一)
- 萧乾升:4.17黄金白银TD实时最新策略,名师在线解套
- Android 实现URL生成二维码
- java 连接打印机实现打印PDF文件的功能
热门文章
- java enum转ini_JAVA中用XML实现INI文件格式的解决方
- python 函数嵌套 报错_《Python》 函数嵌套、闭包和迭代器
- python连接redis集群如何释放内存_python 连接redis集群
- python获取当前线程_Python爬虫(线程,进程)
- Java 表达式解析(非原创)
- vue通过webpack打包后怎么运行
- js 快速集成开发:easyui 时间控件格式化
- (原)ubuntu下cadvisor+influxdb+grafana+supervisord监控主机和docker的containers
- XML Schema 配置文件自动生成c#类设计案例子
- 高强度的加密软件怎么制作