后端学 Angular 2 —— 组件间通信
1. 父组件向子组件传递信息
使用@Input
子组件的属性用 @Input 进行修饰,在父组件的模板中绑定变量
例子:
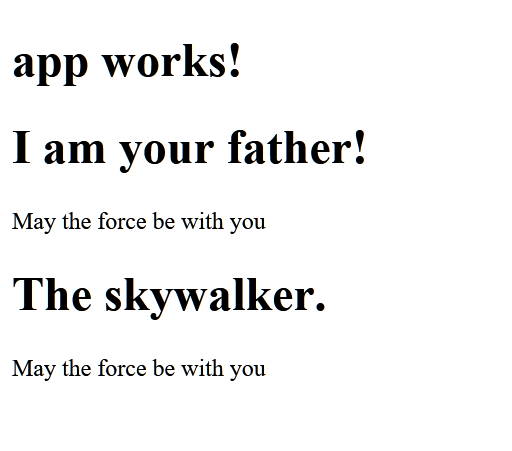
import { Component, OnInit, Input } from '@angular/core';@Component({selector: 'my-input',template: `<h1>I am your father!</h1><p>{{content}}</p><input-child [content]="content"></input-child>`
})export class InputComponent implements OnInit {content: string = 'May the force be with you';ngOnInit() { }
}@Component({selector: 'input-child',template: `<h1>The skywalker.</h1><p>{{content}}</p>`
})
export class InputChildComponent {@Input() content: string = '';
}
效果:
使用 setter 拦截输入的属性
在子组件中做一些修改,添加两个私有字段:revertContent、_content,然后为 _content 添加 setter 和 getter
代码
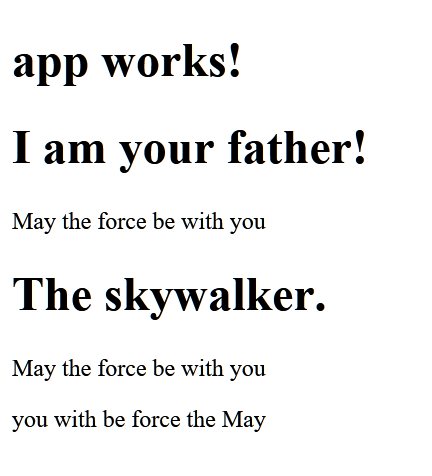
@Component({selector: 'input-child',template: `<h1>The skywalker.</h1><p>{{content}}</p><p>{{revertContent}}</p>`
})
export class InputChildComponent {revertContent: string;_content: string = '';@Input() set content(str: string) {this._content = str;this.revertContent = str.split(' ').reverse().join(' ');}get content() {return this._content;}
}
效果:
使用 ngOnChanged 拦截输入的属性
首先要修改一下 import 内容:
import { Component, OnInit, Input, OnChanges, SimpleChange } from '@angular/core';然后让子组件实现 OnChanges 接口的 ngOnchanges 方法,修改后的子组件如下:
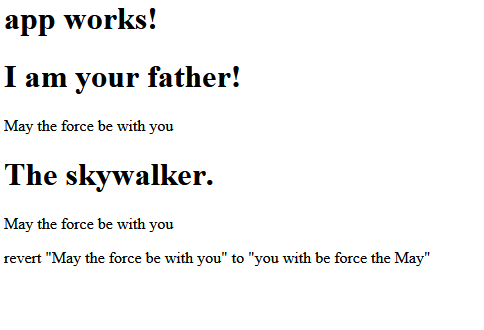
@Component({selector: 'input-child',template: `<h1>The skywalker.</h1><p>{{content}}</p><p>{{revertContent}}</p>`
})
export class InputChildComponent implements OnChanges {revertContent: string = 'default content';_content: string = 'default content';@Input() set content(str: string) {this._content = str;}get content() {return this._content;}ngOnChanges(changes: { [propKey: string]: SimpleChange }) {if (changes['content'] !== undefined) {let value = <string>(changes['content'].currentValue);this.revertContent = value.split(' ').reverse().join(' ');this.revertContent = `revert "${value}" to "${this.revertContent}"`;}}
}
ngOnChanges 是一个生命周期钩子,下图指出了这个方法的调用时机。

效果:
2. 子组件向父组件传递消息
子组件使用 EventEmitter<TEvent>
子组件中声明一个 EventEmitter<TEvent> 属性,然后在父组件的模板中添加这个事件的监听器
代码:
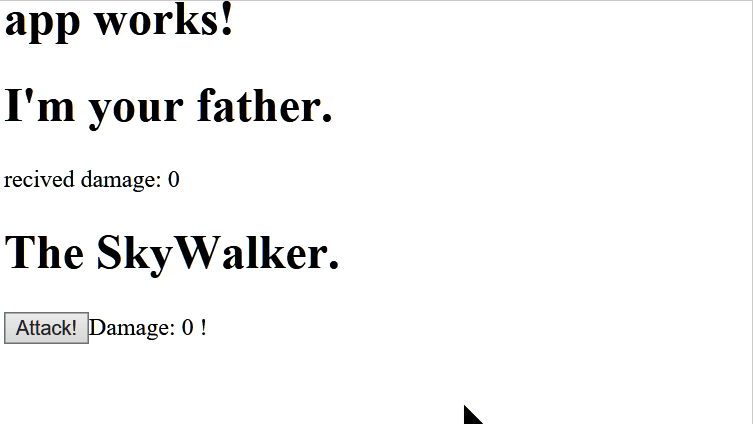
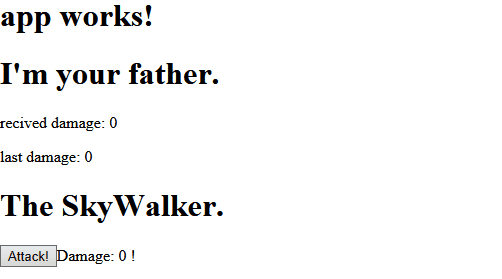
import { Component, OnInit, Output, EventEmitter } from '@angular/core';@Component({selector: 'event',template: `<h1>I'm your father.</h1><p>recived damage: {{damage}}</p><event-child (onAttacked)="onAttackedHandler($event)"></event-child>`
})export class EventComponent implements OnInit {damage: number = 0;onAttackedHandler(damage: number) {this.damage += damage;}ngOnInit() { }
}@Component({selector: 'event-child',template: `<h1>The SkyWalker.</h1><button (click)="attack()">Attack!</button><span>Damage: {{damage}} !</span>`
})
export class EventChildComponent {private baseDamage: number = 100;damage: number = 0;@Output() onAttacked = new EventEmitter<number>();attack() {this.damage = Math.random() * this.baseDamage;this.onAttacked.emit(this.damage);}
}
使用本地变量
在父组件模板中使用 #xxx 这样的本地变量绑定子组件,然后就可以在模板中直接使用子组件的属性作为数据源
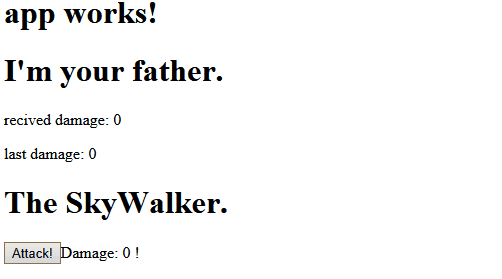
@Component({selector: 'event',template: `<h1>I'm your father.</h1><p>recived damage: {{damage}}</p><p>last damage: {{child.damage}}</p><event-child #child (onAttacked)="onAttackedHandler($event)"></event-child>`
})
export class EventComponent implements OnInit {damage: number = 0;onAttackedHandler(damage: number) {this.damage += damage;}ngOnInit() { }
}
使用 @ViewChild
父组件中使用 @ViewChild 获取子组件的引用,然后使用方法同上
import { Component, OnInit, Output, EventEmitter, ViewChild } from '@angular/core';@Component({selector: 'event-child',template: `<h1>The SkyWalker.</h1><button (click)="attack()">Attack!</button><span>Damage: {{damage}} !</span>`
})
export class EventChildComponent {private baseDamage: number = 100;damage: number = 0;@Output() onAttacked = new EventEmitter<number>();attack() {this.damage = Math.random() * this.baseDamage;this.onAttacked.emit(this.damage);}
}// 注意,这里我交换了父子组件的位置,现在父组件的定义放在了下面@Component({selector: 'event',template: `<h1>I'm your father.</h1><p>recived damage: {{damage}}</p><p>last damage: {{child.damage}}</p><event-child  (onAttacked)="onAttackedHandler($event)"></event-child>`
})
export class EventComponent implements OnInit {damage: number = 0;@ViewChild(EventChildComponent) child: EventChildComponent;onAttackedHandler(damage: number) {this.damage += damage;}ngOnInit() { }
}
终极大招——组件间使用 service 通信
首先让我们在文件的开头定义一个 AttackService:
import { Component, OnInit, Injectable } from '@angular/core';
import { Subject } from 'rxjs/Subject';
import { Observable } from 'rxjs/Rx';@Injectable()
export class AttackService {// 用来产生数据流的数据源private damageSource = new Subject<number>();// 把数据流转换成 Observabledamage$ = this.damageSource.asObservable();attack(damage: number) {// 把伤害输入到数据流this.damageSource.next(damage);}
}
然后在父组件与子组件中订阅这个数据流:
@Component({selector: 'event-child',template: `<h1>The SkyWalker.</h1><button (click)="attack()">Attack!</button><span>Damage: {{damage}} !</span>`
})
export class EventChildComponent {private baseDamage: number = 100;damage: number = 0;constructor(private attackService: AttackService) {}attack() {this.damage = Math.random() * this.baseDamage;// 天行者调用 AttackService 产生伤害this.attackService.attack(this.damage);}
}// 注意,这里我交换了父子组件的位置,现在父组件的定义放在了下面@Component({selector: 'event',providers: [AttackService], // 向父组件注入 AttackService,这样,父组件与子组件就能共享一个单例的 servicetemplate: `<h1>I'm your father.</h1><p>recived damage: {{damage}}</p><p>last damage: {{lastDamage}}</p><event-child></event-child>`
})
export class EventComponent implements OnInit {damage: number = 0;lastDamage: number = 0;constructor(private attackService: AttackService) {// 父组件订阅来自天行者的伤害this.attackService.damage$.subscribe(damage => {this.lastDamage = damage;this.damage += damage;}, error => {console.log('error: ' + error);});}ngOnInit() { }
}
效果:
如果我们把 service 注册到根模块,那么,就可以在整个 app 中共享数据啦~
转载于:https://www.cnblogs.com/JacZhu/p/6212724.html
后端学 Angular 2 —— 组件间通信相关推荐
- 深入解析Vue组件间通信
React的基本组件元素是一个个组件,组件之间可能存在关联.组合等关系.不同的组件之间,经常会发生数据传递或者交换,我们称之为组件间通信. 根据传递的复杂程度,可以分为三种情况: 父子间通信,兄弟间通 ...
- vue组件穿方法_vue组件间通信六种方式(完整版)
[51CTO.com原创稿件] 前言 组件是 vue.js强大的功能之一,而组件实例的作用域是相互独立的,这就意味着不同组件之间的数据无法相互引用.一般来说,组件可以有以下几种关系: 如上图所示,A ...
- python 全栈开发,Day91(Vue实例的生命周期,组件间通信之中央事件总线bus,Vue Router,vue-cli 工具)...
昨日内容回顾 0. 组件注意事项!!!data属性必须是一个函数!1. 注册全局组件Vue.component('组件名',{template: ``})var app = new Vue({el: ...
- Vue实现组件间通信的七种方式
1. props / $emit 父组件通过props的方式向子组件传递数据,而通过$emit 子组件可以向父组件通信: 父传子:父组件通过import引入子组件,并注册,在子组件标签上添加要传递的属 ...
- vue组件间通信六种方式(完整版)
前言 组件是 vue.js 最强大的功能之一,而组件实例的作用域是相互独立的,这就意味着不同组件之间的数据无法相互引用.一般来说,组件可以有以下几种关系: 如上图所示 ...
- vue中子组件和子组件之间怎么通信_Vue组件间通信6种方式
摘要: 总有一款合适的通信方式. Fundebug经授权转载,版权归原作者所有. 前言 组件是 vue.js 最强大的功能之一,而组件实例的作用域是相互独立的,这就意味着不同组件之间的数据无法相互引用 ...
- Vue 组件间通信几种方式(完整版)
组件是 vue.js最强大的功能之一,而组件实例的作用域是相互独立的,这就意味着不同组件之间的数据无法相互引用.一般来说,组件可以有以下几种关系: 如上图所示,A 和 B.B 和 C.B 和 D 都是 ...
- 容器间通信_Vue组件间通信的6种方式,前端工程师人人都会,网友:太简单了...
Vue 组件间通信只要指以下 3 类通信:父子组件通信.隔代组件通信.兄弟组件通信,下面分别介绍每种通信方式且会说明此种方法可适用于哪类组件间通信. (1)props / $emit 适用 父子组件通 ...
- Vue 组件间通信方法汇总
Vue 组件间通信方法汇总 ⭐️ 更多前端技术和知识点,搜索订阅号 JS 菌 订阅 除了使用 Vuex 方法外,vue 提供了各种各样的组件间通信的方案.文章整理一下父子组件.兄弟组件.祖先后代组件间 ...
最新文章
- 电容和频率的关系_为什么会有直流电和交流电?频率为什么是50hz?白话科普专业知识...
- [moka同学笔记转载]Yii 设置 flash消息 创建一个渐隐形式的消息框
- 一个不可描述的python+mongodb爬虫项目
- 中国杀菌剂行业需求趋势与投资战略规划研究报告2021-2027年版
- Linux 访问文件的acl信息,linux文件权限管理与ACL访问控制列表
- python卸载不了怎么办说目录有错_错误:无法在安装目录中创建或删除文件
- frontcon函数用不了_C++复制构造函数与析构函数
- LeetCode 1284. 转化为全零矩阵的最少反转次数(BFS 矩阵状态编码解码)
- JAVA8之妙用Optional解决判断Null为空问题
- java 发送邮件带附件
- jsp跨域访问cookies_cookie 跨域访问的解决方案
- php store快捷键设置,mac 下 phpstorm 快捷键整理
- 人工智能对摄影测量与遥感的影响与挑战——龚健雅院士
- python unmatched_Python
- hbase基本操作命令及练习
- win10弹出计算机内存不足,如何解决win10系统提示计算机内存不足的问题
- 大盘为何回血以及盐湖股份和科达制造
- 一台计算机比1千克重还是轻,1千克有多重?它就要重新定义了
- 从B站的代码泄露事件中,我们能学到些什么?
- Android安全 Hook技术,AndroidHook技术分析.pdf-北京理工大学信息系统及安全对抗实验中心.PDF...
热门文章
- su、sudo、限制root远程登录
- C和C++里面的lvalue 和 rvalue的释义
- 苹果将在内华达州里诺市再购地块 都是为了它
- Entity Framework 6 Recipes 2nd Edition(13-4)译 - 有效地创建一个搜索查询
- mybatis学习笔记(1)-对原生jdbc程序中的问题总结
- 关于在MathType中内置样式的一些小知识
- Coolite Toolkit学习笔记三:基本控件之Button、TextField、DataField、ComboBox
- 软件测试 学习之路 CSS (三)
- 升级ipython_Linux服务器python升级
- 交换ctrl和左caps_如何在Linux中交换Ctrl和Caps Lock键