基于VUE实现的新闻后台管理系统-三
开始coding啦
¶分析项目
根据展示效果我们可以分析出,Web页面有两个,一个用于登录,一个用于系统内容控制,我们分别将其命名为Login和Cms,然后进行路由配置。
在src/page下新建Login.vue和Cms.vue文件,及进行vue模板构建
|--src
|--page
|--Cms.vue
|--Login.vue
<template> </template> <script scope> </script> <style> </style>将Login和Cms组件导入到/router/index.js中
// import something....
import Cms from '@/page/Cms'
import Login from '@/page/Login'
修改路由配置,该配置在/src/router/index.js中;将如下代码
routes: [{path: '/',name: 'Hello',component: Hello}
]
修改为
routes: [{path: '/cms', // 后台管理系统路由name: 'Cms',component: Cms},{path: '/', // 登录路由name: 'Login',component: Login}
]
¶内容实现
登录请求存储
我们将登录状态存储在sessionStorage中,所以在/src下新建utils/index.js,并写入如下代码
    let KEY = 'USER'export default {/**
    *  set user info in sessionStorage
    * @param userInfo  Object   user info
    * @return none
    */setLoginState: (userInfo) => {window.sessionStorage.setItem(KEY, JSON.stringify(userInfo))},/**
    *  get user info from sessionStorage
    * @return userInfo Object  user Info
    */getLoginState: () => {return window.sessionStorage.getItem(KEY)},deleteLoginState: () => {return new Promise((resolve, reject) => {window.sessionStorage.removeItem(KEY) ? resolve({'isDelete': true}) : reject({'isDelete': false})})}}
整合Axios请求
向后台请求数据,必须有像Ajax一样的请求,幸好在Node环境下有Axios这样的npm库封装了xhr这样的请求,这个库在上一节已经完成安装,为了在本系统中使用,且符合Vue开发规范,我们将其再次进行封装;在src目录下新建api/index.js文件,并写入如下代码
// 配置API接口地址
var root = '/api/v1'
// 引用axios
var axios = require('axios')
// 自定义判断元素类型JS
function toType (obj) {return ({}).toString.call(obj).match(/\s([a-zA-Z]+)/)[1].toLowerCase()
}
// 参数过滤函数
function filterNull (o) {for (var key in o) {if (o[key] === null) {delete o[key]}if (toType(o[key]) === 'string') {o[key] = o[key].trim()} else if (toType(o[key]) === 'object') {o[key] = filterNull(o[key])} else if (toType(o[key]) === 'array') {o[key] = filterNull(o[key])}
}
return o
}
/*
接口处理函数
这个函数每个项目都是不一样的,我现在调整的是适用于
https://cnodejs.org/api/v1 的接口,如果是其他接口
需要根据接口的参数进行调整。参考说明文档地址:
https://cnodejs.org/topic/5378720ed6e2d16149fa16bd
主要是,不同的接口的成功标识和失败提示是不一致的。
另外,不同的项目的处理方法也是不一致的,这里出错就是简单的alert
*/function apiAxios (method, url, params, success, failure) {if (params) {params = filterNull(params)
}
axios({method: method,url: url,data: method === 'POST' || method === 'PUT' ? params : null,params: method === 'GET' || method === 'DELETE' ? params : null,baseURL: root,withCredentials: false
})
.then(function (res) {if (res.data.success === true) {if (success) {success(res.data)}} else {if (failure) {failure(res.data)} else {window.alert('error: ' + JSON.stringify(res.data))}}
})
.catch(function (err) {let res = err.responseif (err) {window.alert('api error, HTTP CODE: ' + res.status ? res.status : null)return}
})
}// 返回在vue模板中的调用接口
export default {get: function (url, params, success, failure) {return apiAxios('GET', url, params, success, failure)
},
post: function (url, params, success, failure) {return apiAxios('POST', url, params, success, failure)
},
put: function (url, params, success, failure) {return apiAxios('PUT', url, params, success, failure)
},
delete: function (url, params, success, failure) {return apiAxios('DELETE', url, params, success, failure)
}
}
登录Login.vue组件实现
因为写的Vue不是纯Js,所以代码木有高亮
<template><div class='login'><div class='loginPage' ><el-form class='loginForm' label-position='left' label-width="80px" ><el-input class='loginInput' placeholder="请输入内容" @change='usernameChange' ><template slot="prepend">用户名</template>
            </el-input><el-input class='loginInput' type='password' placeholder="请输入内容" @change='userPassChange' ><template slot="prepend">密码</template>
            </el-input><el-button class='loginBtn' type="primary" :disabled="isLoginBtnDisable" @click='login'>登录</el-button>
        </el-form></div>
        <cms-footer :siteInfo='siteinfo'></cms-footer></div>
    </template><script>import CmsFooter from '../components/Footer'export default {data () {return {isLoginBtnDisable: true,username: null,userPass: null,siteinfo: {name: '',title: '',logo: '',copyright: ''}}},components: {'cms-footer': CmsFooter},created () {this.getSiteInfo()},methods: {refresh () {window.location.reload()},login (evt) {if (!this.isLoginBtnDisable) {let params = {account: this.username,password: this.userPass}this.$api.post('login', params, (errObj) => {console.log('login error', JSON.stringify(errObj))}, (resp) => {resp && resp.code === 0 ? this.setUserInfoToGo({account: this.username}) : null})}},setUserInfoToGo (userInfo) {this.$utils.setLoginState(userInfo)this.$router.push('/cms')},usernameChange (evt) {// evt ? this.username = evt && this.userPass ? this.isLoginBtnDisable = true && console.log(this.isLoginBtnDisable) : this.isLoginBtnDisable = false : this.username = nullif (evt) {this.username = evtthis.userPass ? this.isLoginBtnDisable = false : this.isLoginBtnDisable = true} else {this.username = nullthis.isLoginBtnDisable = true}},userPassChange (evt) {// evt ? this.userPass = evt && this.username ? this.isLoginBtnDisable = true : this.isLoginBtnDisable = false : this.userPass = nullif (evt) {this.userPass = evtthis.username ? this.isLoginBtnDisable = false : this.isLoginBtnDisable = true} else {this.userPass = nullthis.isLoginBtnDisable = true}},getSiteInfo () {let _self = this_self.$api.get('site', null, (er) => {}, (res) => {if (res.code === 0) {_self.siteinfo = res.data_self.$compUtils.setSiteInfo(res.data)}})}}}</script>    <!-- Add "scoped" attribute to limit CSS to this component only -->
    <style scoped>
    .login{        height: 100%;
        width: 100%;
    }
    .loginPage{        height: 100%;
        width: 100%;
        background-image: linear-gradient(-180deg, #324157 38%, #00DEFF 100%);
        display: flex;
        align-items: center;
        justify-content: center;
    }
    .loginForm{        width: 30%;
    }
    .loginInput {        margin: 10px 0;
    }
    .loginBtn {        width: 100%;
    }
    </style>
效果
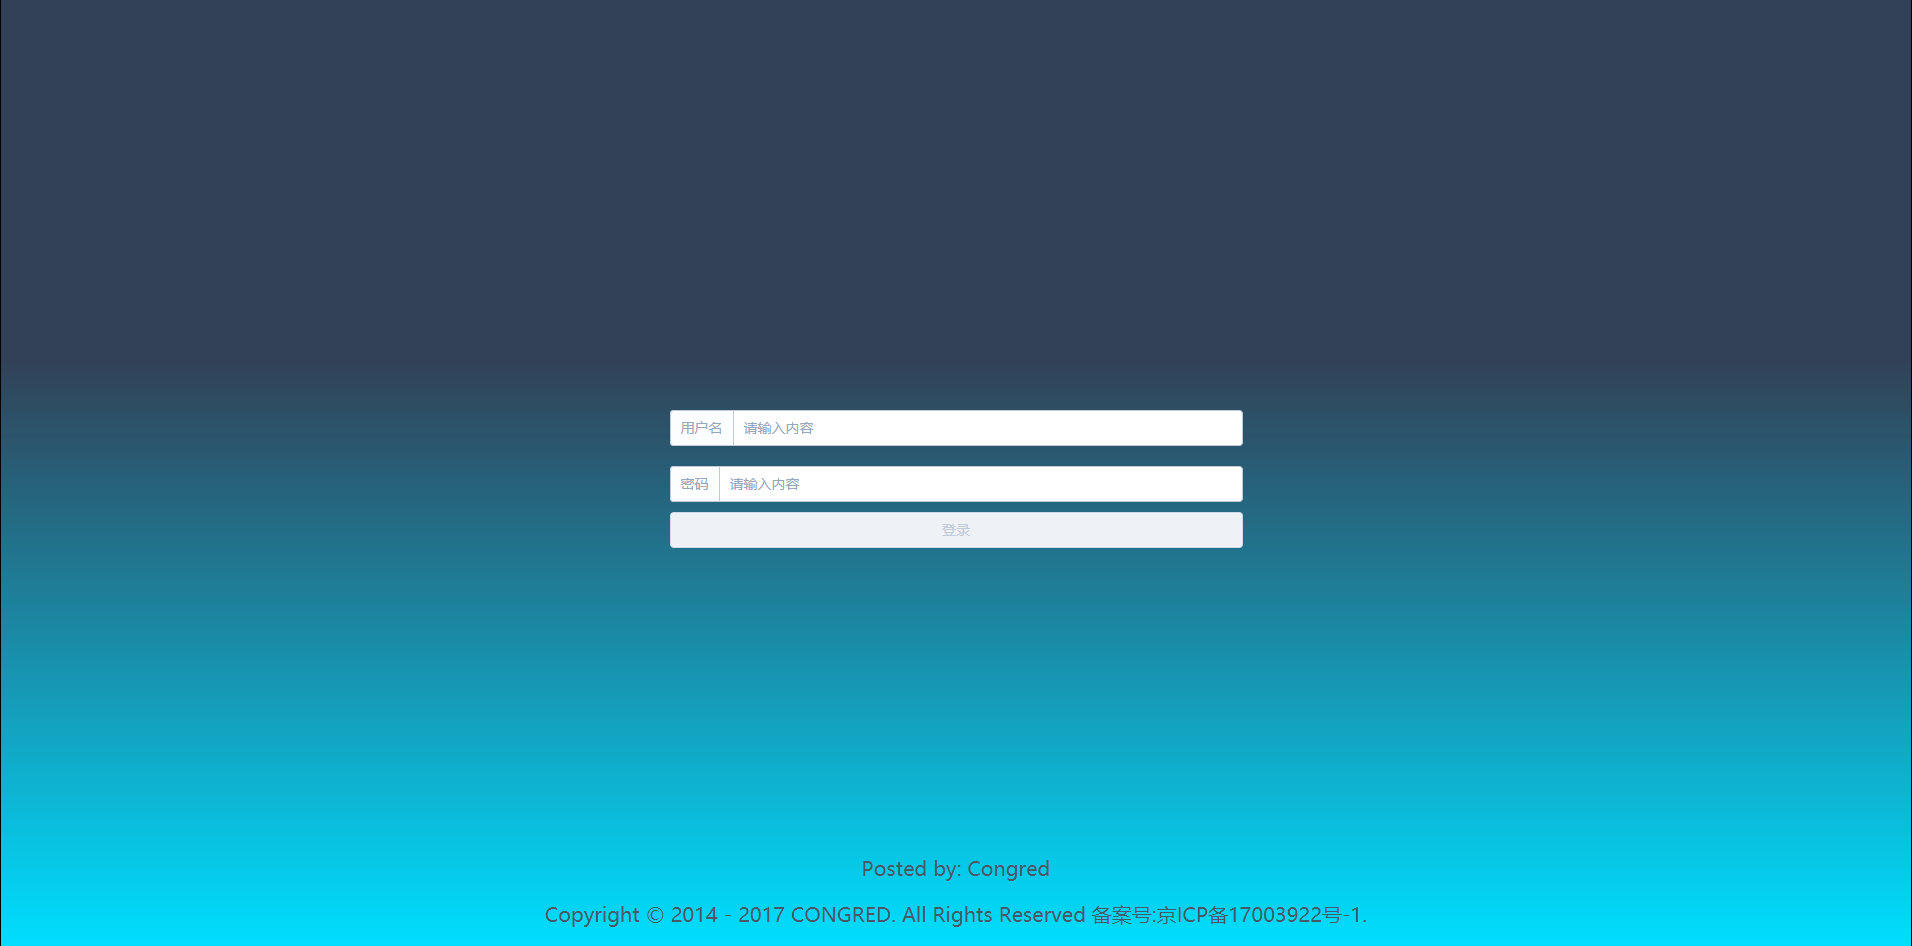
)¶总结
在登录组件中,我们封装了Axios,将其根据web请求(put、post、get和delete)形成统一的请求接口;在登录时向后台请求并完成登录信息在SessionStorage中存储及路由跳转。需要注意的是vue官方建议tab是2格,不然其Eslint会报错,编译不通过。
// codes
setUserInfoToGo (userInfo) {this.$utils.setLoginState(userInfo)this.$router.push('/cms')
}
// codes
基于VUE实现的新闻后台管理系统-三相关推荐
- 基于 vue + Element-ui 开发的后台管理系统
基于 vue + Element-ui 开发的后台管理系统 引文 思考 快速上手 项目结构介绍 引入 ElementUI 登录功能设计 项目演示地址:https://git.io/fp9UM 项目仓库 ...
- 基于Vue+Node的商城后台管理系统
后台管理系统 商城**部分功能**已实现,界面简洁直观,采用**ElementUI**进行页面美化 后端接口参考文档入口===>>> 项目截图(功能已完成的界面): 登录注册 主界面 ...
- 基于SpringBoot+VUE的宠物医院后台管理系统【源码开源】【建议收藏】
基于SpringBoot+VUE的宠物医院后台管理系统[源码开源][建议收藏] 今天给大家开源一个基于SpringBoot+VUE的宠物医院后台管理系统,系统基于脚手架工程,花了大概1周时间做出来的. ...
- 基于前端Vue后端.NetCore Web后台管理系统通用开本框架采用前后端分离技术,前端使用vue2.6.0,后端使用.netcore3.1,支持跨平台、多租户
基于前端Vue后端.NetCore Web后台管理系统通用开本框架采用前后端分离技术,前端使用vue2.6.0,后端使用.netcore3.1,支持跨平台.多租户.支持MySQL/SQLServer/ ...
- 基于Vue和SpringBoot的宾馆管理系统的设计和实现
作者主页:Designer 小郑 作者简介:Java全栈软件工程师一枚,来自浙江宁波,负责开发管理公司OA项目,专注软件前后端开发(Vue.SpringBoot和微信小程序).系统定制.远程技术指导. ...
- java计算机毕业设计Vue框架电商后台管理系统源码+mysql数据库+系统+lw文档+部署
java计算机毕业设计Vue框架电商后台管理系统源码+mysql数据库+系统+lw文档+部署 java计算机毕业设计Vue框架电商后台管理系统源码+mysql数据库+系统+lw文档+部署 本源码技术栈 ...
- java计算机毕业设计Vue框架电商后台管理系统源码+数据库+系统+lw文档
java计算机毕业设计Vue框架电商后台管理系统源码+数据库+系统+lw文档 java计算机毕业设计Vue框架电商后台管理系统源码+数据库+系统+lw文档 本源码技术栈: 项目架构:B/S架构 开发语 ...
- .net宿舍管理系统 mysql_基于.NET CORE的精美后台管理系统-RuoYi C#版
若依(RuoYi)是码云上一款精美的开源快速开发平台,作者毫无保留给个人及企业免费使用.RuoYi目前有三个版本:普通版本(RuoYi).前后端分离版本(RuoYi-Vue).微服务版本(RuoYi- ...
- 基于springboot外委员工后台管理系统毕业设计源码101157
基于springboot外委员工后台管理系统 摘 要 随着互联网大趋势的到来,社会的方方面面,各行各业都在考虑利用互联网作为媒介将自己的信息更及时有效地推广出去,而其中最好的方式就是建立网络管理系统 ...
- 基于 Springboot 和 Mybatis 的后台管理系统 BootD
源码名称:基于 Springboot 和 Mybatis 的后台管理系统 BootD 下载地址:https://www.chtml.cn/product/show/10867 项目介绍 面向学习型的开 ...
最新文章
- 阿里mysql连接数据库服务器配置_配置链接mysql数据库
- Ionic实战 自动升级APP(Android版)
- love2d杂记6--动态读写外部lua文件
- python读取npy文件的列表_Python,NPY文件,pk3,Python3,读取,h5pklnpznpy,格式,的
- 【都挺好】追求一生的科技住宅原来在这!
- sudo apt-get install lsb-core
- vision里面pt与字号大小对应关系
- 2022年上半年软件设计师上午真题及答案解析
- 【控制工程】与控制工程密切相关的拉普拉斯变换
- MyEclipse 7.5 正式版中文插件安装
- 超参数调整——网格搜索
- 浅谈分子动力学(MD)模拟及其势文件
- Get Server Down when retrieve the channel list in sopcast, how to solve it?
- C与C++学习经典网站
- 浏览量(PV)、访客数(UV)、访问次数、跳出率是什么意思?
- SDOI2019R2翻车记
- 电容降压 20170619 周一
- (008)前端css,js,Jquery,Servlet入门
- 陪伴我成长的学习工作邮箱品牌——TOM邮箱
- XML文档定义有几种形式?解析XML文档有哪几种方式?